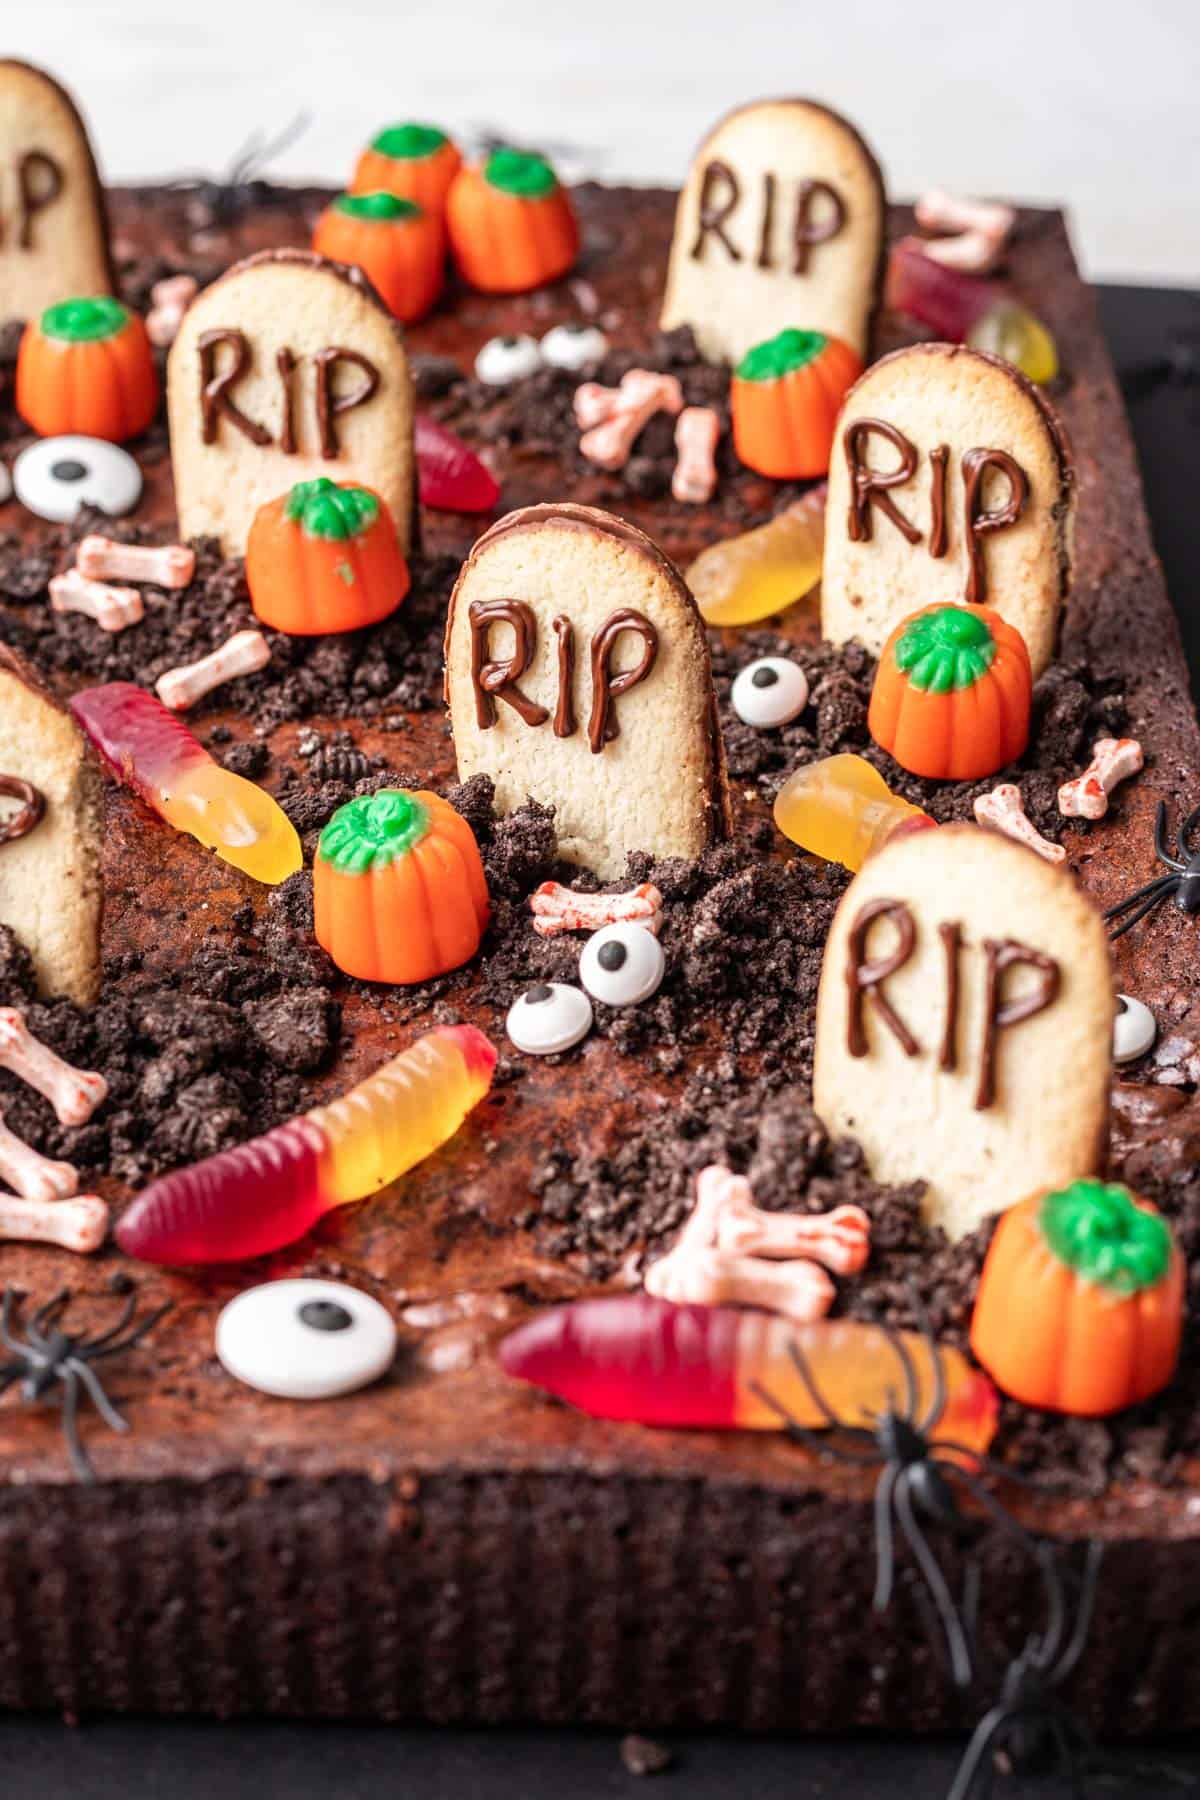
These Graveyard Brownies are the most delicious Halloween treat made with fudgy chocolate brownies, cookie tombstones, gummy worms, pumpkin-shaped candy corn, and other spooky decorations. Get ready for some fun Halloween baking and celebrating!
Jump to:
📋 About the Recipe
- The ultimate spooky dessert! If you're looking for a great centerpiece for your Halloween party table, you can't go wrong with these spooky graveyard brownies. They're as fun and festive as they are delicious and are a massive hit with kids and adults alike.
- Great activity to do with the kids. Looking for a fun activity for the kids before it's time to go trick-or-treating? Bake up a pan of brownies, set out bowls of decorations, and let the kids decorate the graveyard as desired.
- Made with easy to find ingredients. Most of the ingredients used to decorate these brownies are easy to find at your local grocery store in the Fall, make sure to check the baking and/or candy aisles.
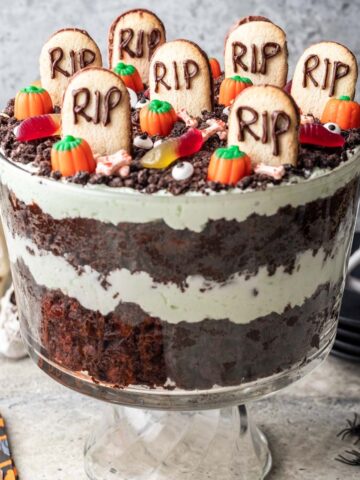
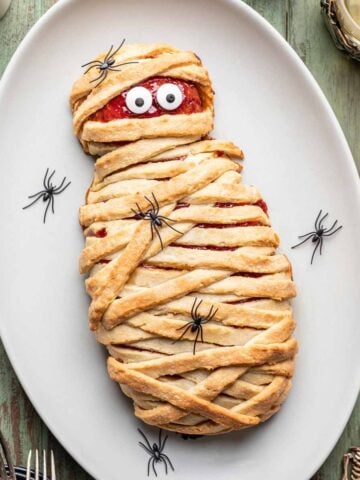
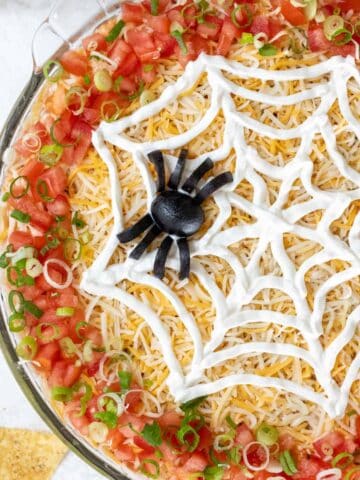
Planning the menu for your Halloween party? Check out these other fun Halloween recipes: Mummy Meatloaf, Halloween Trail Mix, Halloween Trifle, Spooky 7 Layer Halloween Spiderweb Taco Dip, and Spooky Halloween Snack Board.
🛒 Ingredients
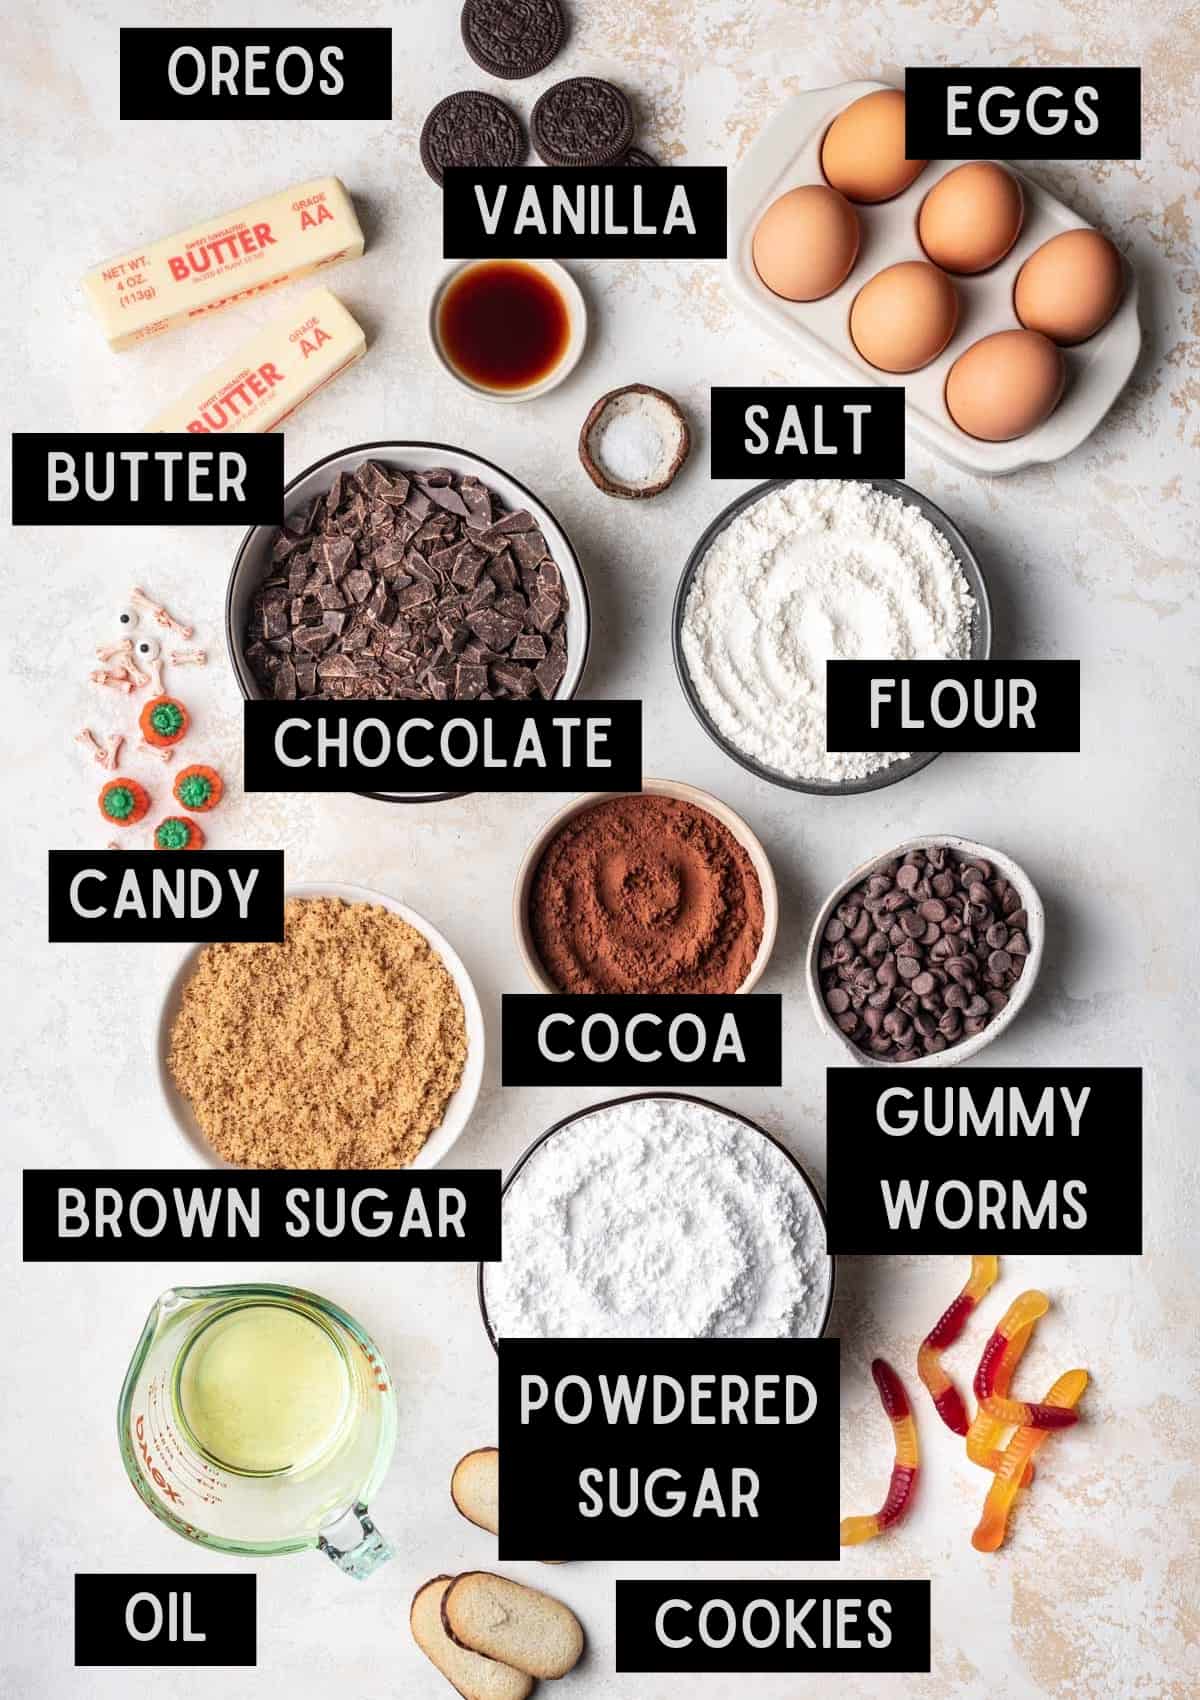
A few notes about the ingredients:
- Unsalted butter - Aside from rare occasions, I recommend baking with unsalted butter in my dessert recipes because it allows you to control the sodium content in the baked goods.
- Chocolate - Semi-sweet chocolate chips are the best chocolate chips to use in brownies because they prevent the brownies from tasting overly sweet while still providing enough sugar to satisfy a sweet tooth.
- Oil - A neutral cooking oil such as vegetable oil is best because it will add moisture and tenderize the crumbs without overpowering the flavor.
- Cocoa powder - I prefer to use Dutch-processed cocoa in these brownies because it is less bitter than normal cocoa powder, giving these brownies a more mild, smooth flavor (perfect for kids!).
- Eggs - Room temperature eggs add moisture, flavor, and protein that helps the brownies hold their shape. Make sure to use room temperature eggs for the smoothest, well incorporated brownie batter.
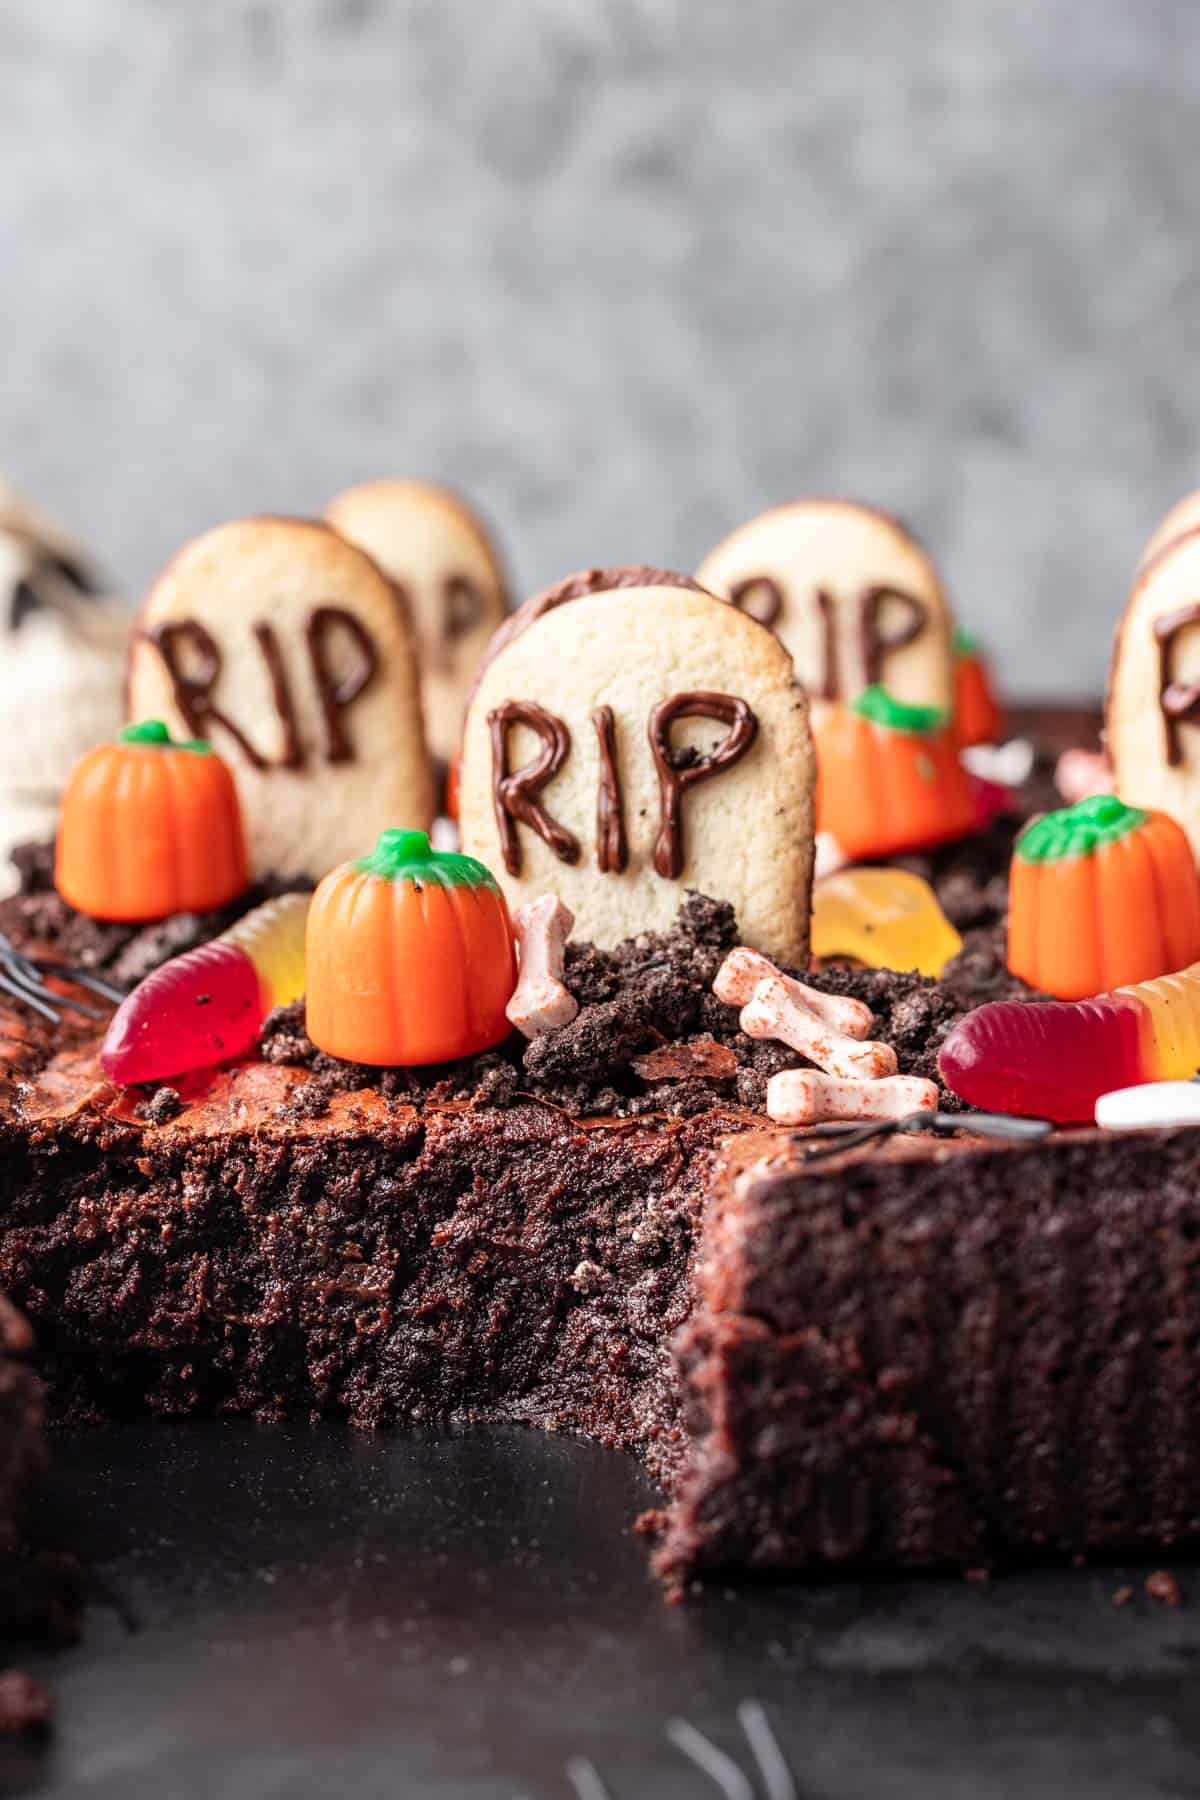
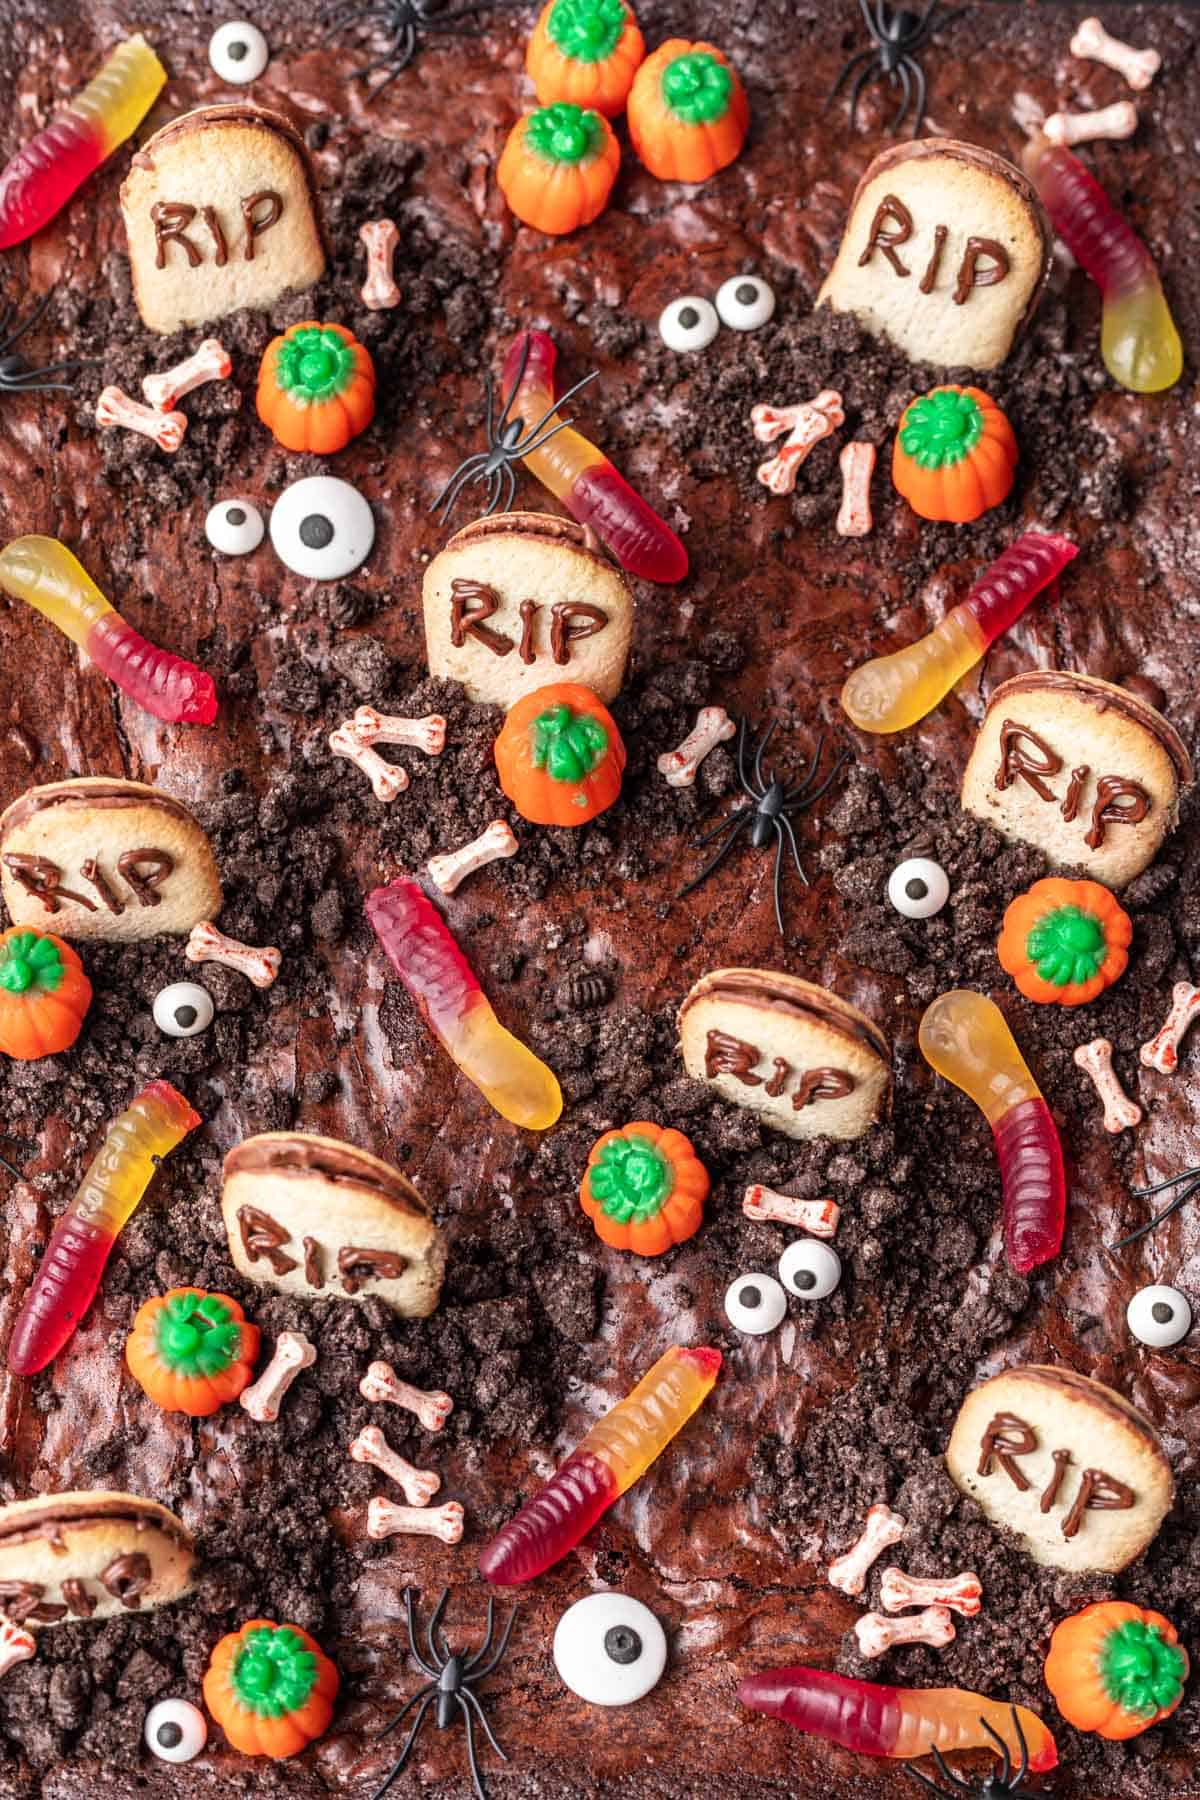
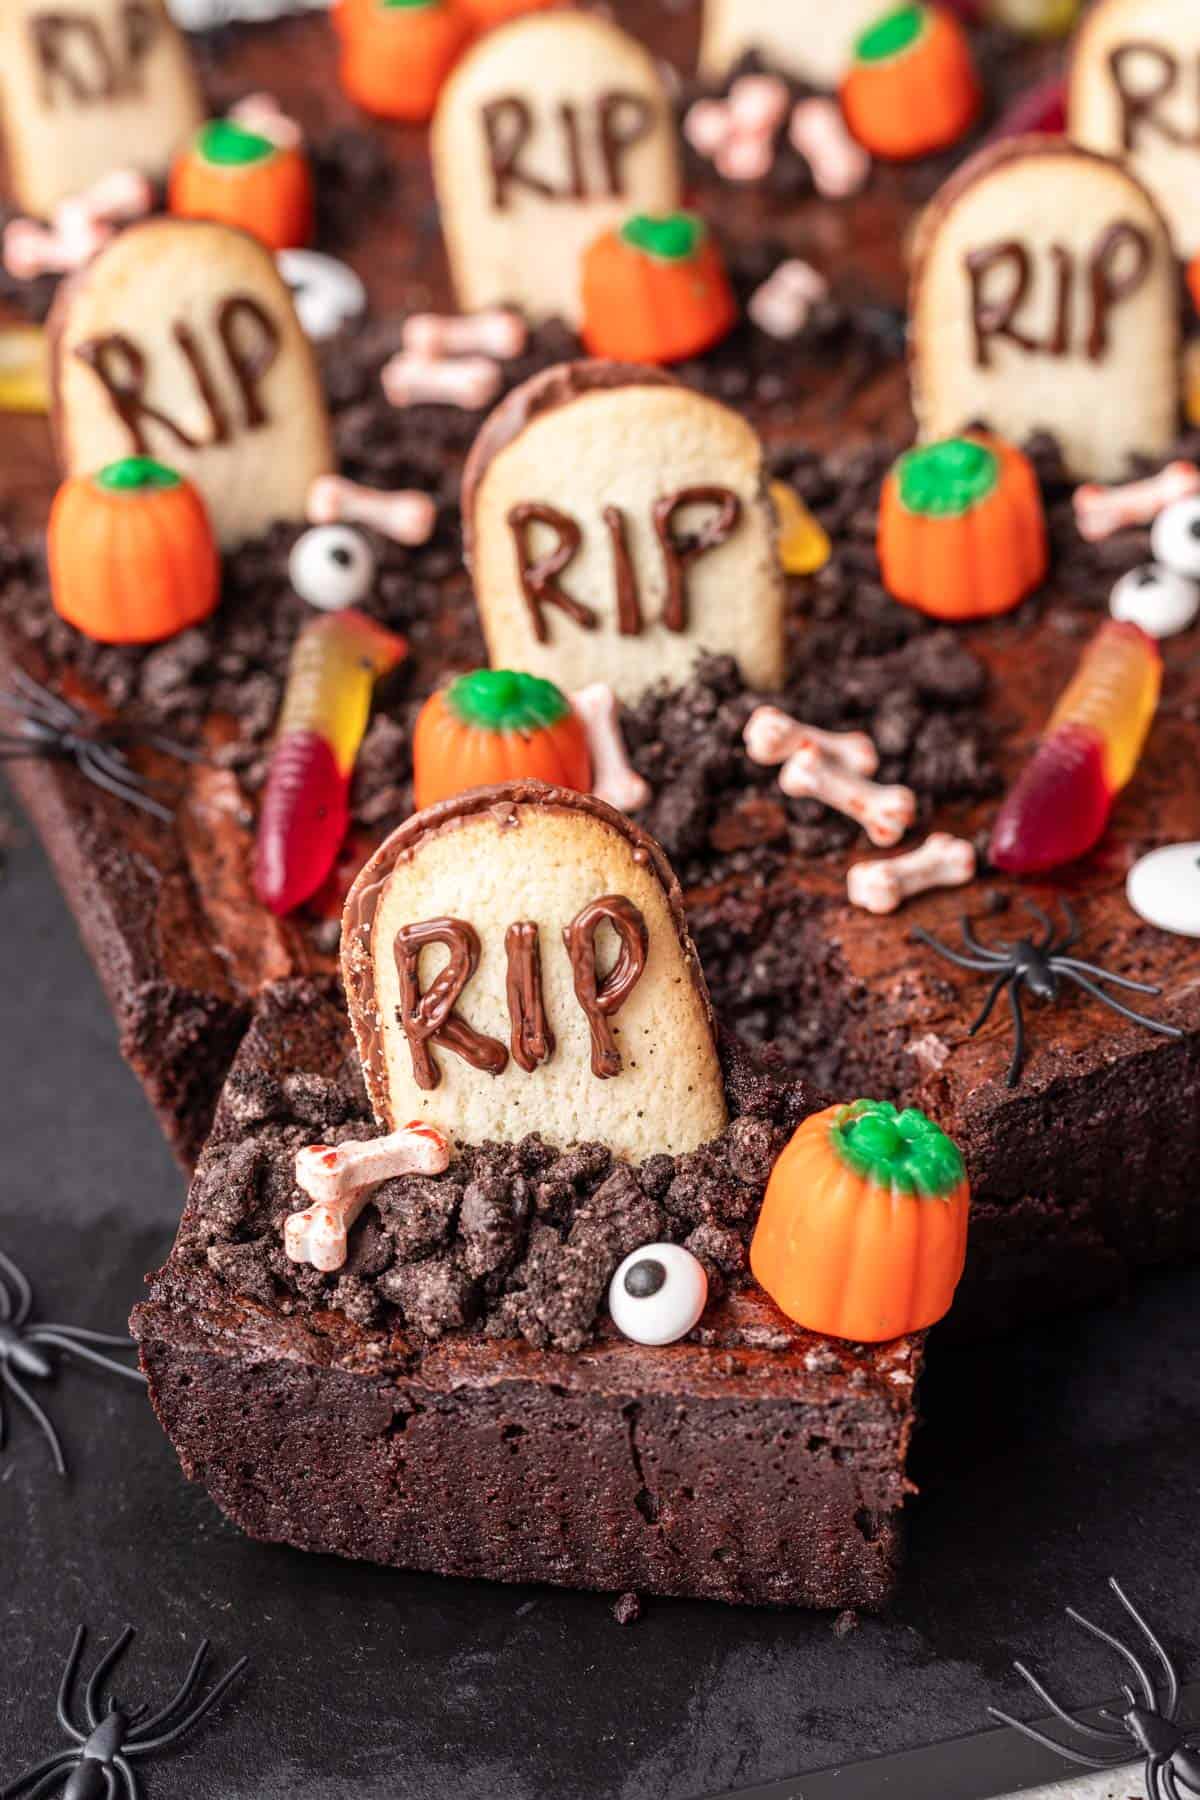
- Decorations - I used Milano cookies to make the tombstones, melted chocolate to write on the tombstones, crushed Oreo cookies to make mounds of dirt, and candy pumpkins, gummy worms, candy skulls, eyes, and bones to decorate the graveyard.
⁉️ Substitutions and Alterations
- Chocolate substitutions: Replace the semi-sweet chocolate chips with dark chocolate chips, if desired. Chocolate chunks or a chopped semi-sweet or dark chocolate bar will work well, too.
- Decoration ideas: Use my decorations as inspiration and have fun with it. You can write on the spooky graves with black icing, use candy skeletons, add your favorite Halloween sprinkles, and more.
📓 Instructions
Make the Brownies
- Preheat and prep. Set the oven to 350 degrees F to preheat. Then, spray a 9x13 baking pan with nonstick spray before lining with parchment paper.
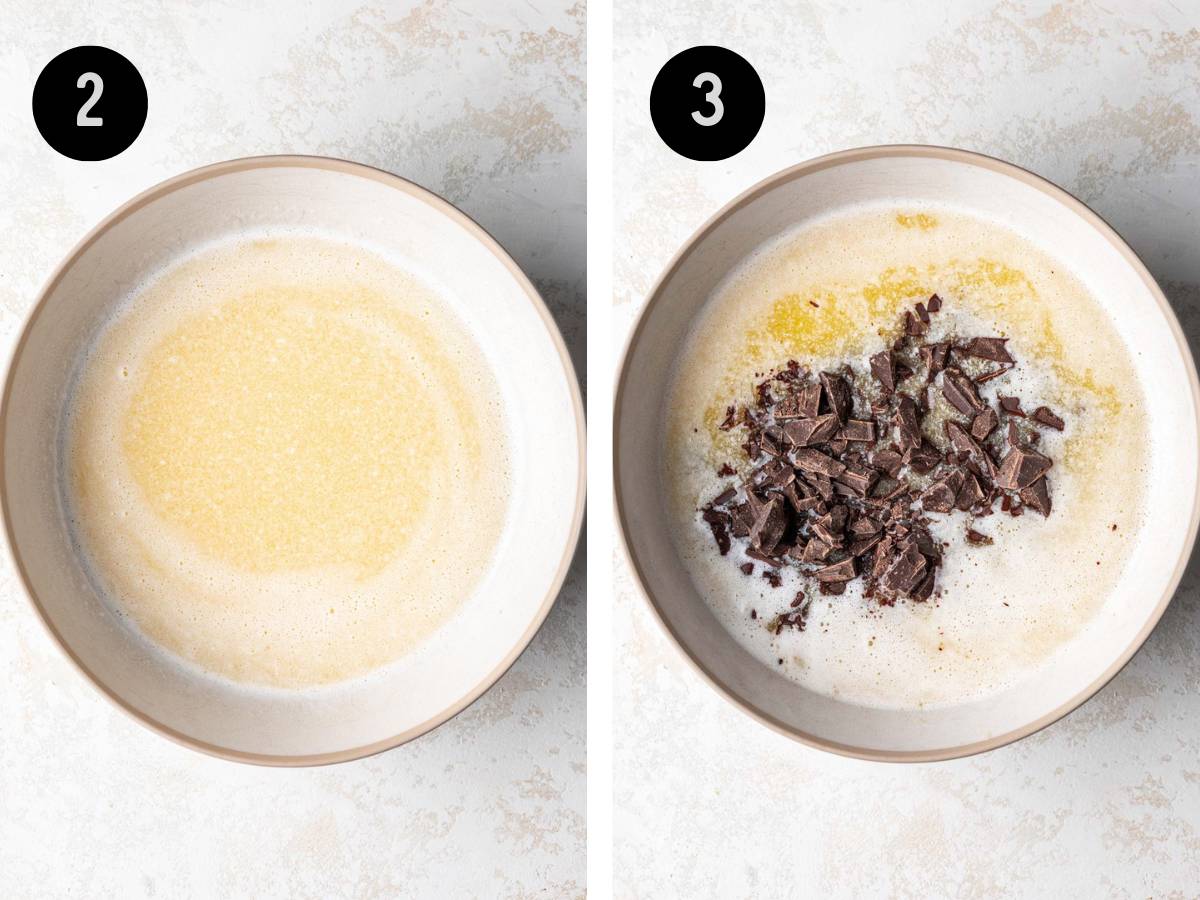
- Melt the butter. Add the butter into a large, heatproof bowl and microwave in 30 second intervals until melted. This should take about 1 ½ minutes when microwaving room temperature butter.
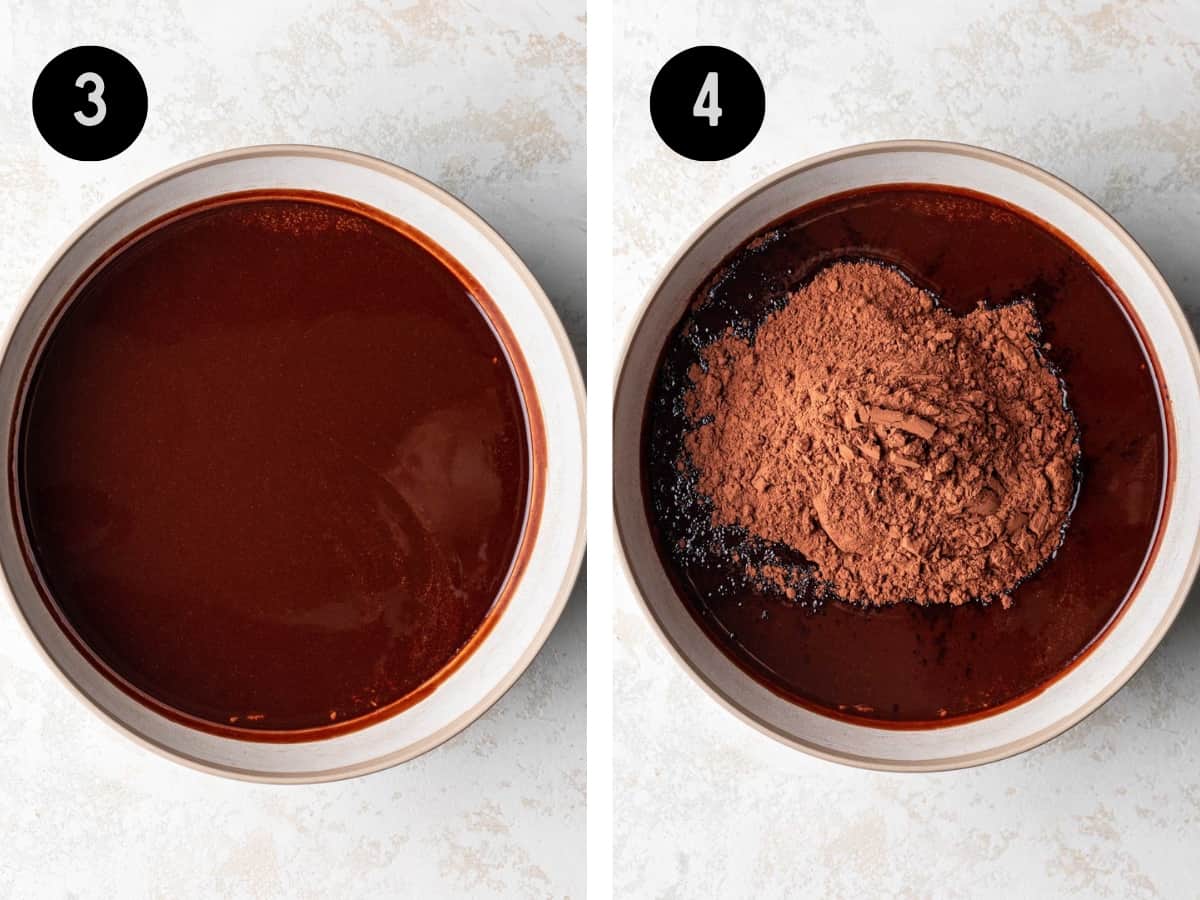
- Add the chopped chocolate and vegetable oil. In the bowl with the melted butter, add the chopped chocolate and vegetable oil and stir until the chocolate chips are melted. If needed, microwave again in 30 second intervals until just melted.
- Whisk in the cocoa. Add the cocoa powder and whisk until well combined, then set the chocolate mixture aside to cool.
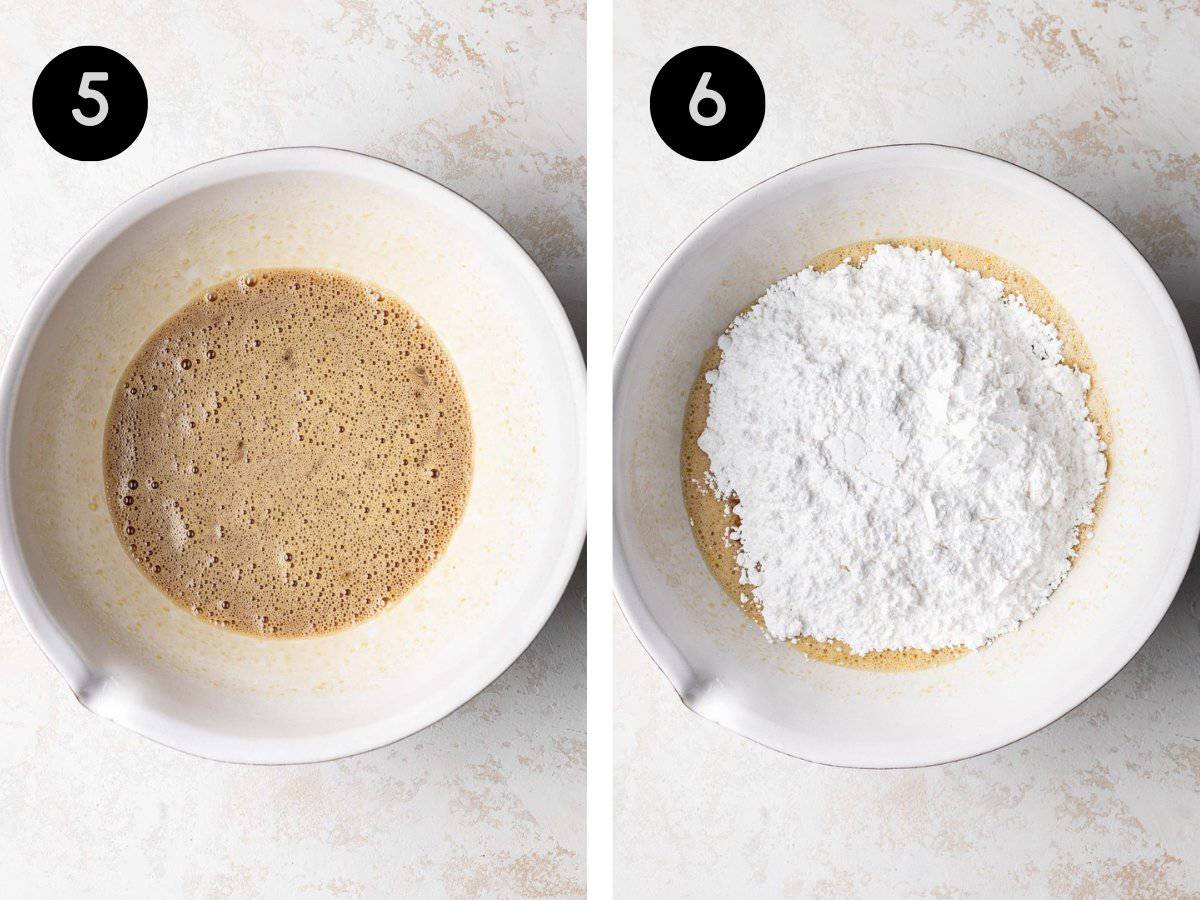
- Combine the eggs and brown sugar. In a separate large mixing bowl, vigorously mix until the sugar is fully dissolved, about 90 seconds.
- Add the powdered sugar and vanilla. Into the same bowl with the egg and brown sugar mixture, whisk in the powdered sugar and vanilla extract until mostly smooth with minimal lumps.
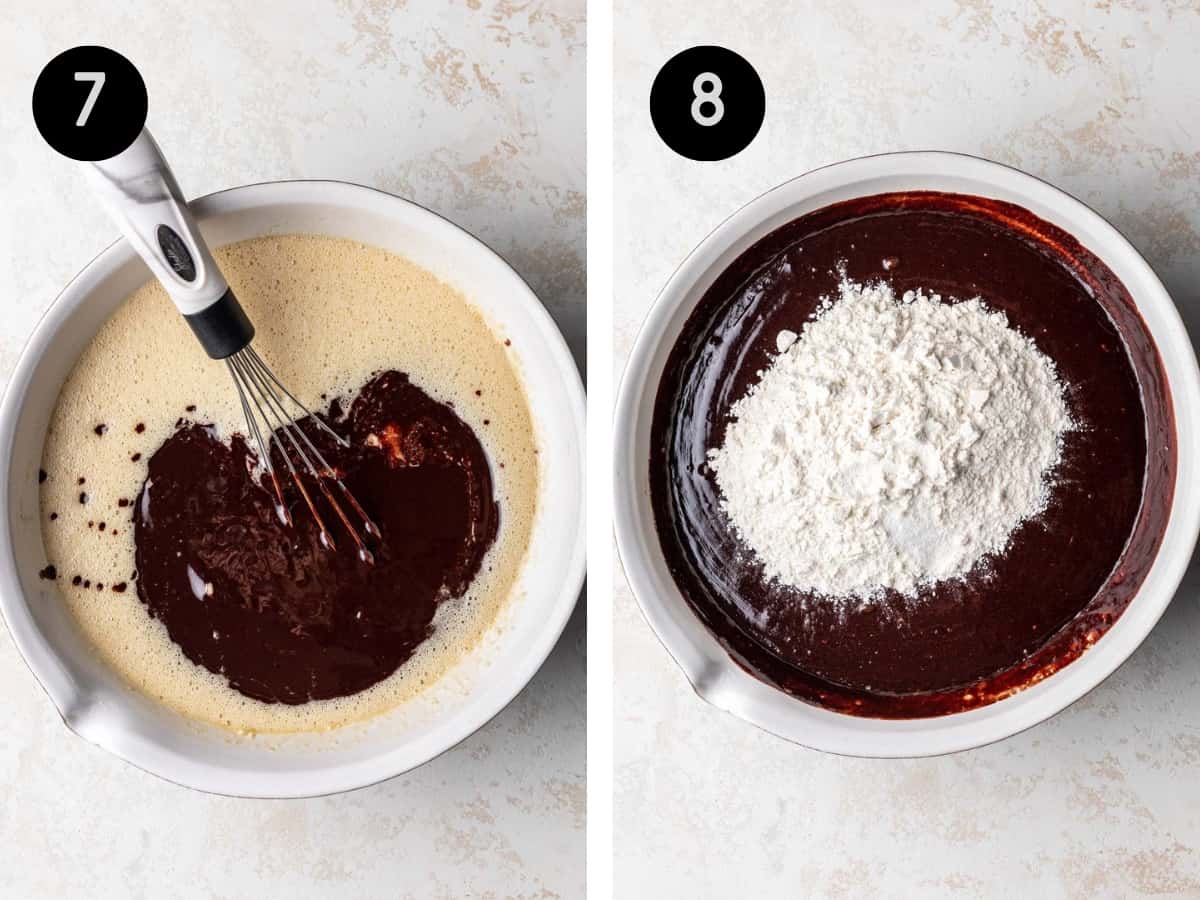
- Combine the chocolate mixture and egg mixture. Pour the cooled chocolate mixture into the large mixing bowl with the eggs and brown sugar mixture. Whisk well until combined and a smooth batter forms.
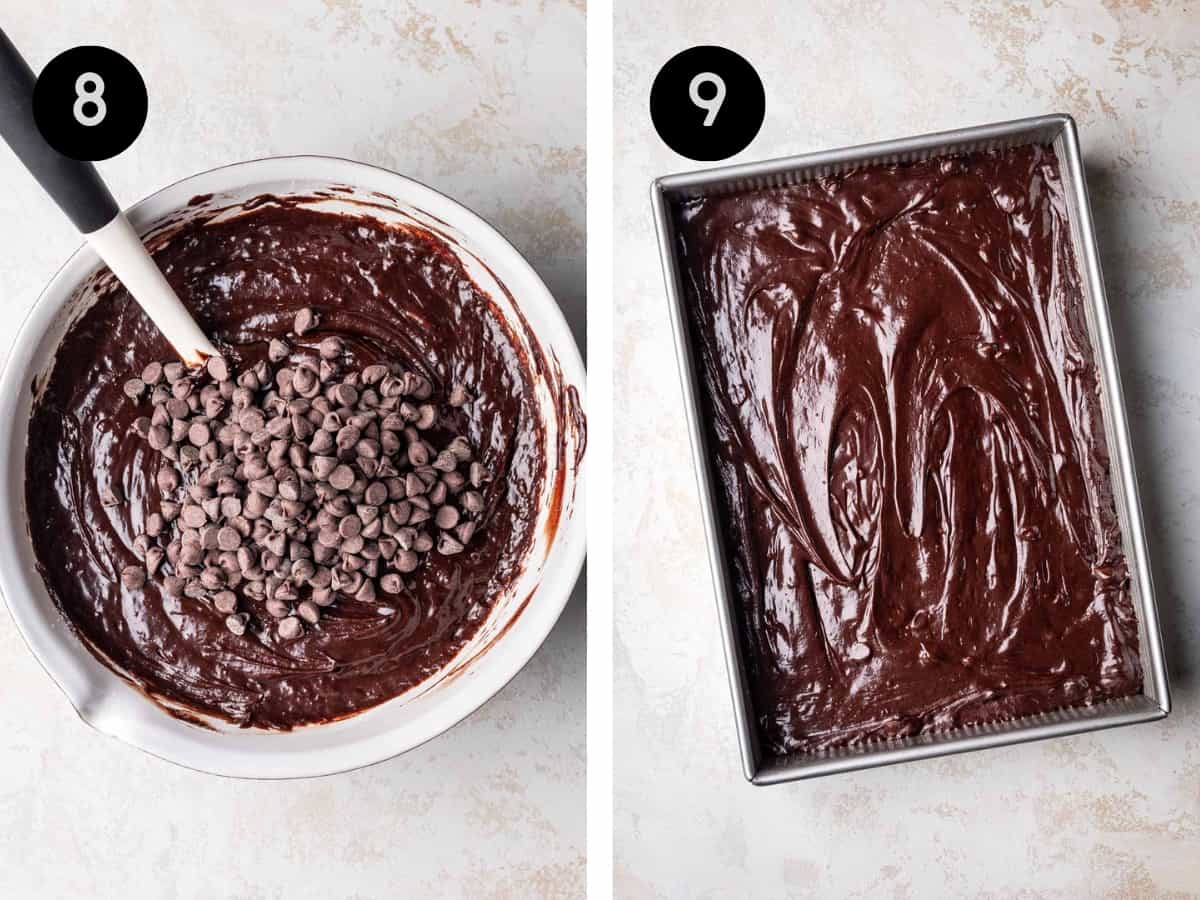
- Fold in the flour and chocolate chips. Using a rubber spatula, fold the flour and kosher salt until no dry flour spots remain. Add in the chocolate chips and repeat until well distributed.
- Bake. Transfer the brownie batter into the prepared pan and using a spatula, spread the batter evenly from edge to edge. Bake for 38 to 45 minutes, or until 3 inches around the perimeter of the pan is set.
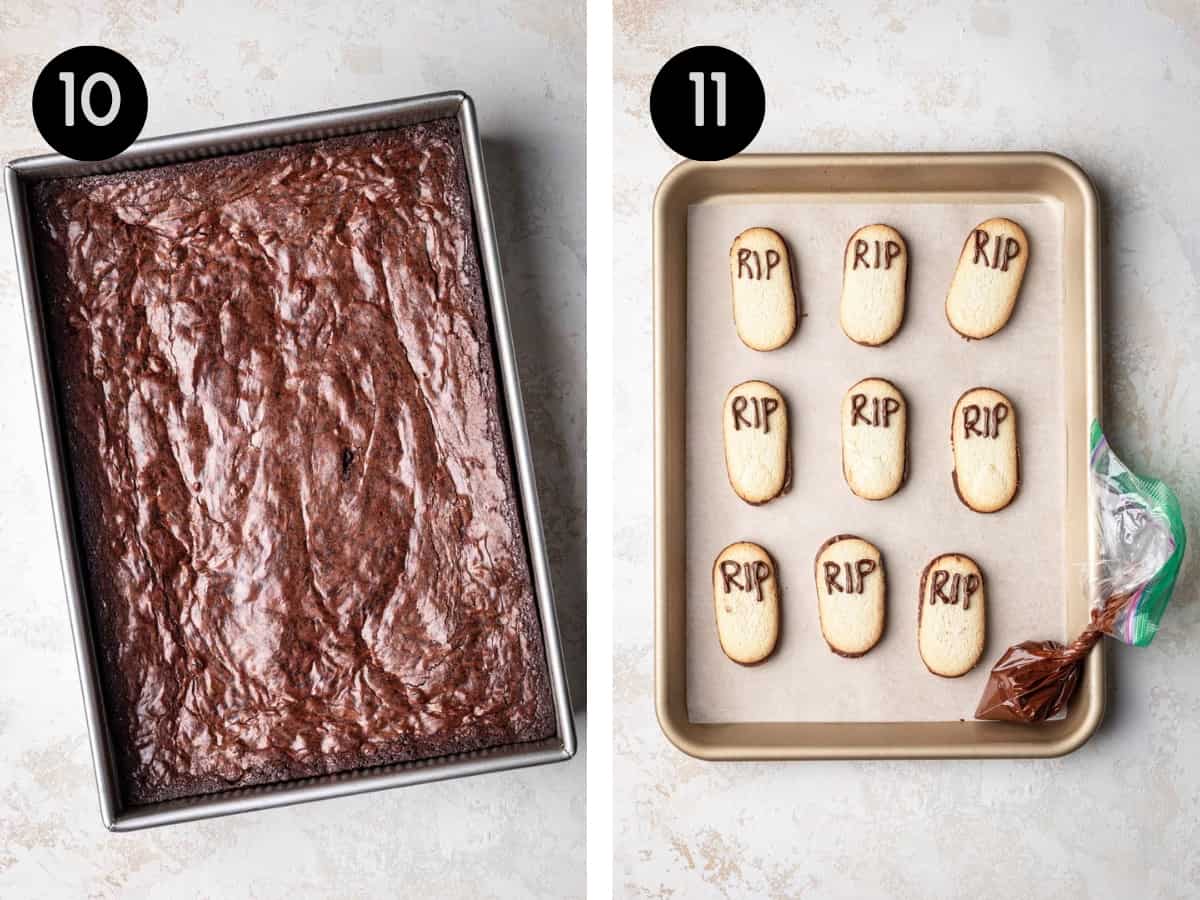
- Cool before decorating. Once the graveyard brownies are baked, remove them from the oven and allow them to cool for at least 90 minutes before removing from the pan and decorating.
- Make the cookie headstones. Line a small baking sheet with parchment paper, then spread Milano cookies on the baking sheet. Place 1 to 2 tablespoons of chocolate chips inside a resealable plastic bag to make a piping bag. Microwave the bag in 30 second intervals until the chocolate is melted and smooth. Snip a small corner off of the bag and use the chocolate to pipe "RIP," or other phrases of choice, on the top of each cookie. Once all of the cookies are decorated, place the baking sheet in the refrigerator until the chocolate has hardened.
- Decorate the top of the "graveyard." Space the cookie tombstones out on top of the Halloween graveyard brownies, then sprinkle crushed Oreos at the base of each cookie to resemble dirt. Lastly, decorate the graveyard brownies with pumpkin-shaped candy corn, gummy worms, candy skulls, eyes, and bones, or as desired.
❄️ How to Store
To store: Leftover graveyard brownies will keep best when stored at room temperature in an airtight container for 2 to 3 days. If you'd like to extend the shelf life of your brownies, they can be refrigerated for up to 5 days, but keep in mind that refrigeration will alter the texture of both the brownies and the decorations.
For example, the gummy worms will become very hard to chew and the gravestone cookies will become soggy due to the added moisture.
For best results, store the brownies separately from the decorations. Then, decorate just before serving.
To freeze: Chocolate brownies can be frozen without decorations. To do so, allow the brownies to cool completely to room temperature. Wrap brownies whole in a tight layer of plastic wrap, then transfer the wrapped brownies into a large zip top bag. Remove as much excess air from the bag as possible and freeze for up to 3 months.
When ready to eat, set the frozen brownies on the kitchen counter until softened to room temperature and decorate brownies, as desired.
🔍 Recipe FAQs
The best way to prevent brownies from getting hard overnight is to bake and store them properly. When brownies are ready to be pulled from the oven, they will be set around the edges and when a toothpick is inserted in the center, it should come out with a few chocolatey crumbs.
Then, once the brownies are cooled and decorated, it is important to keep them in an airtight container to trap the moisture and keep them soft and chewy. If they are left loosely covered, they will dry out quickly and become hard and stale.
It is always better to undercook brownies. Overcooked brownies will be hard as a rock, especially around the edges and may be undesirable to eat.
After baking for 38 to 45 minutes, the brownies won't be fully set in the center, but will continue to firm up as the brownies cool. This is key to fudgy, chewy brownies with a moist, gooey center!
To cut brownies with neat edges, allow the brownies to cool completely to room temperature. This gives them time to continue to firm up in the center and set properly.
Next, lightly grease a sharp kitchen knife with nonstick cooking spray before making cuts. If needed, wipe the kitchen knife clean between each cut - this will prevent excess crumbs from building up on the blade and contributing to messy cut edges.
This depends entirely on how large or small you choose to cut your brownies, but I typically cut the graveyard brownies into 20 to 24 brownies.
It's the perfect size for sharing at Halloween parties, school events, or with friends during a scary movie night.
💭 One More Tip
Don't skip the parchment paper. In addition to greasing the baking dish, it is important to lay a piece of parchment paper inside the dish.
This extra barrier prevents the graveyard brownies from sticking to the bottom and makes it incredibly easy to lift the entire "graveyard" of brownies out of the dish before decorating.
Related Recipes
Share your cooking with me! If you make this recipe, I'd love to know! Tag @yourhomemadehealthy on Instagram or leave a comment with a rating and some feedback at the bottom of this page!
Recipe
Spooky Graveyard Brownies
Ingredients
For Brownies
- 2 cups unsalted butter
- 12 ounces semisweet chocolate, chopped
- ⅓ cup vegetable oil
- 1 cup dutch process cocoa powder SEE NOTES
- 6 large eggs, room temperature
- ¾ cup light brown sugar
- 3 ½ cups powdered sugar
- 2 teaspoons vanilla extract
- 1 cup all purpose flour
- ½ teaspoon kosher salt
- 1 cup semisweet chocolate chips
To Decorate
- 1 to 2 tablespoons chocolate chips
- 9 Milano milk chocolate cookies, or other oval-shaped cookie
- 8 oreos, crushed
- pumpkin shaped candy corn
- gummy worms, cut in half
- candy bones
- candy eyes
Instructions
- Preheat oven to 350 degrees F. Spray a 9x13 baking pan with nonstick spray and line with parchment paper.
- Add butter to a large bowl. Microwave in 30 second intervals until melted. (About 1 ½ minutes with room temperature butter.)
- Add chopped chocolate and vegetable oil to the melted butter. Stir until melted. If needed, microwave again in 30 second intervals until just melted. (About an additional 30 seconds.)
- Add in the cocoa powder and whisk to combine. Set aside to cool.
- In a large mixing bowl, add eggs and brown sugar. Vigorously mix until the sugar is fully dissolved, about 90 seconds.
- Add in the powdered sugar and vanilla. Whisk until smooth with minimal lumps.
- Pour cooled butter/chocolate mixture into the large mixing bowl with the eggs and brown sugar. Whisk to combine.
- Using a rubber spatula, fold in the flour and kosher salt until no dry flour remains. Then, fold in the chocolate chips.
- Pour batter into the prepared pan. Use a spatula to spread batter evenly from edge to edge. Bake for 38 to 45 minutes, or until 3 inches around the perimeter of the pan is set.
- Allow brownies to cool for at least 90 minutes before removing from the pan and decorating.
- To decorate: Prepare a small baking sheet by lining it with parchment paper. Place milano cookies on the baking sheet. Add 1 to 2 tablespoons of chocolate chips to a zip top bag. Microwave in 30 second intervals until melted and smooth. Cut a small corner off the bag and pipe “RIP” on the top half of each cookie. Place in the refrigerator until the chocolate hardens.
- Stick Milano cookies spaced out on top of the brownies. Sprinkle crushed oreos at the base of each cookie to create a small mound of dirt. Decorate with pumpkin candy corn, gummy worms, candy bones, and candy eyes.
Notes
- I highly recommend using "dutch-process" cocoa powder for this recipe. It creates a richer, moister, more decadent brownie. However, you can use regular cocoa powder if you're really in a pinch.
- Don't over-bake the brownies. The inside might look a tad underdone, but they will solidify more as they cool. As long as 3 inches around the perimeter of the pan is set, the brownies should be fully cooked.
Nutrition
Want more recipes like this delivered right to your inbox? Be sure to subscribe above and never miss a thing!





Comments
No Comments