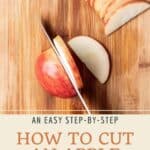
Learn how to cut an apple for all of your favorite snacking, baking, and applesauce making needs! Hint: removing the apple core is less tedious than you think!
Jump to:
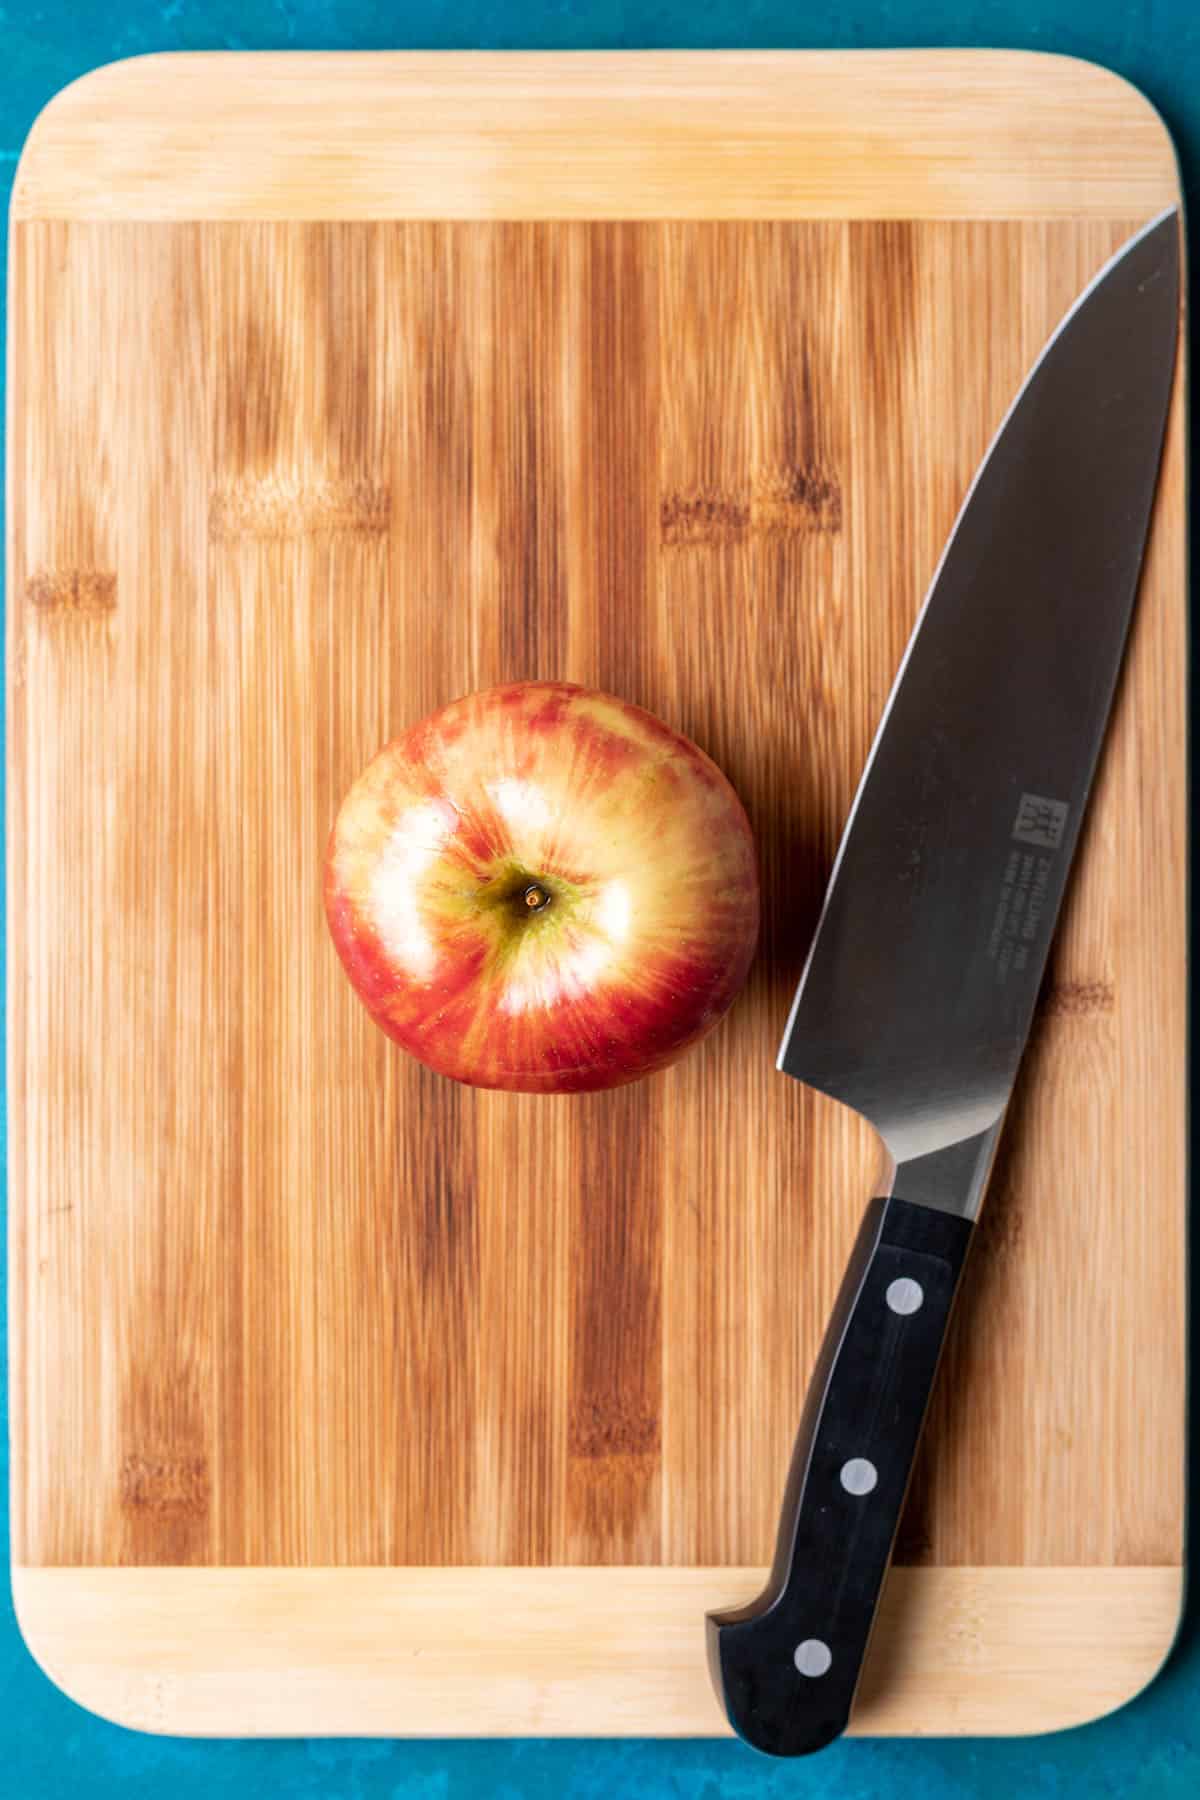
⁉️ What You'll Need
- Sharp chef's knife - One of the most important tools in the kitchen. It may be counterintuitive, but using a small knife or a dull knife is going to make it more likely that you will cut yourself and have difficulty cutting your apples uniformly. A good chef's knife should glide through whatever you are cutting without resistance and feel comfortable in your hand.
- Cutting board - The larger the better! Using a small cutting board is going to make your workspace feel crowded and take you longer to prep.
🔪 How to Cut an Apple
Remove the apple core. No matter what kind of recipe you are cutting apples for, you always want to start by removing the apple core. Like many fruits, the core of the apple runs down the center of the apple. It is tough, contains seeds, and while edible, it is not the most pleasant to eat.
Many people start cutting an apple by cutting right through the center of the core. This is not the best way! Instead, follow this simple way of cutting around the core. It's easier, faster, and less tedious.
- Stand the apple up on your cutting board, stem facing up.
- Slice each half of the apple off of the apple core. If there are any seeds remaining in the apple flesh you removed from the core, that is okay. We will be able to easily remove the seeds when slicing or dicing.
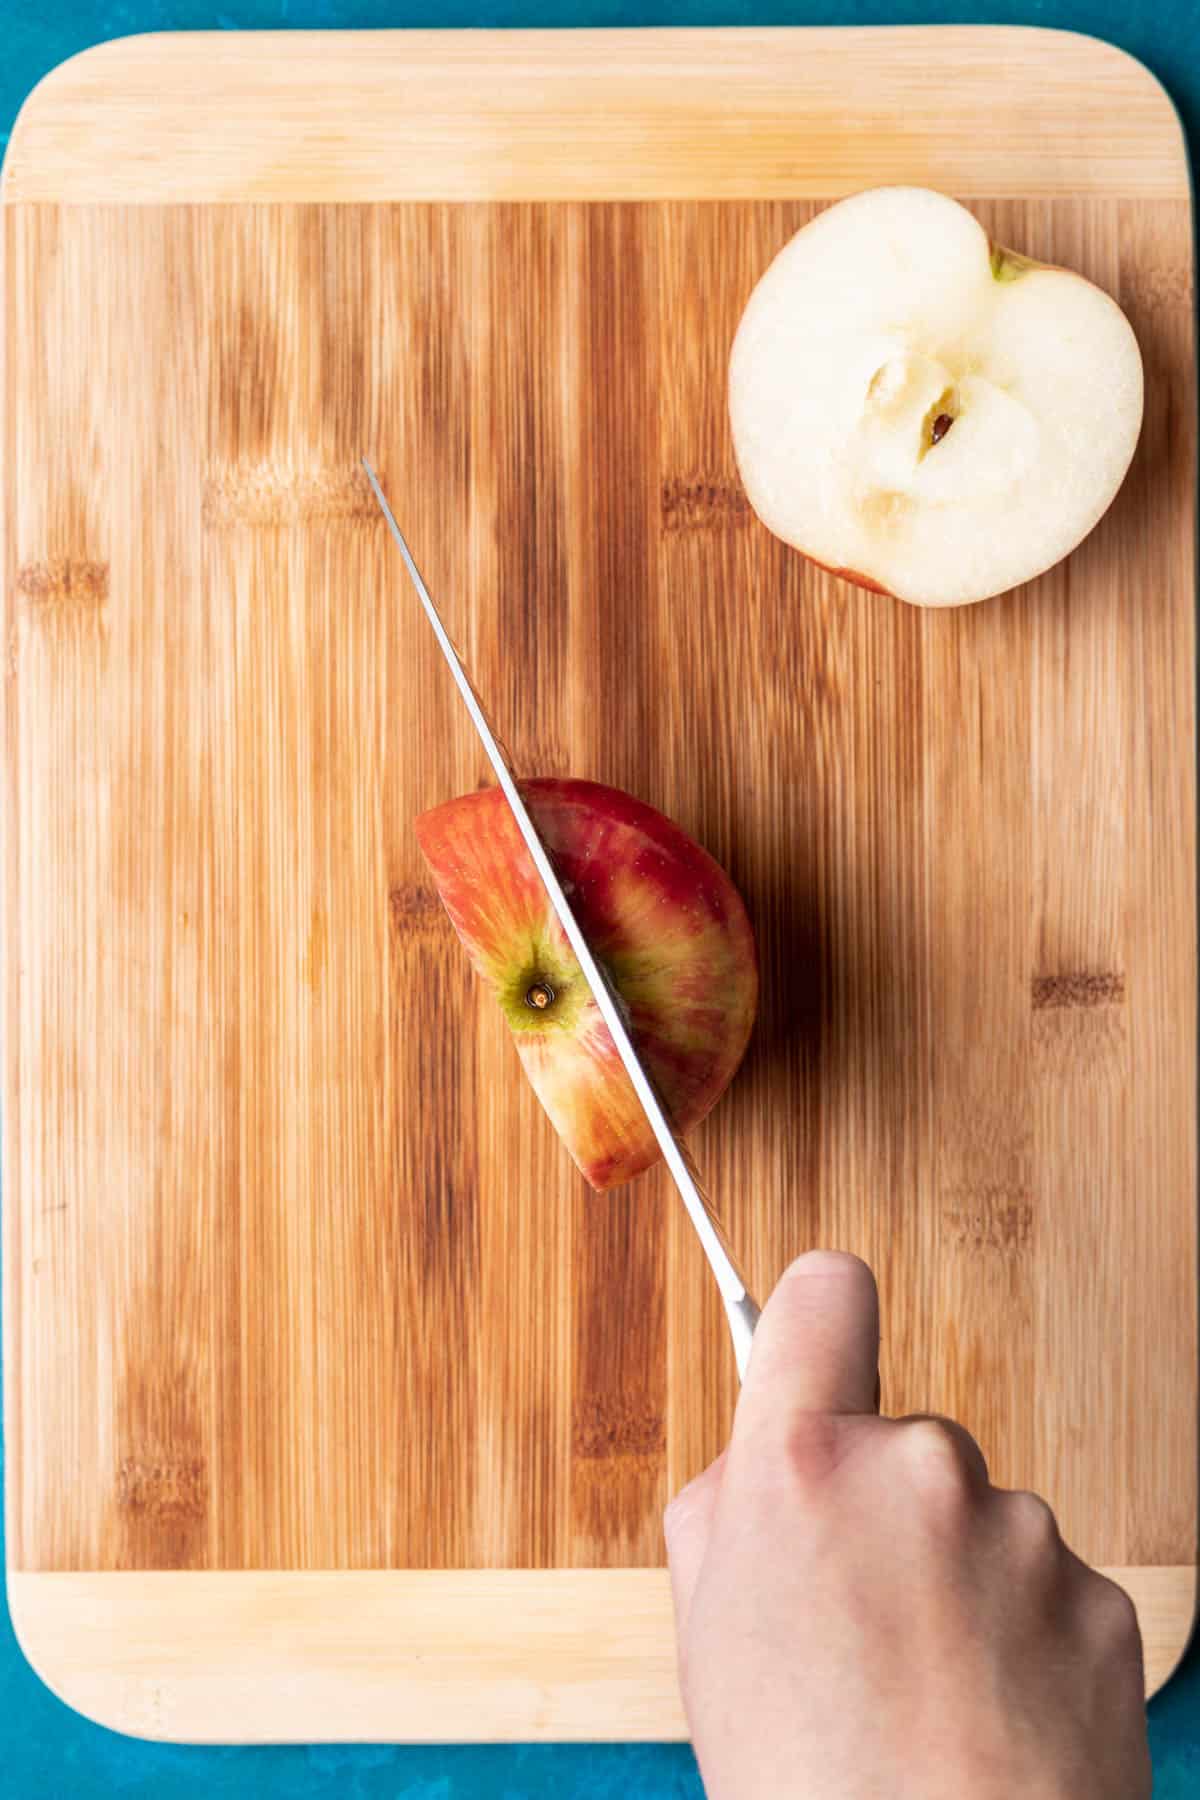
- Slice the remaining apple flesh off of the core.
- Discard the core.
To Cut Into Wedges:
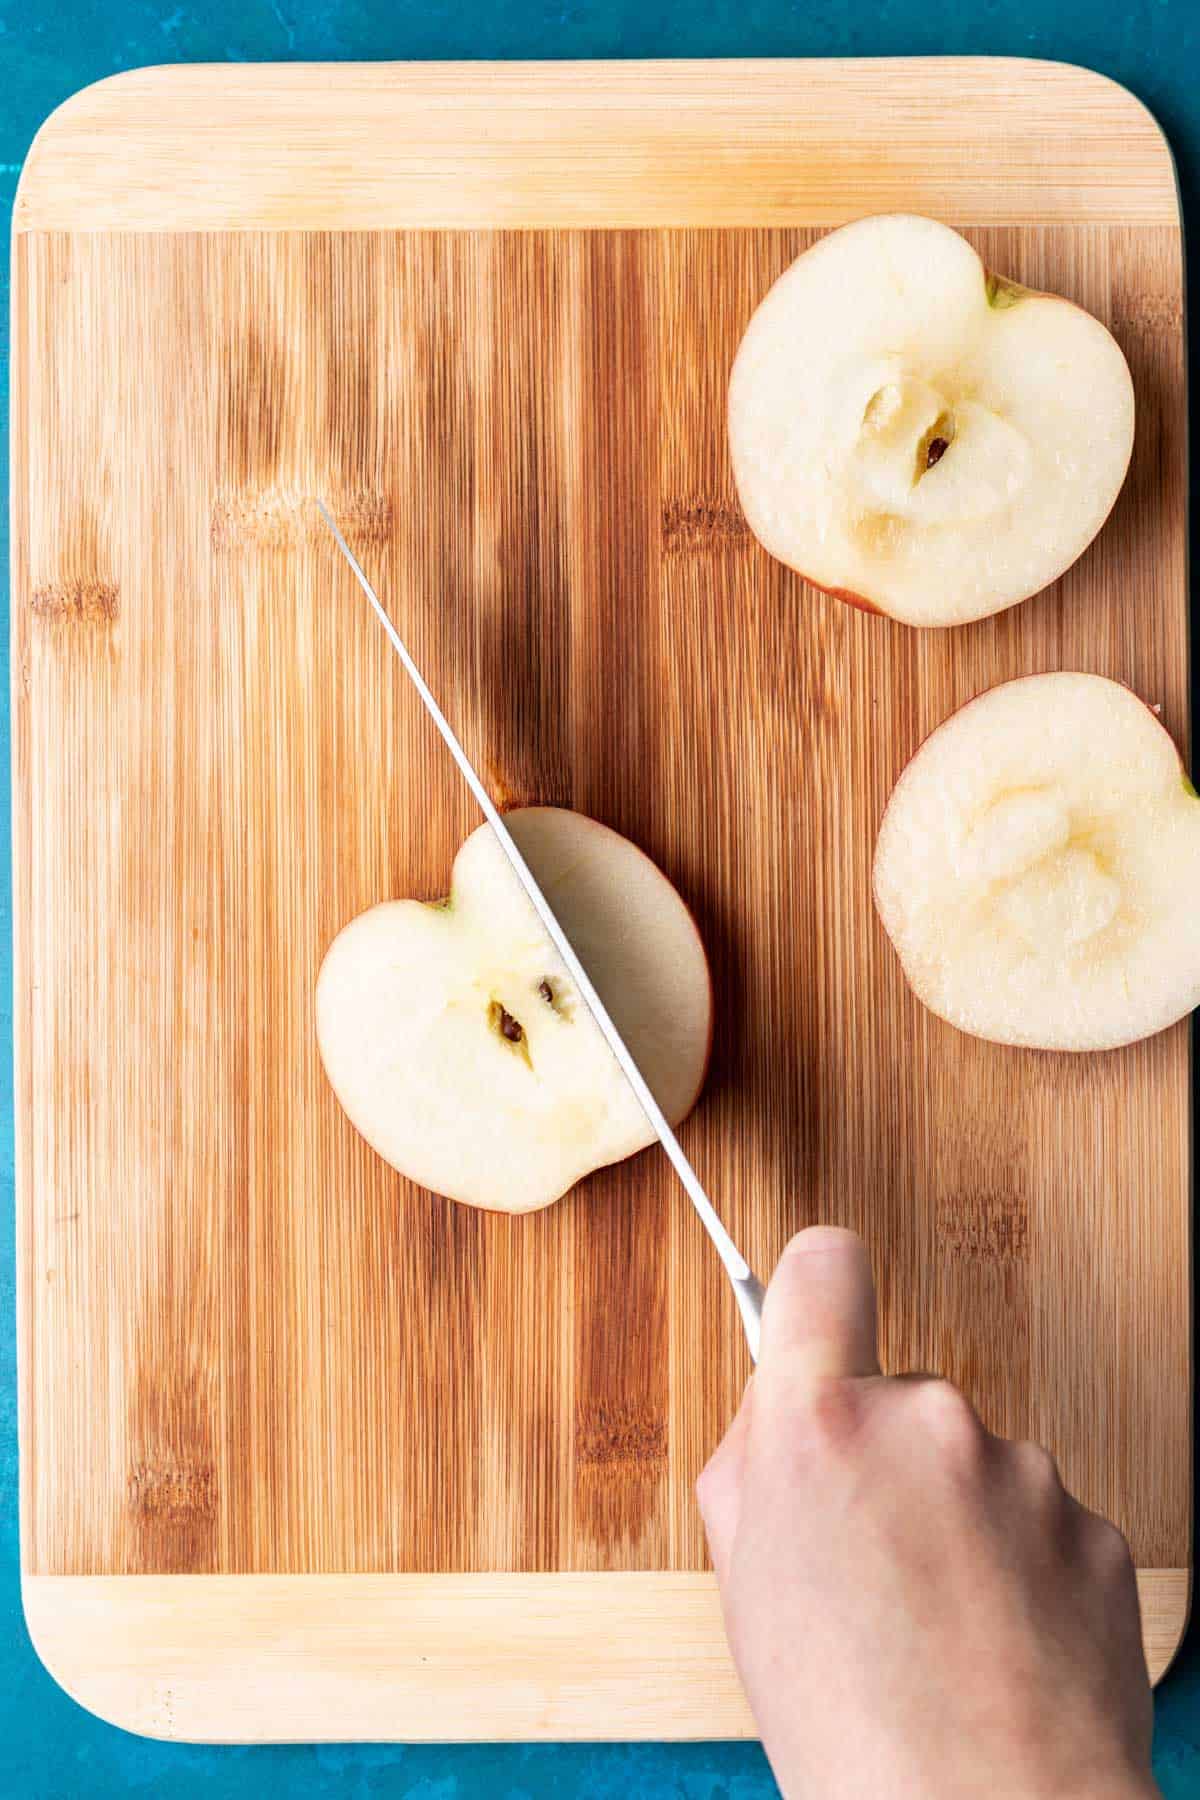
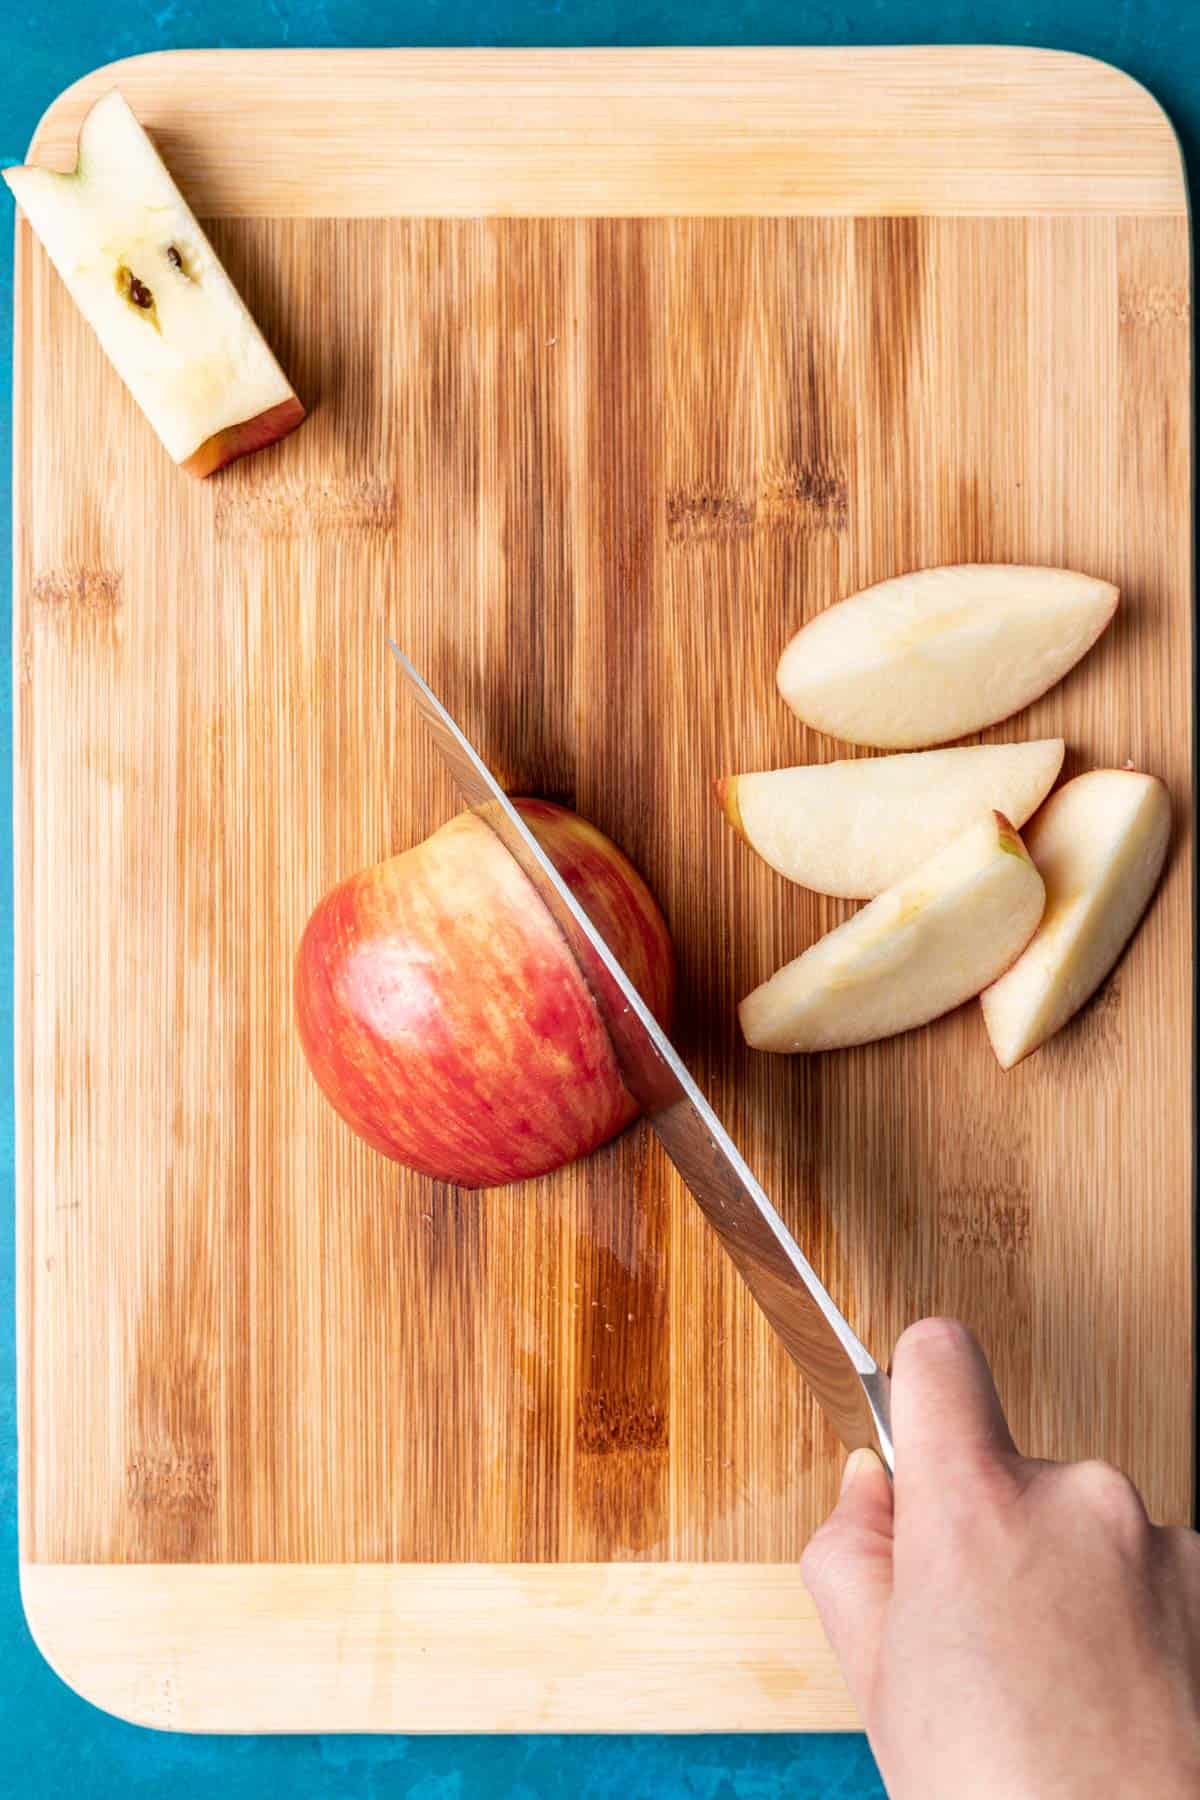
Apple wedges are one of the most popular cuts for apple. Great for snacking, school lunches, and dipping into fruit dips!
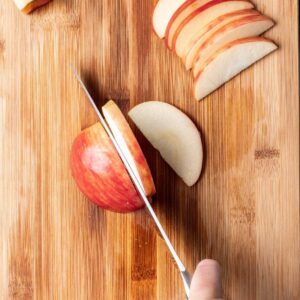
- Place your two apple halves flat side down on the cutting board. This is going to allow the apple to remain stable and stationary while slicing.
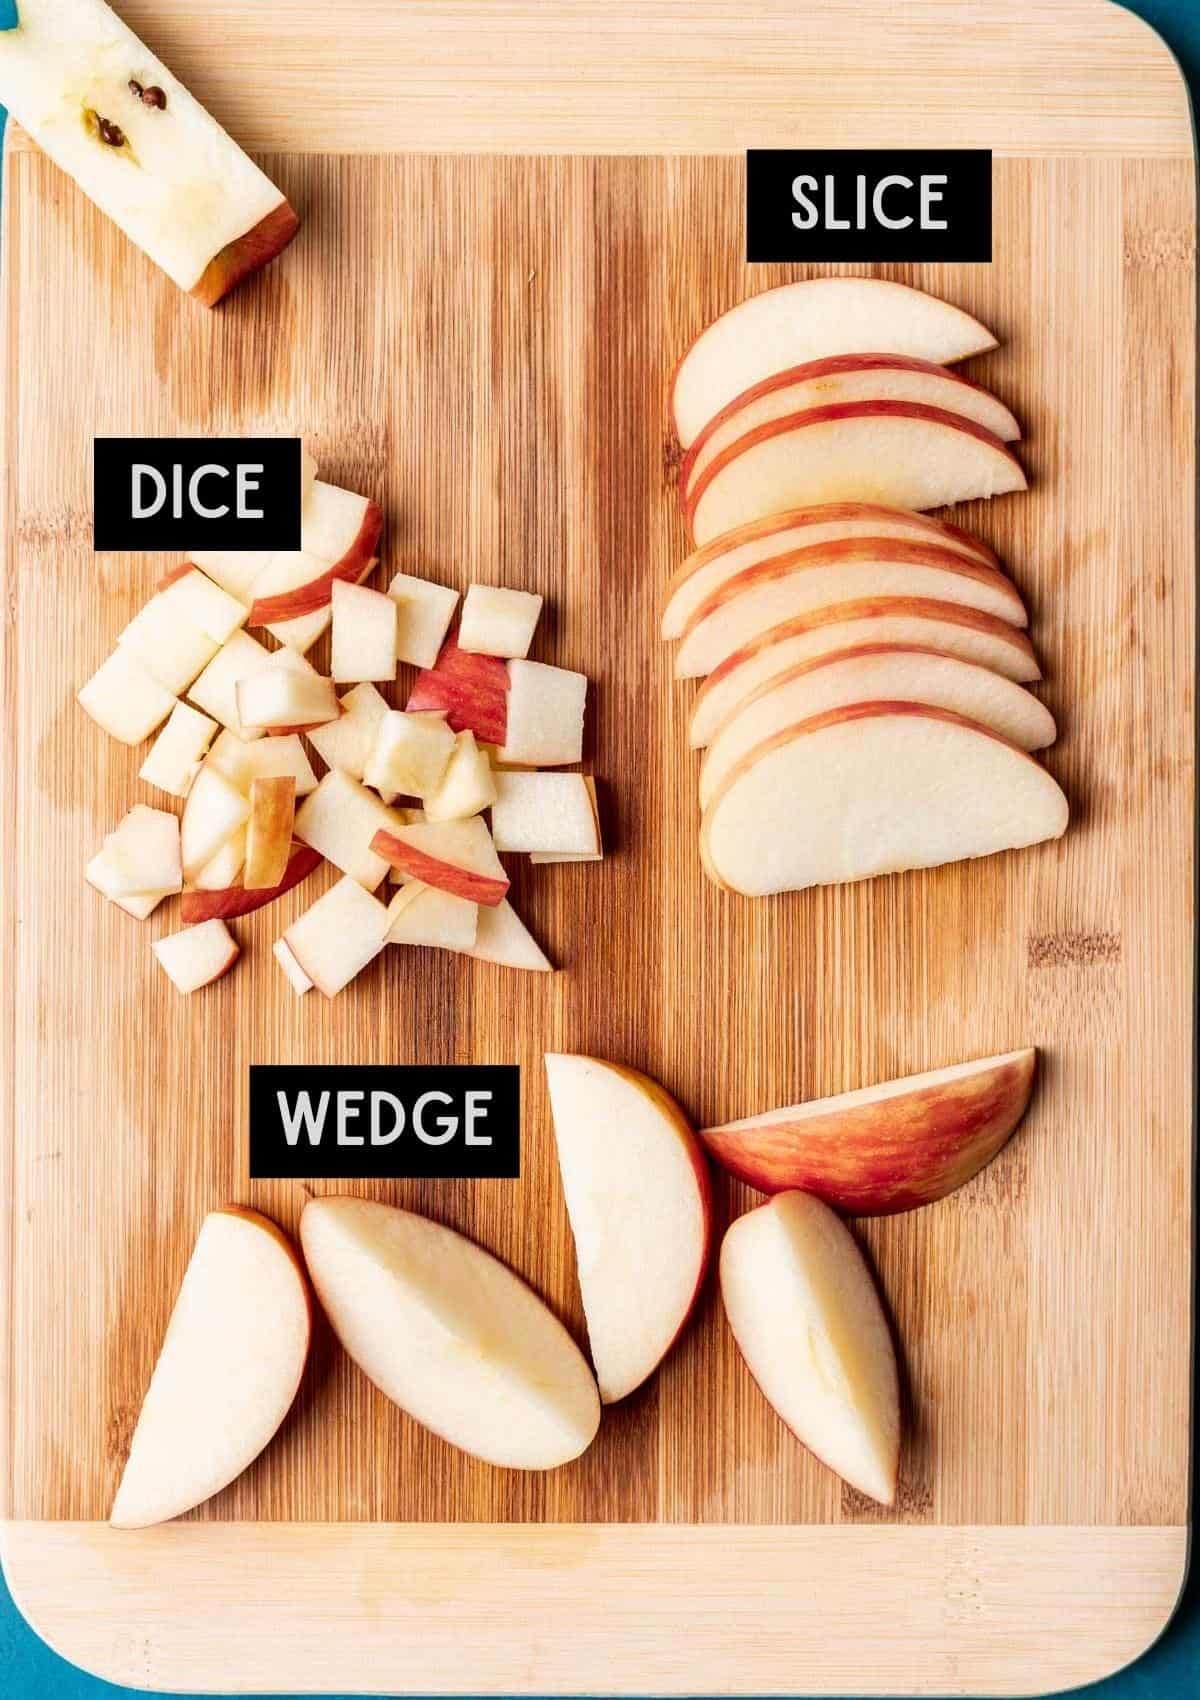
- Slice into wedges, about ½-inch thick. Depending on the size of your apple, you may be able to cut anywhere from 6 to 10 apple wedges.
To Slice:
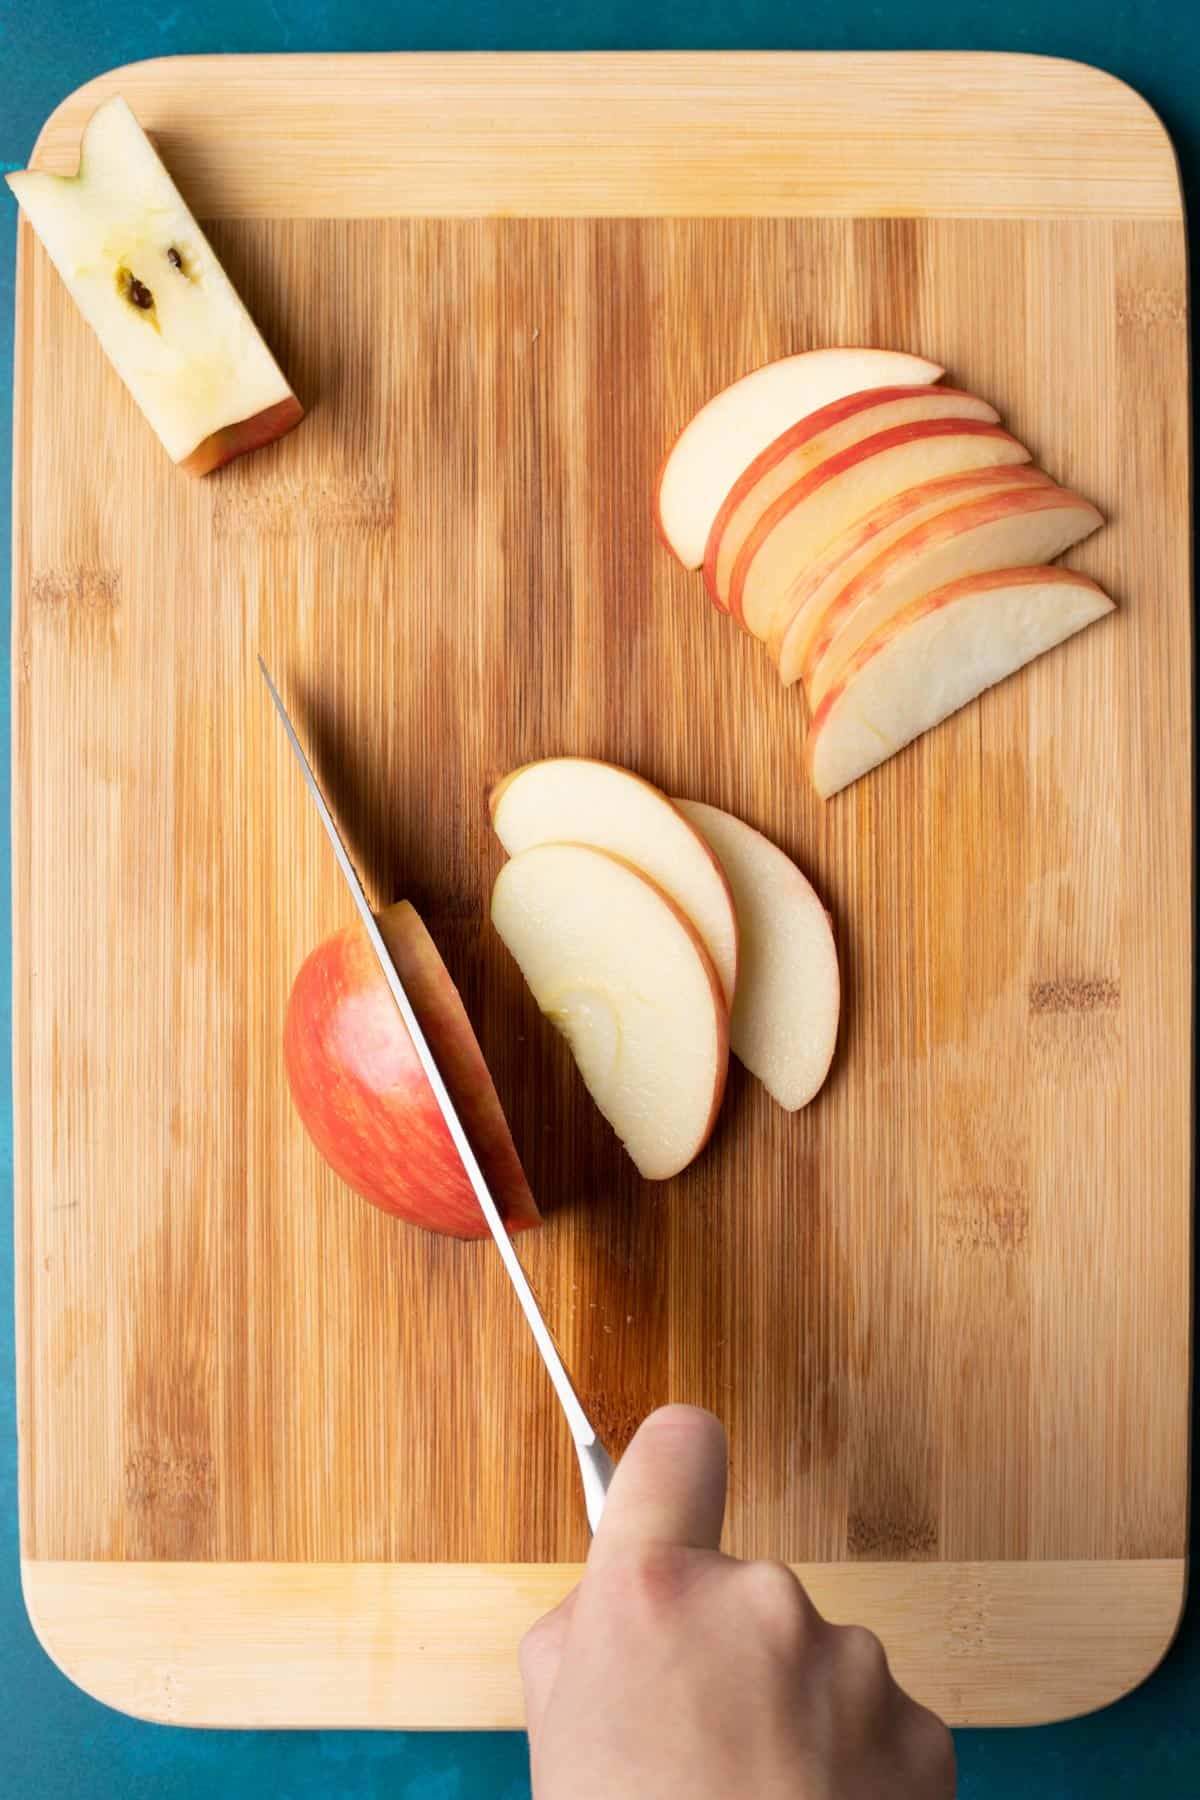
Cutting apple slices is very similar to cutting apple wedges. The only difference is the thickness of the slice!
Thin apple slices are great for recipes where you need the apples to layer nicely or you want them to cook quickly.
- Place your two apple halves flat side down on the cutting board. This is going to allow the apple to remain stable and stationary while slicing.
- Cut into thin slices, about ⅛-inch to ¼-inch thick. Depending on the size of your apple, you may be able to cut anywhere from 12 to 20 apple slices.
To Dice:
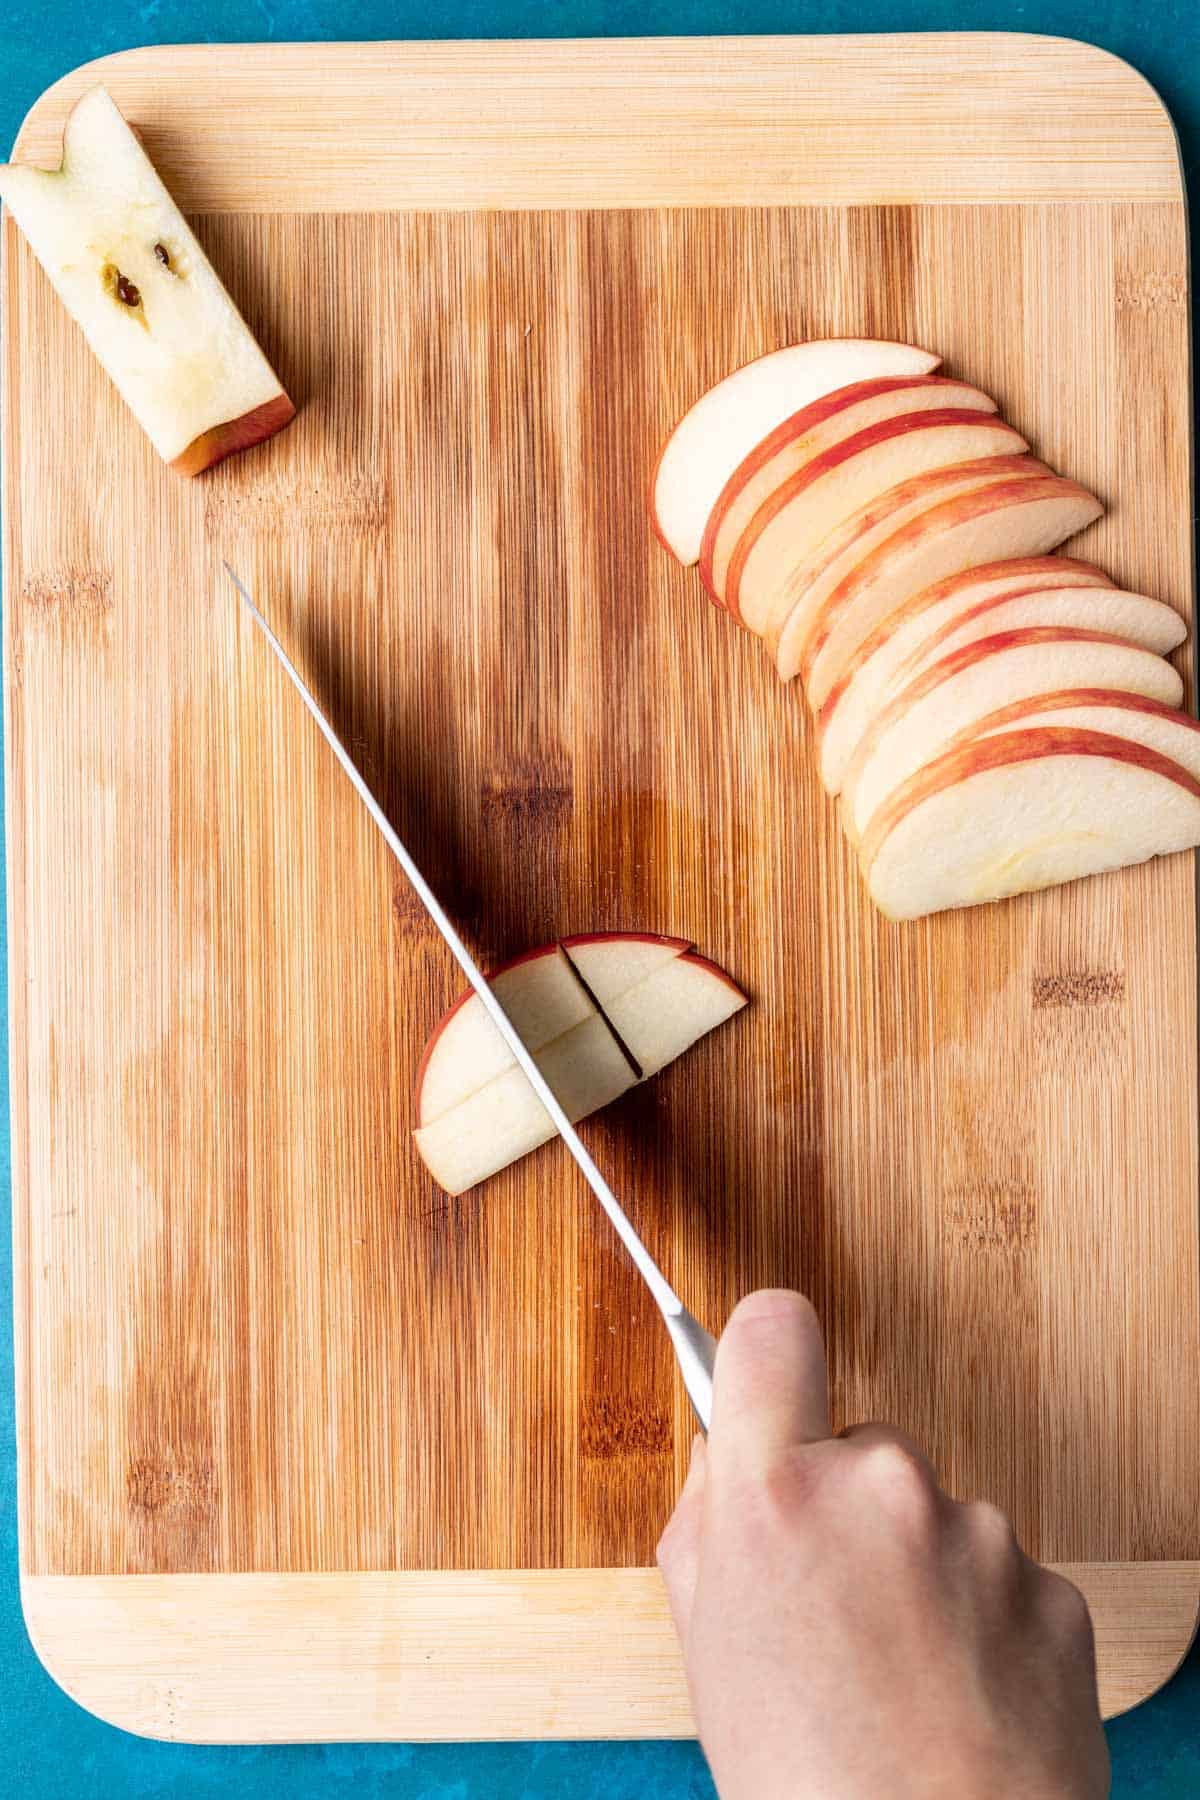
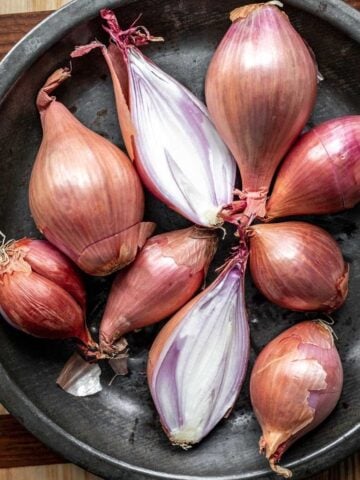
Dicing apples is the most time consuming cut, but is helpful when making dishes like apple crisp, or apple fritters. If you've been working on your fine knife skills cutting shallots, this will be a breeze for you.
- Place your two apple halves flat side down on the cutting board. This is going to allow the apple to remain stable and stationary while slicing.
- Cut into thin slices, about ⅛-inch to ¼-inch thick.
- Cut each apple slice in half long ways, then dice crosswise into uniform squares.
You can dice the apples as small as you would like, just keep the cuts as uniform as possible for even cooking or dispersement in the recipe you are using them in.
❄️ How to Store an Apple
To store whole, uncut apples: The best way to store apples for optimal freshness is in the refrigerator in the crisper drawer. This environment is cold, yet humid enough to keep the apples fresh. When stored this way, fresh apples can last for several weeks.
To elongate their storage life, pick apples that are free of blemishes, bruises, or cuts. Apples that are blemished will go bad much faster and can cause otherwise good apples to spoil quickly as well. If you have one blemished or bruised apple, store it separately from the other apples to prevent it from spoiling the others.
To store cut apples: Unlike whole apples, cut apples need to be consumed quickly. Cut apples can be stored in an airtight container in the refrigerator for up to 5 days.
🍽 How to Use Different Apple Varieties
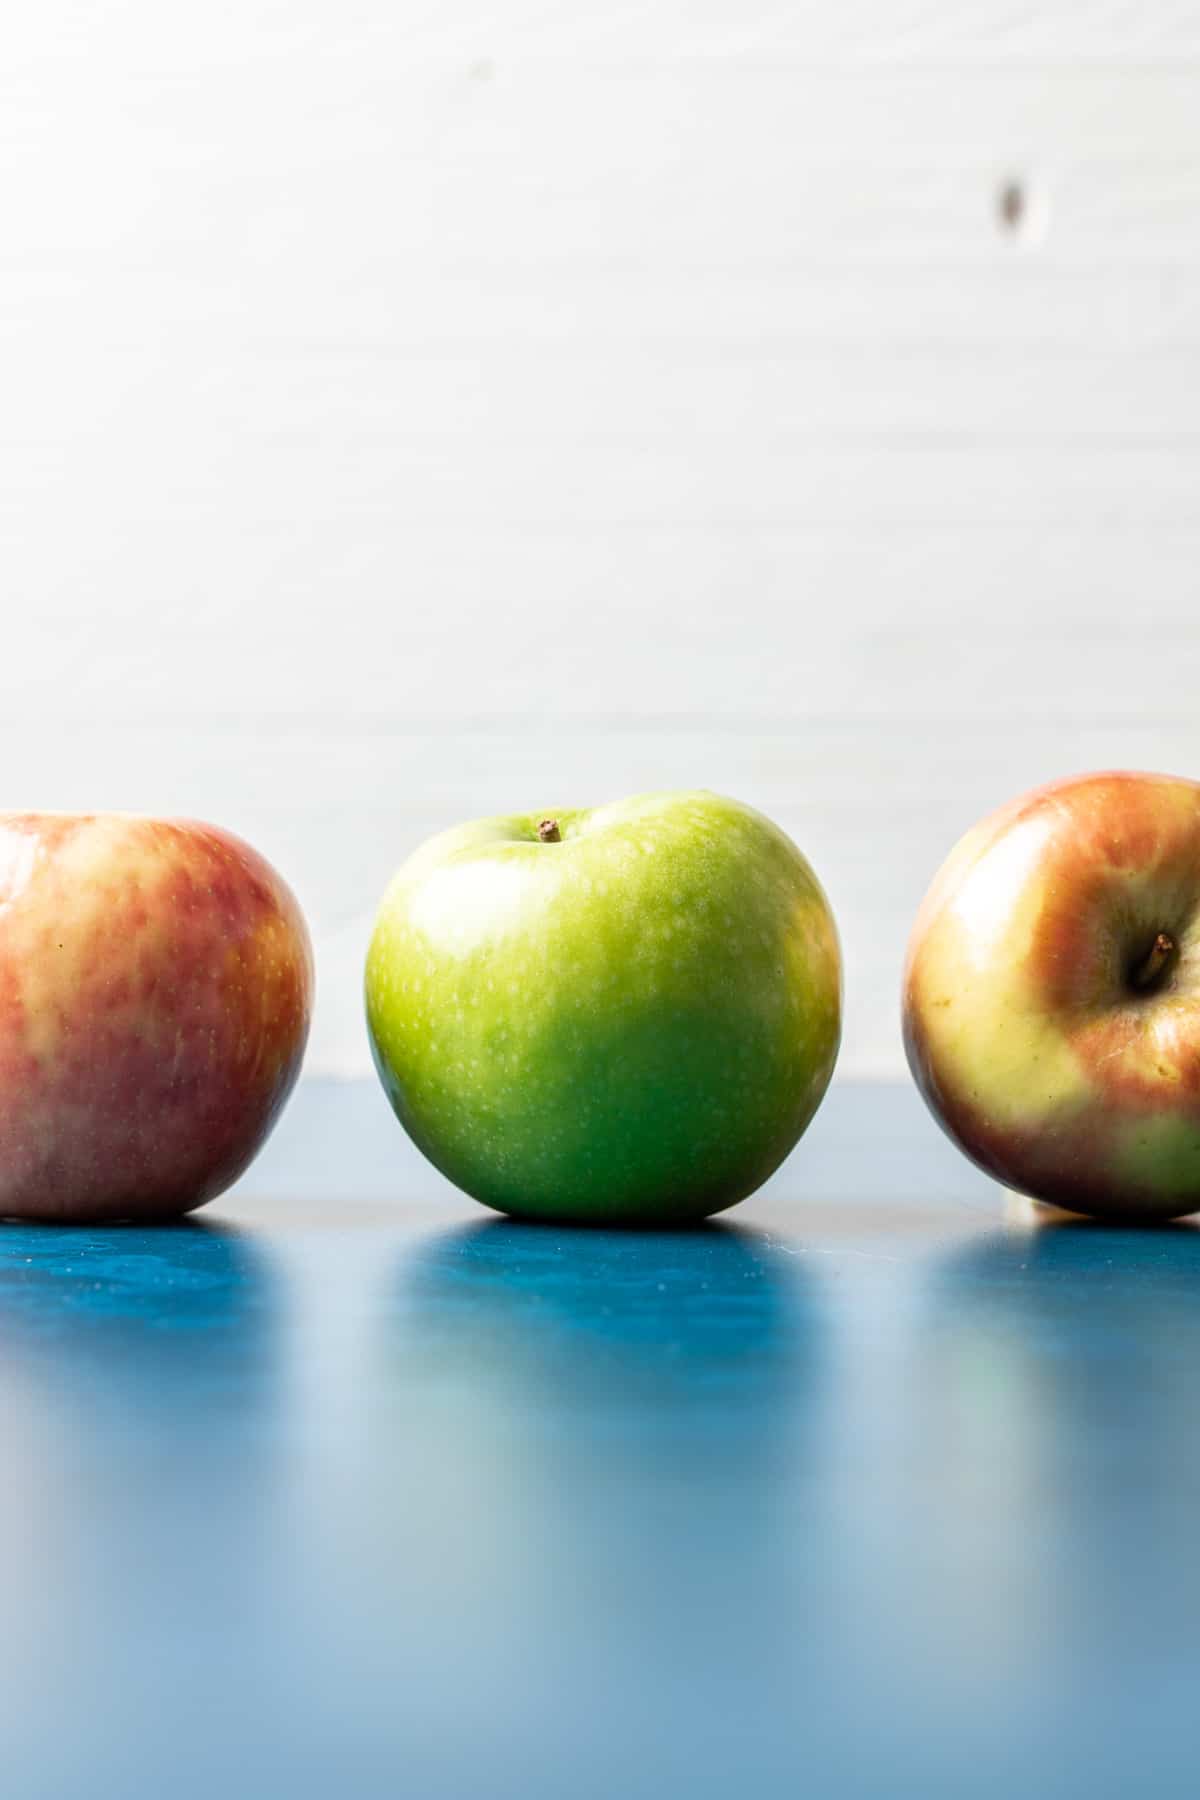
There are thousands of different apple varieties grown across the world, but there are a few apple varieties that are most common in the United States.
Best apples for snacking: Red delicious are more mild in sweetness and therefore won't add much flavor to a baking dish. McIntosh apples, while sweeter than the Red Delicious variety, are soft and don't hold their shape well in baking. Serve these apples as a snack with nut butter, caramel, or on my Apple and Brie Sweet Potato Crostini.
Best apples for baking: Granny smith, Honey Crisp, Braeburn, Gala, and Cortland apples are all great choices for baking. They're sweet, tart, and nice and crisp! Try them in my Cinnamon Rolls with Apple Pie Filling, Apple Crisp, Baked Butternut Squash and Apple Stuffing, and Apple Cider Coffee Cake.
Best apples for homemade applesauce: Softer varieties of apple like Golden Delicious, Fuji, Gala, and McIntosh are the best for making a flavor packed apple sauce. Try using a mixture of apples in my easy Homemade Applesauce.
Best apples for salads: When using apples in salad, you want to pick crunchy and extra crisp varieties. Fuji, Jonagold, Braeburn, Golden Delicious, McIntosh, and Honey Crisp apples are all great to eat raw in salads. Try them in my Cranberry Pecan Chicken Salad, Cobb Wedge Salad, or Apple, Avocado, and Arugula Salad.
🔍 FAQs
If you have ever cut apples before, you'll notice they start to oxidize and brown rather quickly. Although this doesn't affect their flavor, it can be unappetizing looking, especially if you're looking to use the apples in a salad or as an after school snack.
The best way to prevent an apple from turning brown is to reduce the flesh's exposure to air. This can be done by submerging the cut apples in water, storing them in an airtight bag or container, or coating them lightly in fresh lemon juice.
A few hours. Although lemon juice does help prevent an apple from oxidizing, it won't last forever. Plan to use apples within a few hours of cutting and squeezing lemon juice overtop for best results.
Use a vegetable peeler and peel the skin off of the apple before cutting it. Once an apple is cut, it is difficult to peel it.
💭 One More Tip
Use a sharp knife! The sharper your kitchen knife, the easier it will be to make uniform slices and cuts in your apples. It will also help you cut the apples faster, cutting down on the prep time needed to prepare any recipe!
If you found this helpful, I'd love to know! Tag @yourhomemadehealthy on Instagram or leave a comment with a rating and some feedback at the bottom of this page!
🍴 More Cooking Tips
Recipe
How To Cut an Apple
Equipment
Ingredients
- 1 apple
Instructions
To Remove the Apple Core
- Stand the apple up on your cutting board, stem facing up. Slice each half of the apple off of the apple core.
- Slice the remaining apple flesh, from each side, off of the core. Discard the core.
To Cut Into Wedges
- After removing the core, place your two apple halves flat side down on the cutting board.
- Slice into wedges, about ½-inch thick. Depending on the size of your apple, you may be able to cut anywhere from 6 to 10 apple wedges.
To Slice
- After removing the core, place your two apple halves flat side down on the cutting board.
- Cut into thin slices, about ⅛-inch to ¼-inch thick. Depending on the size of your apple, you may be able to cut anywhere from 12 to 20 apple slices.
To Dice
- After removing the core, place your two apple halves flat side down on the cutting board.
- Cut into thin slices, about ⅛-inch to ¼-inch thick.
- Cut each apple slice in half lengthwise, then dice crosswise into uniform squares.
Notes
- To store whole, uncut apples: The best way to store apples for optimal freshness is in the refrigerator in the crisper drawer. This environment is cold, yet humid enough to keep the apples fresh. When stored this way, fresh apples can last for several weeks.
- To store cut apples: Unlike whole apples, cut apples need to be consumed quickly. Cut apples can be stored in an airtight container in the refrigerator for up to 5 days.
- Use a sharp knife! The sharper your kitchen knife, the easier it will be to make uniform slices and cuts in your apples. It will also help you cut the apples faster, cutting down on the prep time needed to prepare any recipe!
Nutrition
Want more cooking tips like this delivered right to your inbox? Be sure to subscribe above and never miss a thing!


Comments
No Comments