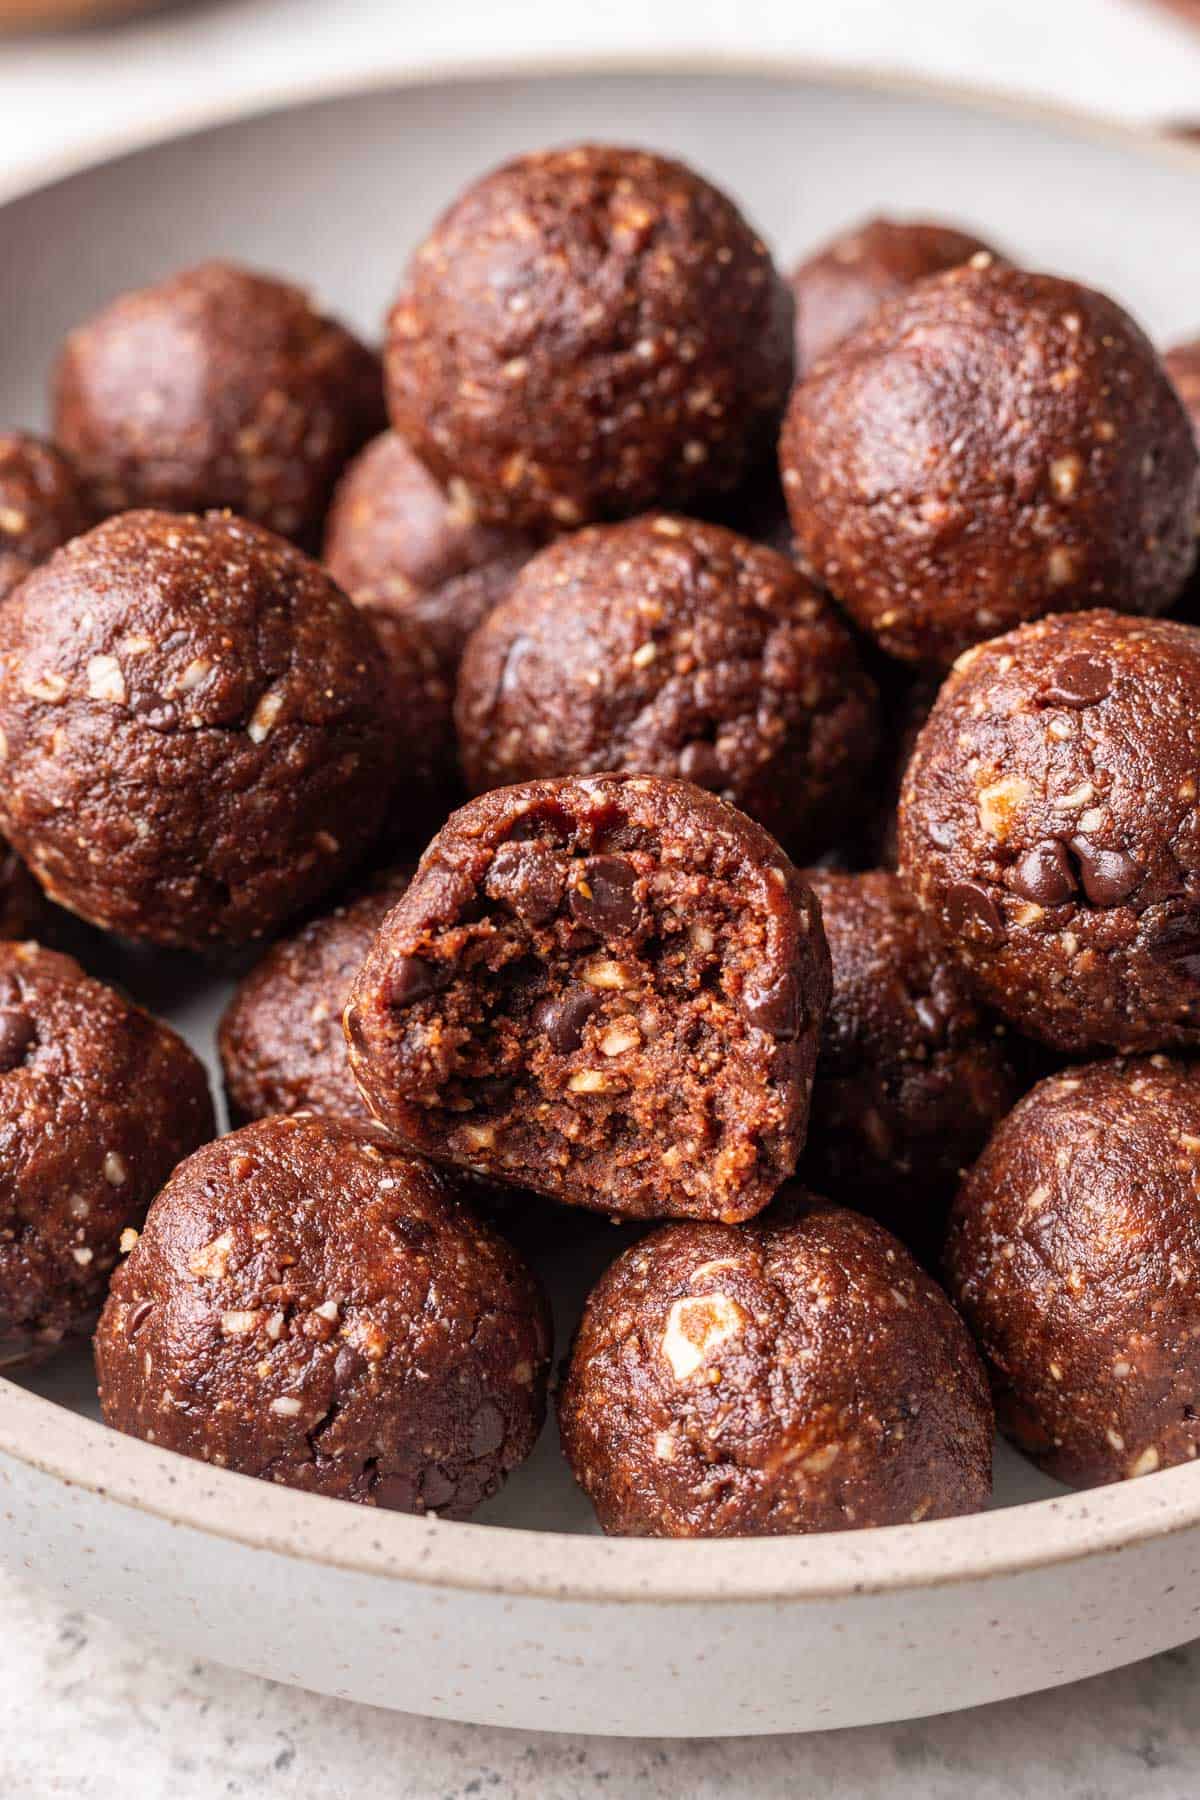
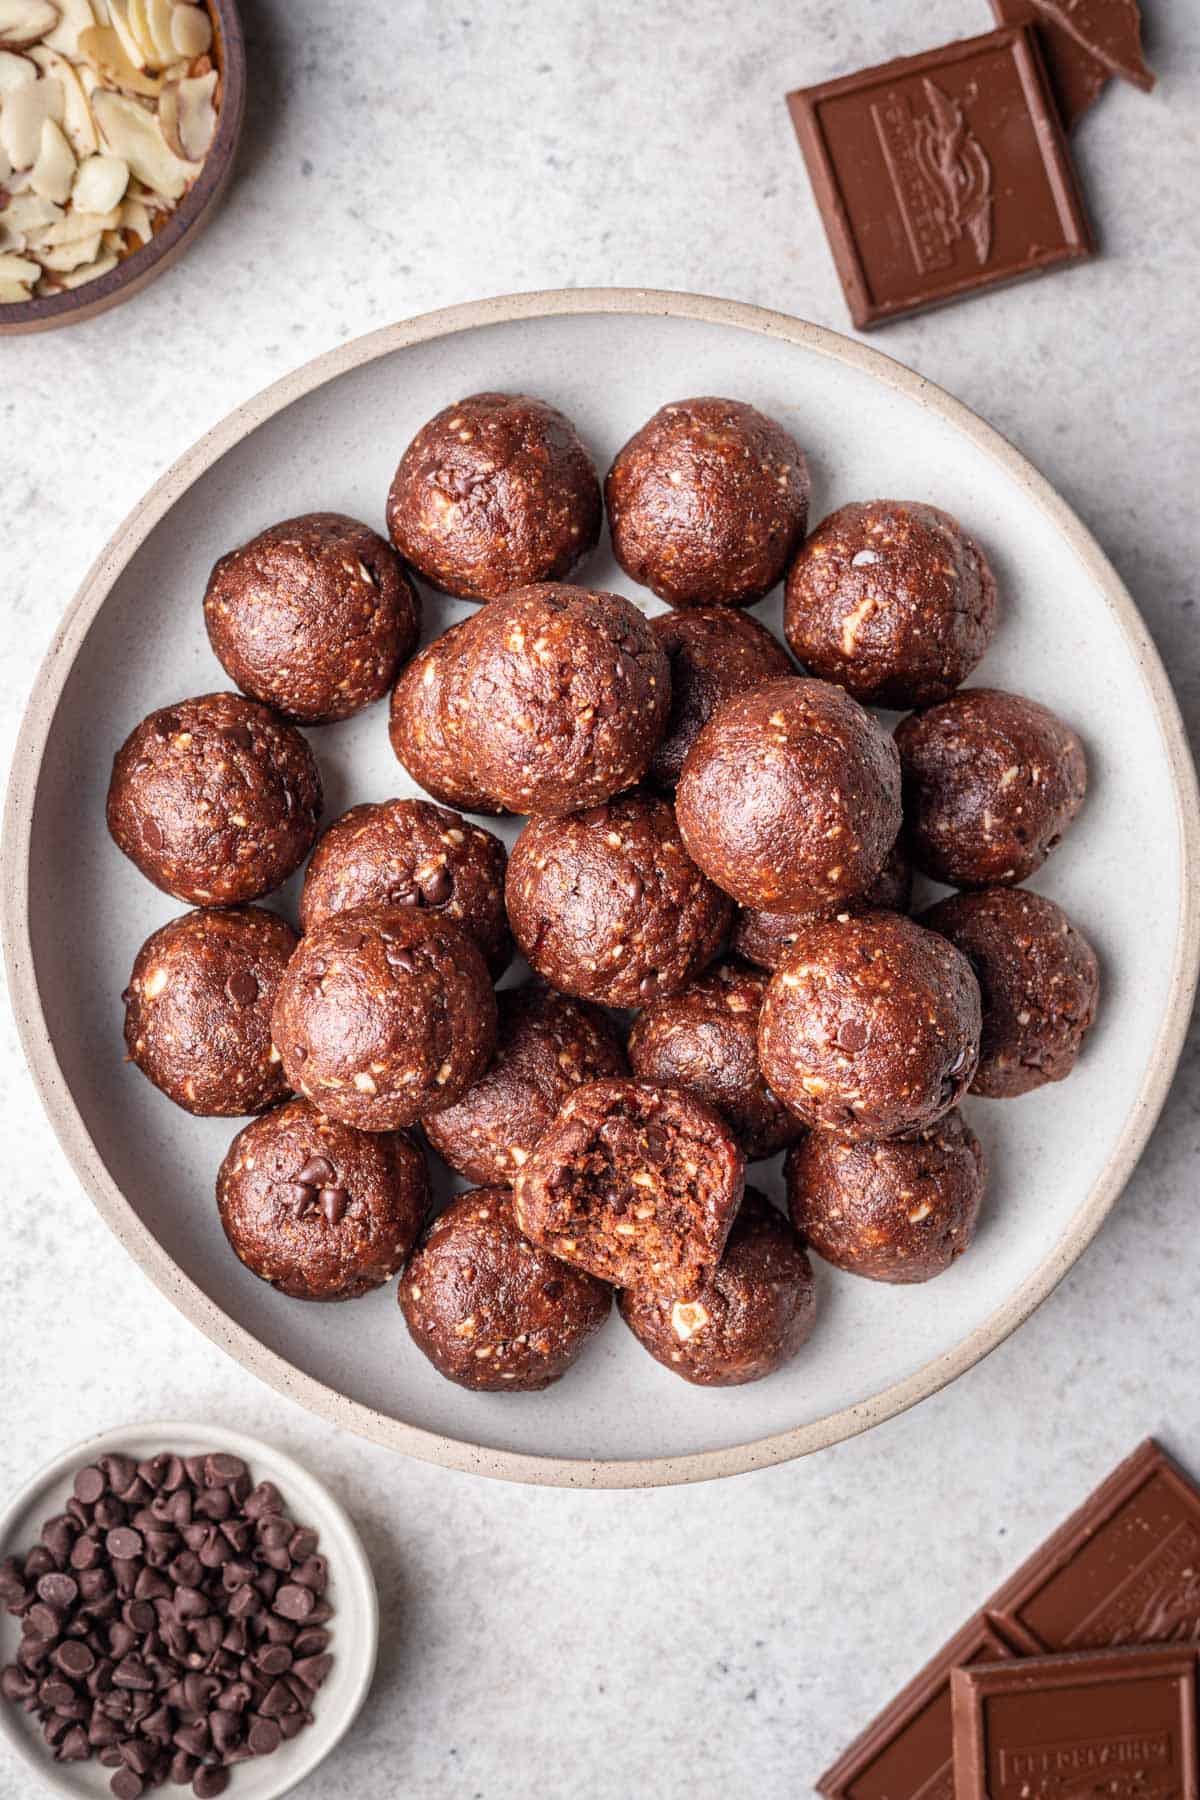
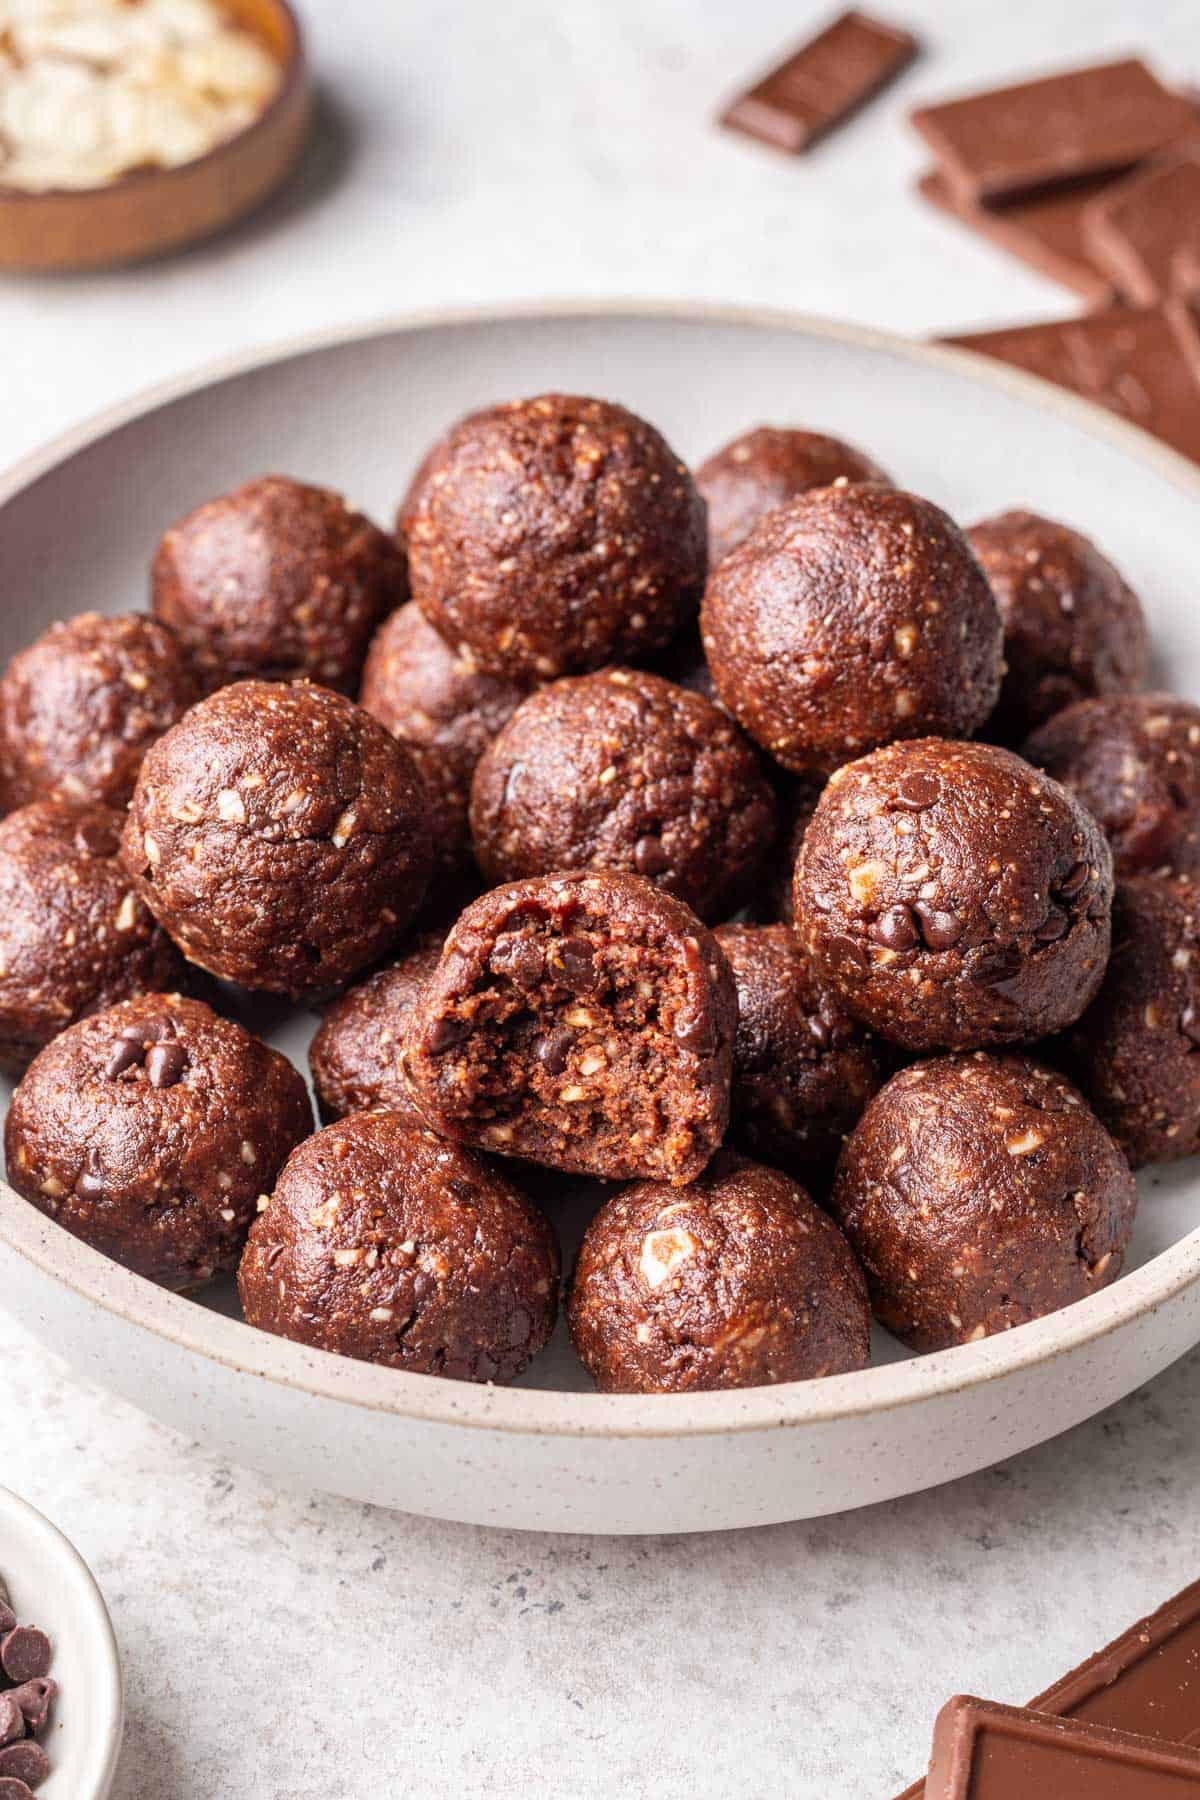
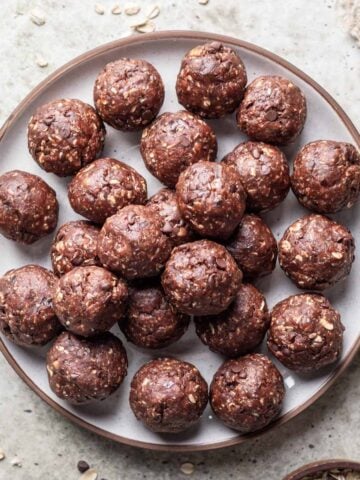
These Chocolate Bliss Balls are an easy sweet treat to reach for in the middle of the day. They're made with a few simple, wholesome ingredients, yet their natural sweetness and indulgent chocolatey flavor make them delicious enough to satisfy any sweet tooth.
Jump to:
📋 About the Recipe
- The best snack for busy days. I love keeping a stash of bliss balls in my freezer for when I need a fast, delicious snack to keep me satisfied and nourished until lunch. These chocolate bliss balls are easy to make with just a few ingredients and can be made in many flavors. Try these Lemon Bliss Balls, Peanut Butter Bliss Balls, Classic Date Balls, or these Apricot Bliss Balls.
- Naturally gluten-free and vegan. This chocolate bliss ball recipe is made with almonds and almond butte, making it naturally gluten free.
- An easy recipe to double. If you have a large food processor, you can easily double or triple this bliss ball recipe and make a ton of bite-sized balls at once, or try different flavors listed in this roundup of must-try bliss balls recipes.
🛒 Ingredients
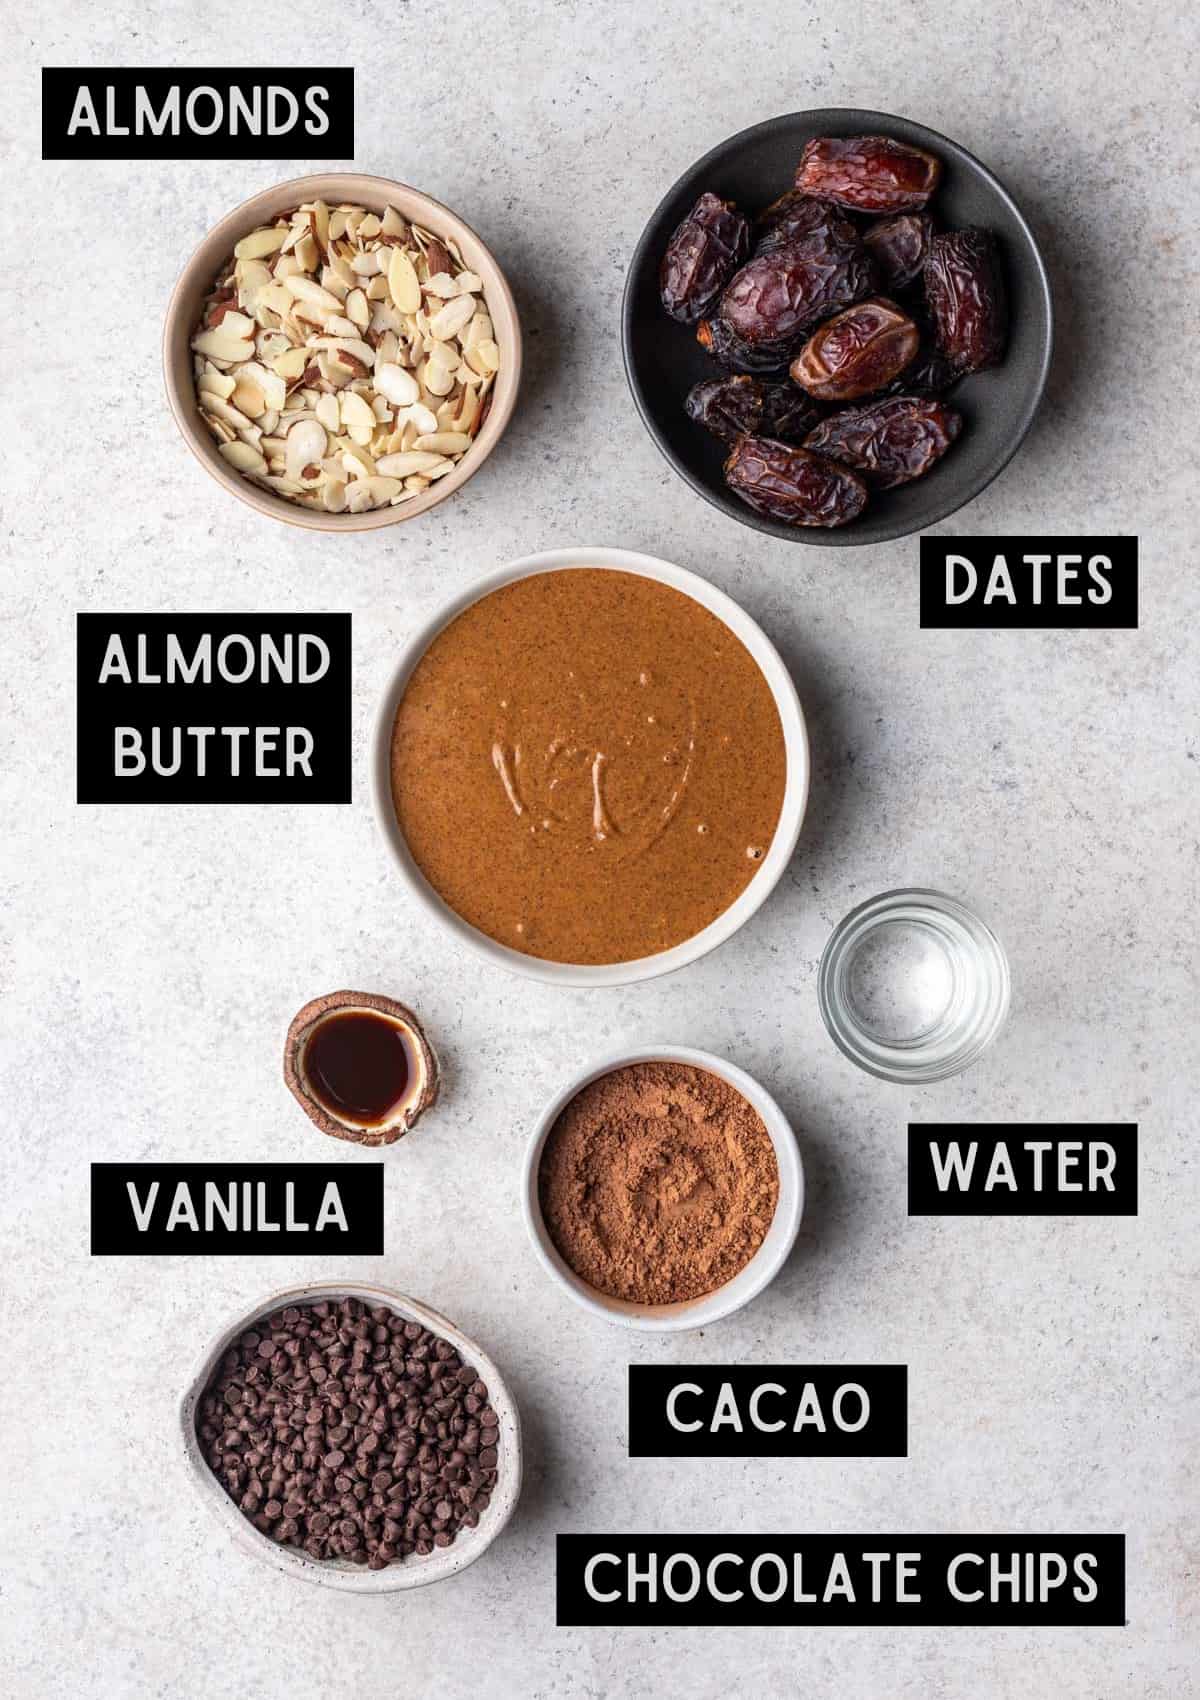
A few notes about the ingredients:
- Sliced almonds - Instead of the classic rolled oats, these bite-sized balls are made with sliced almonds. This makes them a similar texture, but enhances the nutty flavor and adds additional protein and healthy fats.
- Almond butter - A natural, runny almond butter will do best here. If your almond butter is really thick and not easy to pour, you may need to add additional liquid, 1 tablespoon at a time, until the mixture is the right texture.
- Cacao or unsweetened cocoa powder - Adds a rich, dark chocolate flavor without any added sugar.
- Medjool dates - Sticky, gooey dates help sweeten the energy bites and bind the ingredients together. If your dates are hard and dried out from being refrigerated, rehydrate them in a bowl of hot water until soft and gooey again. When shopping for dates in the grocery store, they are typically stored near the fresh fruit.
- Chocolate chips - Adding chocolate chips to these chocolate date balls takes this healthy snack to the next level and is a great way to satisfy a sweet tooth or intense chocolate cravings. I prefer to use mini semi sweet chocolate chips as they tend to mix into the bliss balls mixture more evenly.
⁉️ Substitutions and Alterations
- Almond butter substitutions: Any natural, creamy nut butter will work well. Try cashew butter, peanut butter, or sunflower butter.
- Roll in coconut flakes: If you love my Coconut Macaroons Without Condensed Milk or Lemon Bliss Balls, try rolling these chocolate protein balls in desiccated coconut too.
- Dip in chocolate: If you're craving a richer chocolate treat, dip or drizzle these bliss balls with melted chocolate, as desired. You can even sprinkle them with a pinch of salt for the final touch.
- Add protein powder: Replace the raw cacao powder with your favorite chocolate protein powder.
📓 Instructions
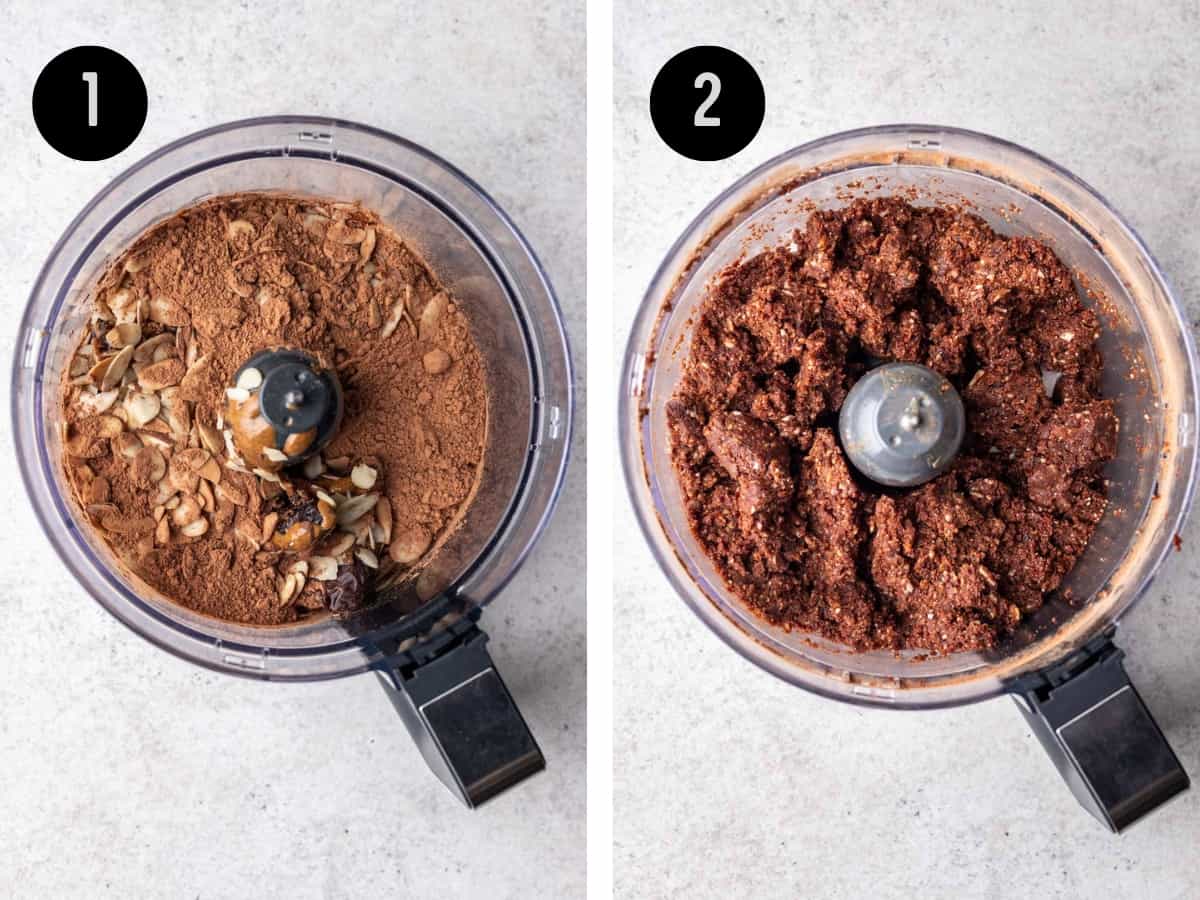
- Pulse the main ingredients. Place the sliced almonds, almond butter, cacao, vanilla extract, pitted dates, and kosher salt, if needed, in the bowl of your food processor. Pulse until a fine crumble forms.
- Add water. Pulse again until the mixture turns sticky and starts to combine.
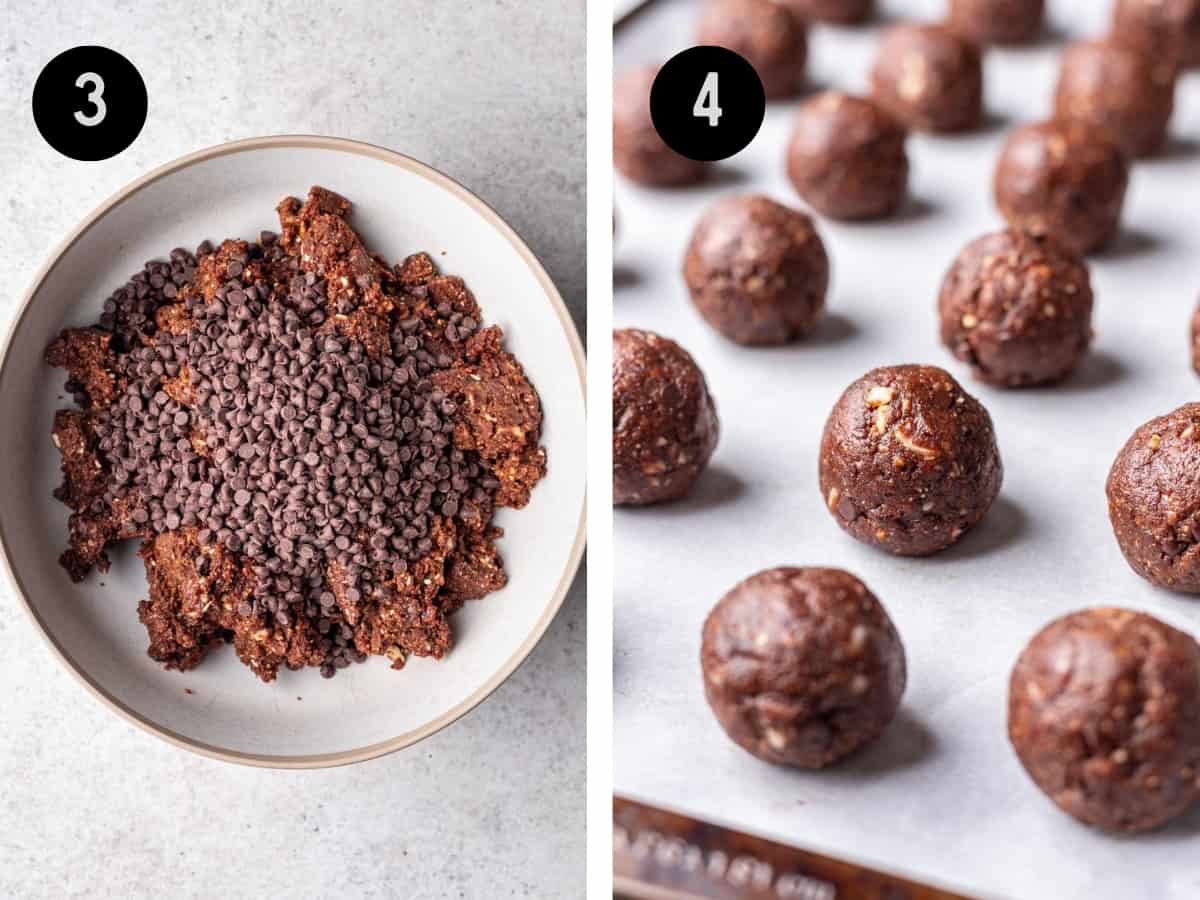
- Form into balls. Scoop the mixture into a mixing bowl and add the chocolate chips. Using your hands, incorporate the chocolate chips into the mixture. Then, use a cookie scoop to form the date mixture into small bliss balls, about 1 to 2 tablespoons each.
- Refrigerate. Place the bliss balls on a cookie sheet and refrigerate for at least 30 minutes to set.
- Enjoy! Once chilled, enjoy these energy balls immediately or keep stored as meal prep.
❄️ How to Store
To store: Leftover chocolate energy balls will keep for up to 10 days when stored in the refrigerator in an airtight container.
To freeze: For longer term storage, store these treats in the freezer for up to 2 months. It can be helpful to flash freeze them before transferring to a storage bag to prevent the bliss balls from sticking to one another.
To flash freeze, spread the bliss balls on a baking sheet and place in the freezer until frozen solid.
🔍 Recipe FAQs
All of my bliss ball recipes are vegan or gluten free friendly, including these Chocolate Bliss Balls. If you are gluten free, make sure to use gluten free certified oats in the other recipes.
A large food processor is ideal, but if you're without one, you may be able to make these bliss balls in a high speed blender. To make the process as easy as possible, make sure the dates are soft and gooey and pulse the ingredients together. Scrape down the sides as needed to help push the ingredients into the blade.
Bliss balls last for up to 10 days in the refrigerator or up to 2 months in the freezer. They will also last at room temperature for a couple of days, if desired.
💭 One More Tip
Sweeten to taste as needed! I find the dates provide plenty of sweetness, but if you're planning to enjoy these date balls as a healthy dessert or simply prefer them sweeter, add a little bit of honey or maple syrup to taste. If needed, add additional dry ingredients to compensate for the added moisture.
🍴 Related Recipes
Share your cooking with me! If you make this recipe, I'd love to know! Tag @yourhomemadehealthy on Instagram or leave a comment with a rating and some feedback at the bottom of this page!

Chocolate Bliss Balls
Equipment
Ingredients
- 1 cup sliced almonds
- 1 cup natural almond butter
- 4 tablespoons cacao or unsweetened cocoa powder
- 2 teaspoons vanilla extract
- 1 cup pitted dates (about 12 dates)
- pinch of salt, if there is no salt in your almond butter
- 3 tablespoons water
- ½ cup mini semisweet chocolate chips, optional
Instructions
- Add all ingredients, besides water and chocolate chips (if using), to the bowl of your food processor. Pulse until it forms fine crumbles.
- Add water. Pulse again until the mixture turns sticky and starts to combine.
- Scoop date mixture into a mixing bowl. Pour in chocolate chips. Use your hands to incorporate chocolate chips into the mixture.
- Using a cookie scoop, form small balls of the mixture, about 1 to 2 tablespoons each.
- Place balls on a cookie sheet and place in the refrigerator for at least 30 minutes to set.
Notes
- I highly recommend using mini chocolate chips. They stick into the balls better than the large ones, making the bliss balls easier to shape and mix evenly throughout.
Nutrition
Want more recipes like this delivered right to your inbox? Be sure to subscribe above and never miss a thing!




Comments
No Comments