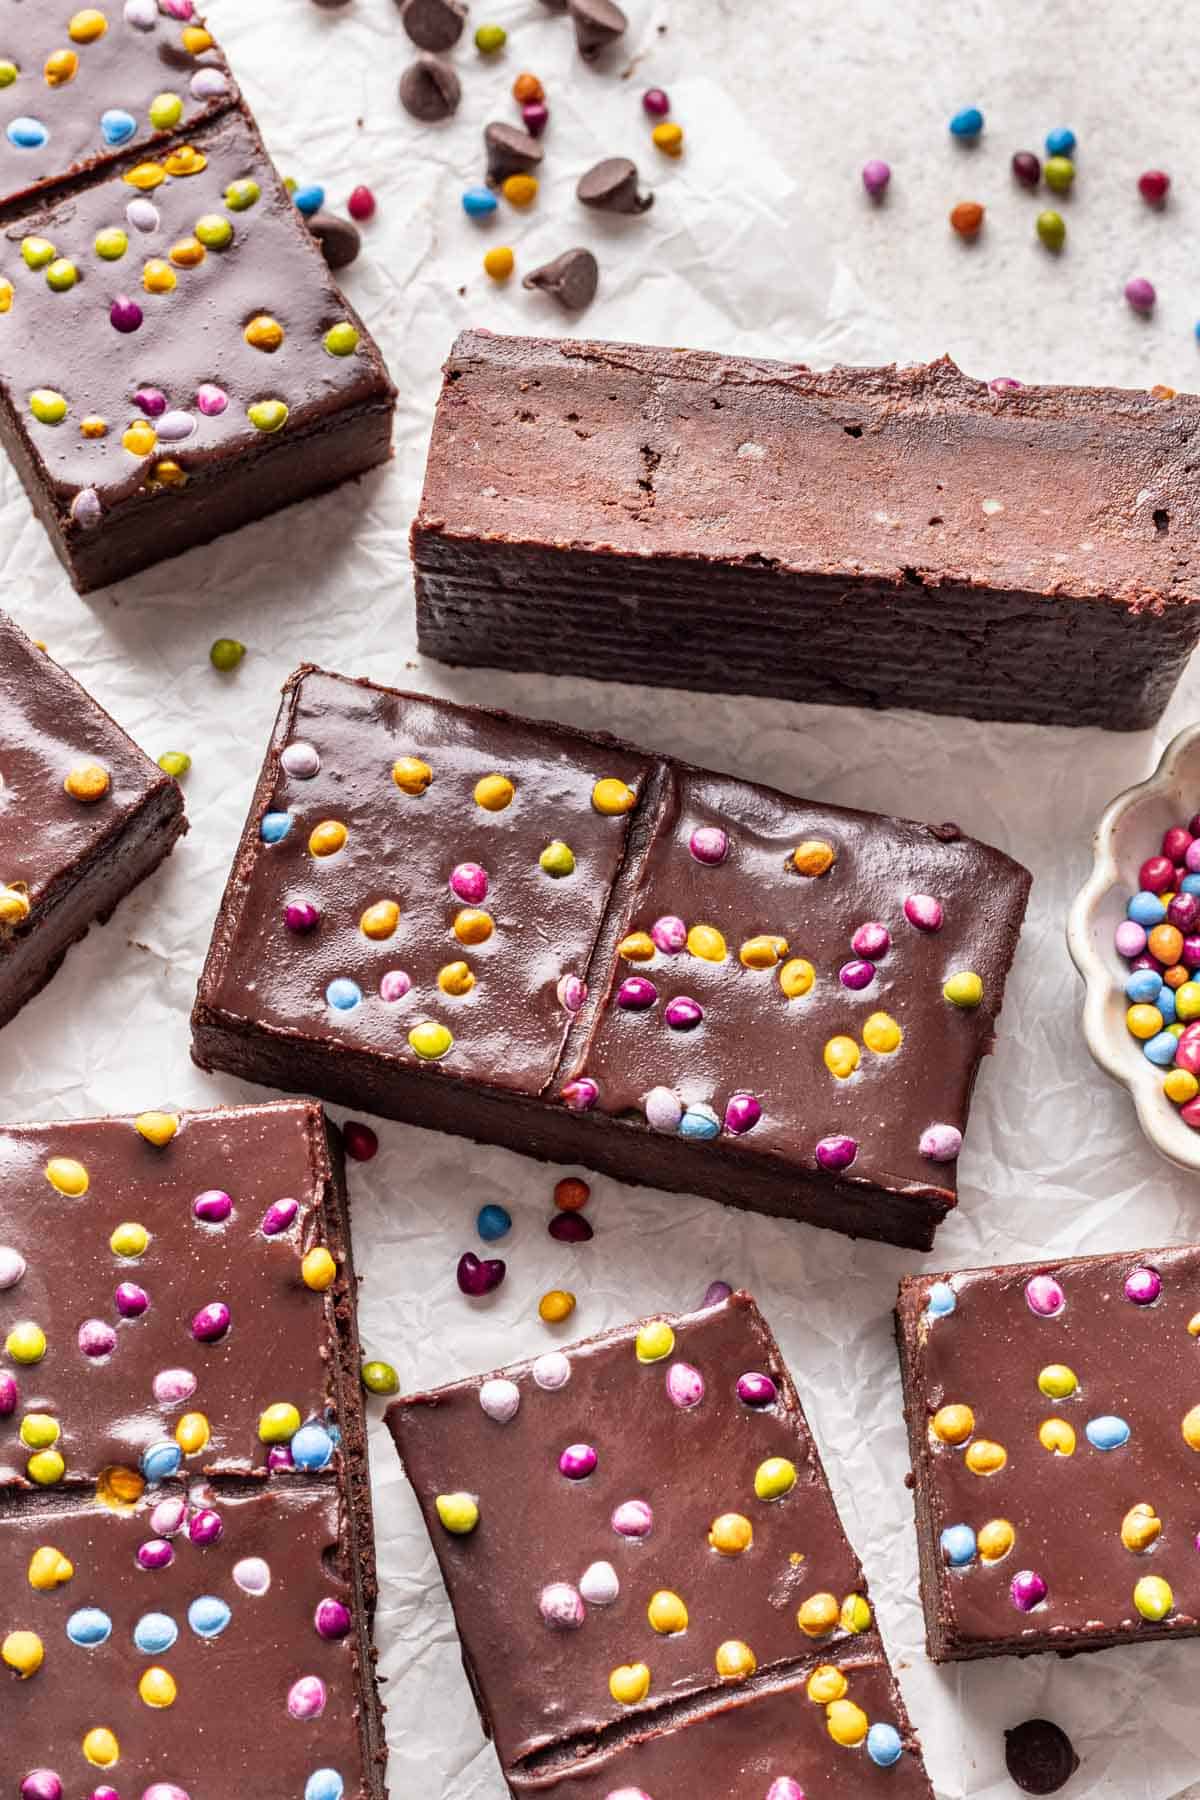
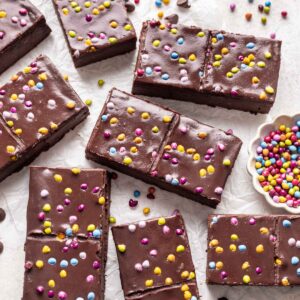
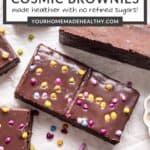
Bring back childhood memories with these healthier Homemade Cosmic Brownies! With no refined sugars, they're sweetened with dates and have the best dense and fudgy texture, just like a copycat of the store-bought version!
Jump to:
Why You'll Love These Homemade Cosmic Brownies
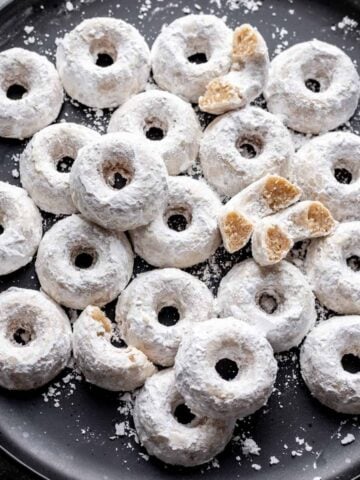
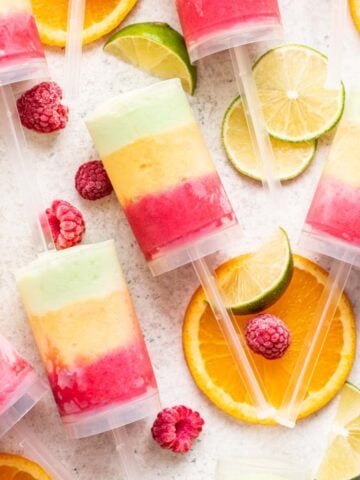
- Better than the original! You'll love these cosmic brownies even more than the classic version. They're rich, fudgy, and full of chocolatey flavor. For more copycat recipes, try these homemade smiley potatoes, dinosaur chicken nuggets, mini powdered donuts, or push up popsicles!
- Healthier with no refined or added sugars! Made with dates and coconut oil, instead of sugar and butter, these brownies are a healthier take on the original. However, they don't taste "healthy" at all and are a great dessert recipe!
- So nostalgic! Growing up, cosmic brownies were a popular lunchbox treat. They were dense and sweet with the well known candy coated chocolate chips on top. These are just the same, but with better flavor and ingredients, like dates, coconut oil, and dye free chocolate chips.
- Simple pantry ingredients! Make this easy brownie recipe with minimal effort. Most of the ingredients can be found in your pantry and whipped up in no time. Plus, they're just as cute as these graveyard brownies and mini easter egg brownies.
Ingredients
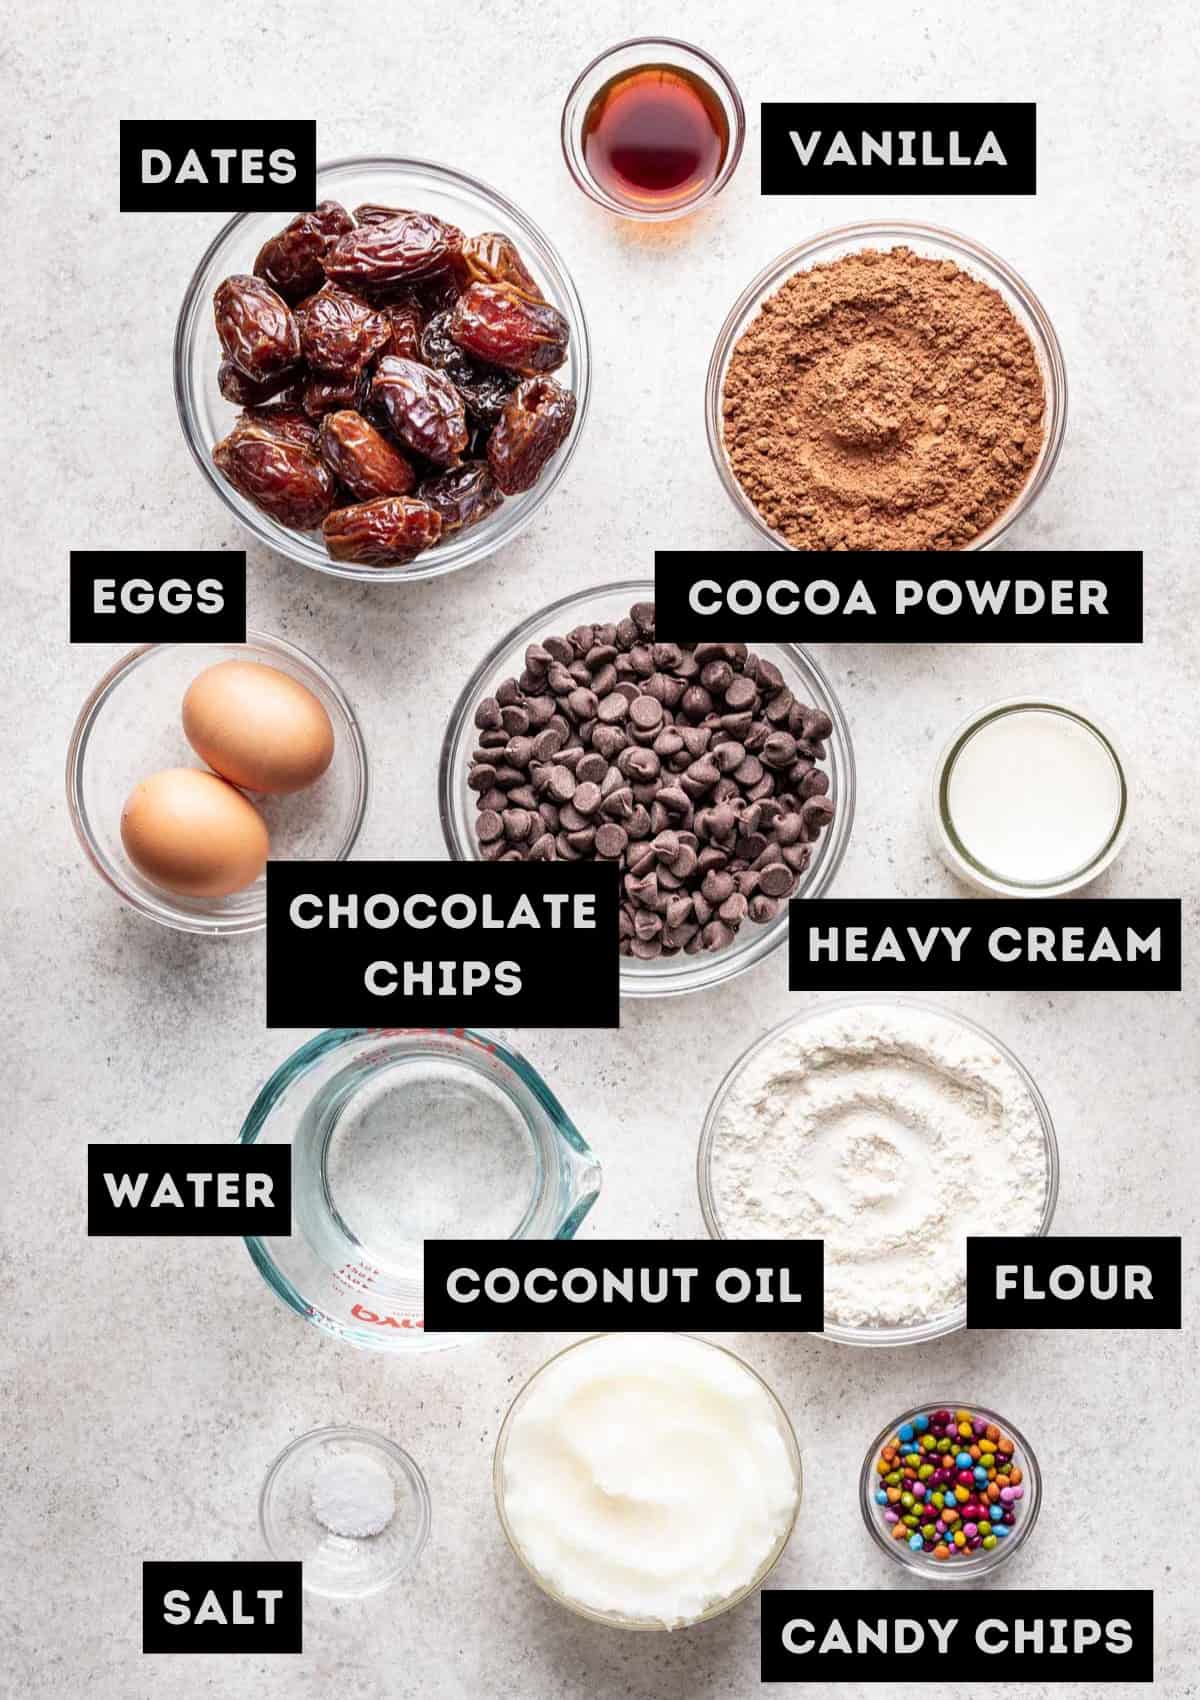
A few notes about the ingredients:
- Dates: Medjool dates work perfectly in this recipe as a natural sweetener. They also give these brownies their classic dense and fudgy texture.
- Unsweetened Cocoa Powder: Unsweetened cocoa powder can be found in the baking aisle of your grocery store. Do not use hot cocoa mix!
- Semisweet Chocolate Chips: Semisweet chocolate chips work best to balance the sweetness in these brownies. They make them rich and chocolatey!
- Refined Coconut Oil: Using refined coconut oil gives these brownies their fudge-like texture without the coconut taste. It's a healthier, more natural way to incorporate fat into the brownie batter for that perfect chewy bite.
- Dye Free Candy Coated Chocolate Chips: I used these dye free candy coated chocolate chips for a more natural topping, but you can use any small colorful chocolate chips that you like best.
⭐️ See recipe card below for descriptions and quantities of each ingredient. Then, watch this brief tutorial on Instagram!
Instructions
- Step 1: Preheat oven to 350 degrees F. Line a 9x9 inch baking pan with parchment paper.
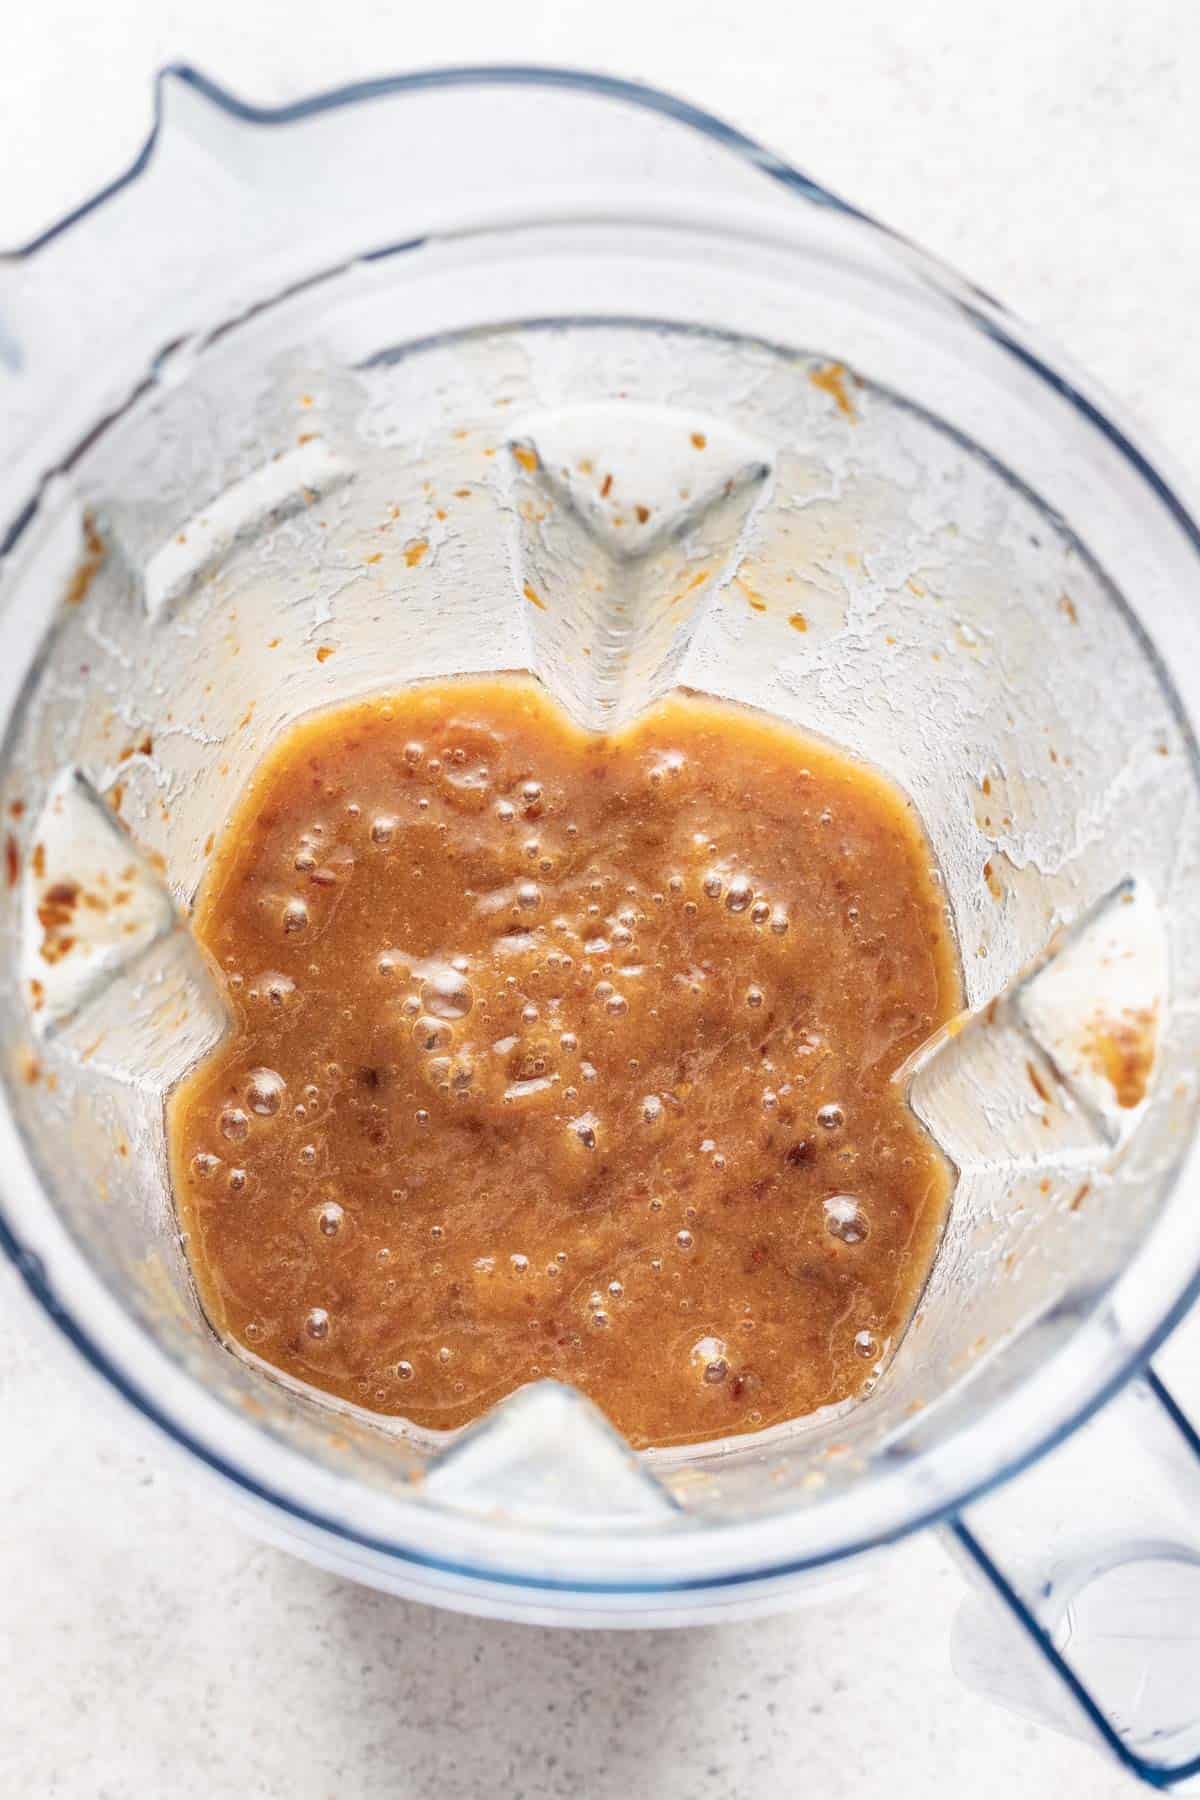
- Step 2: Add pitted dates and hot water to your food processor or blender. Blend until it forms a liquid paste, about 30 seconds to 1 minute.
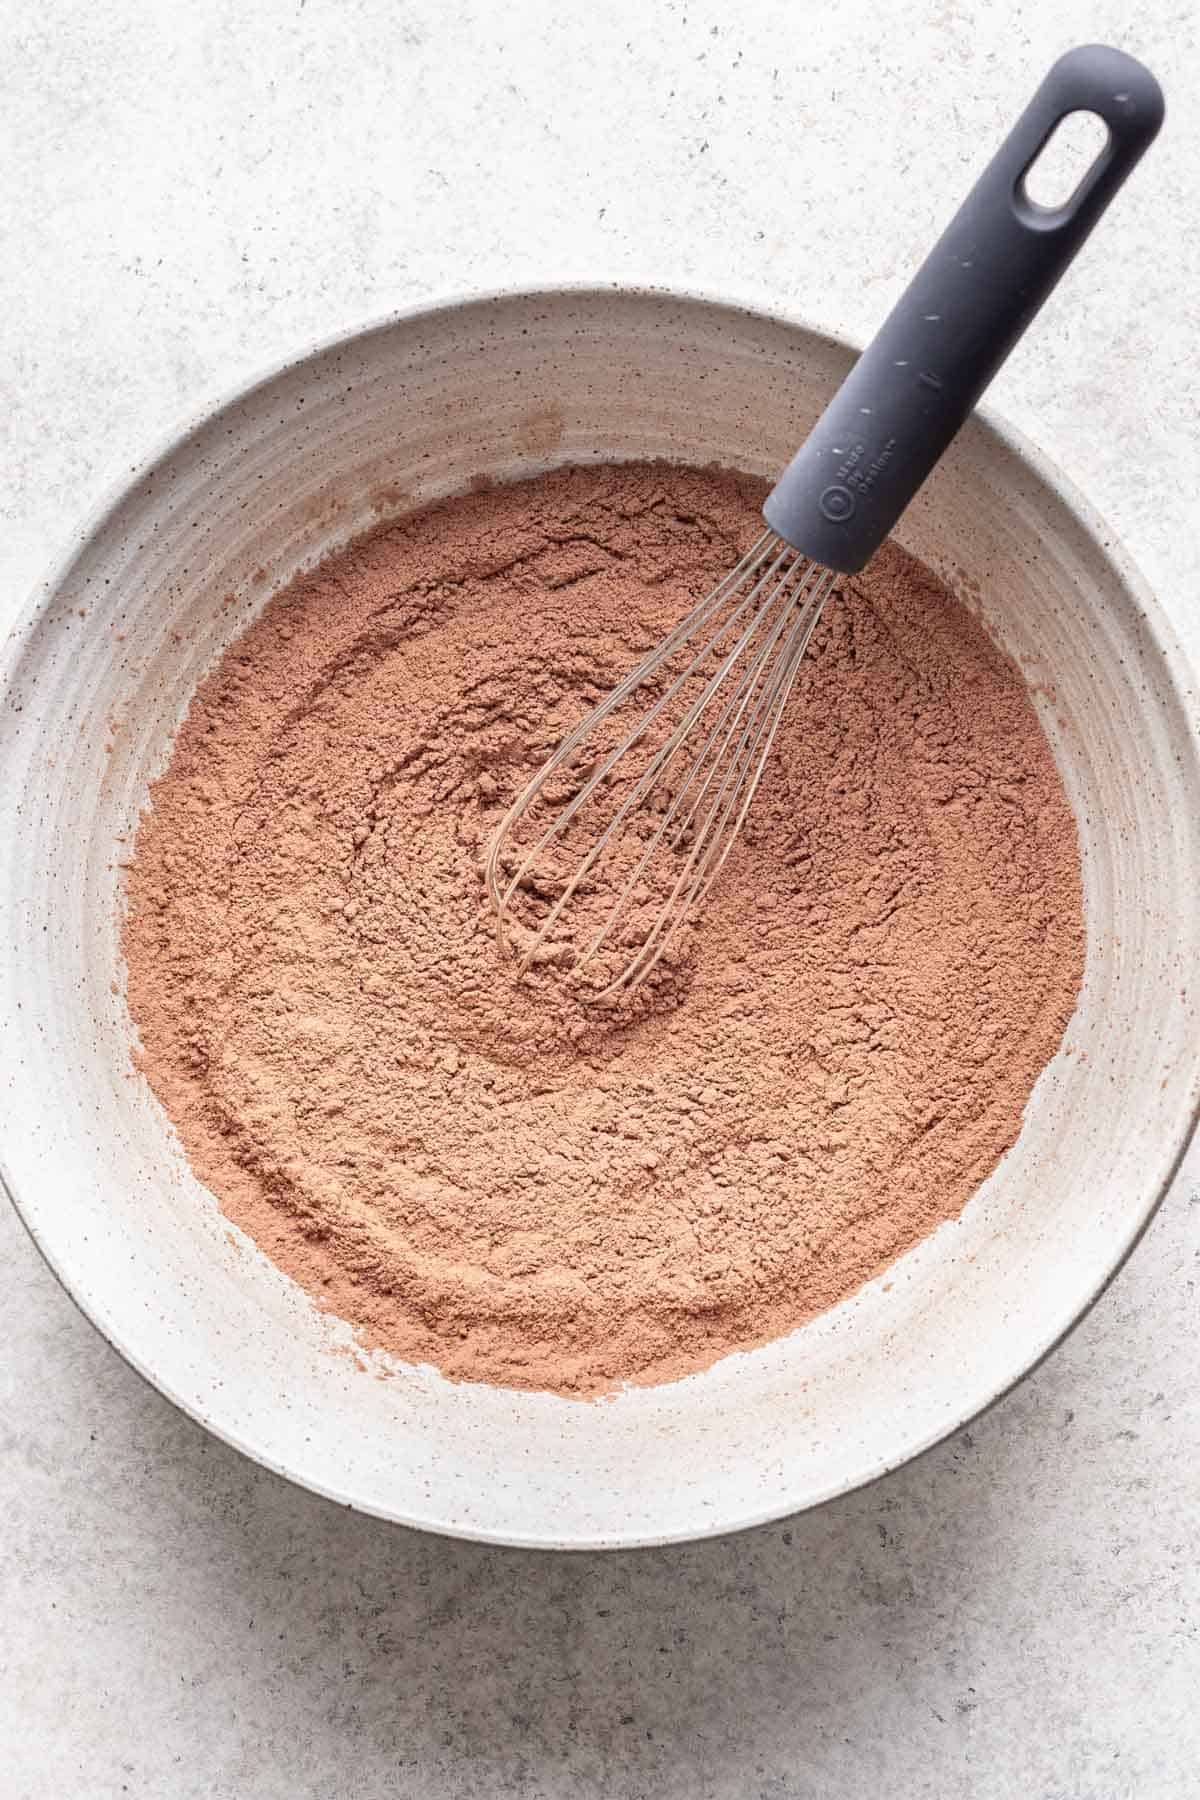
- Step 3: To a large bowl, add flour, cocoa powder, and salt. Whisk to combine.
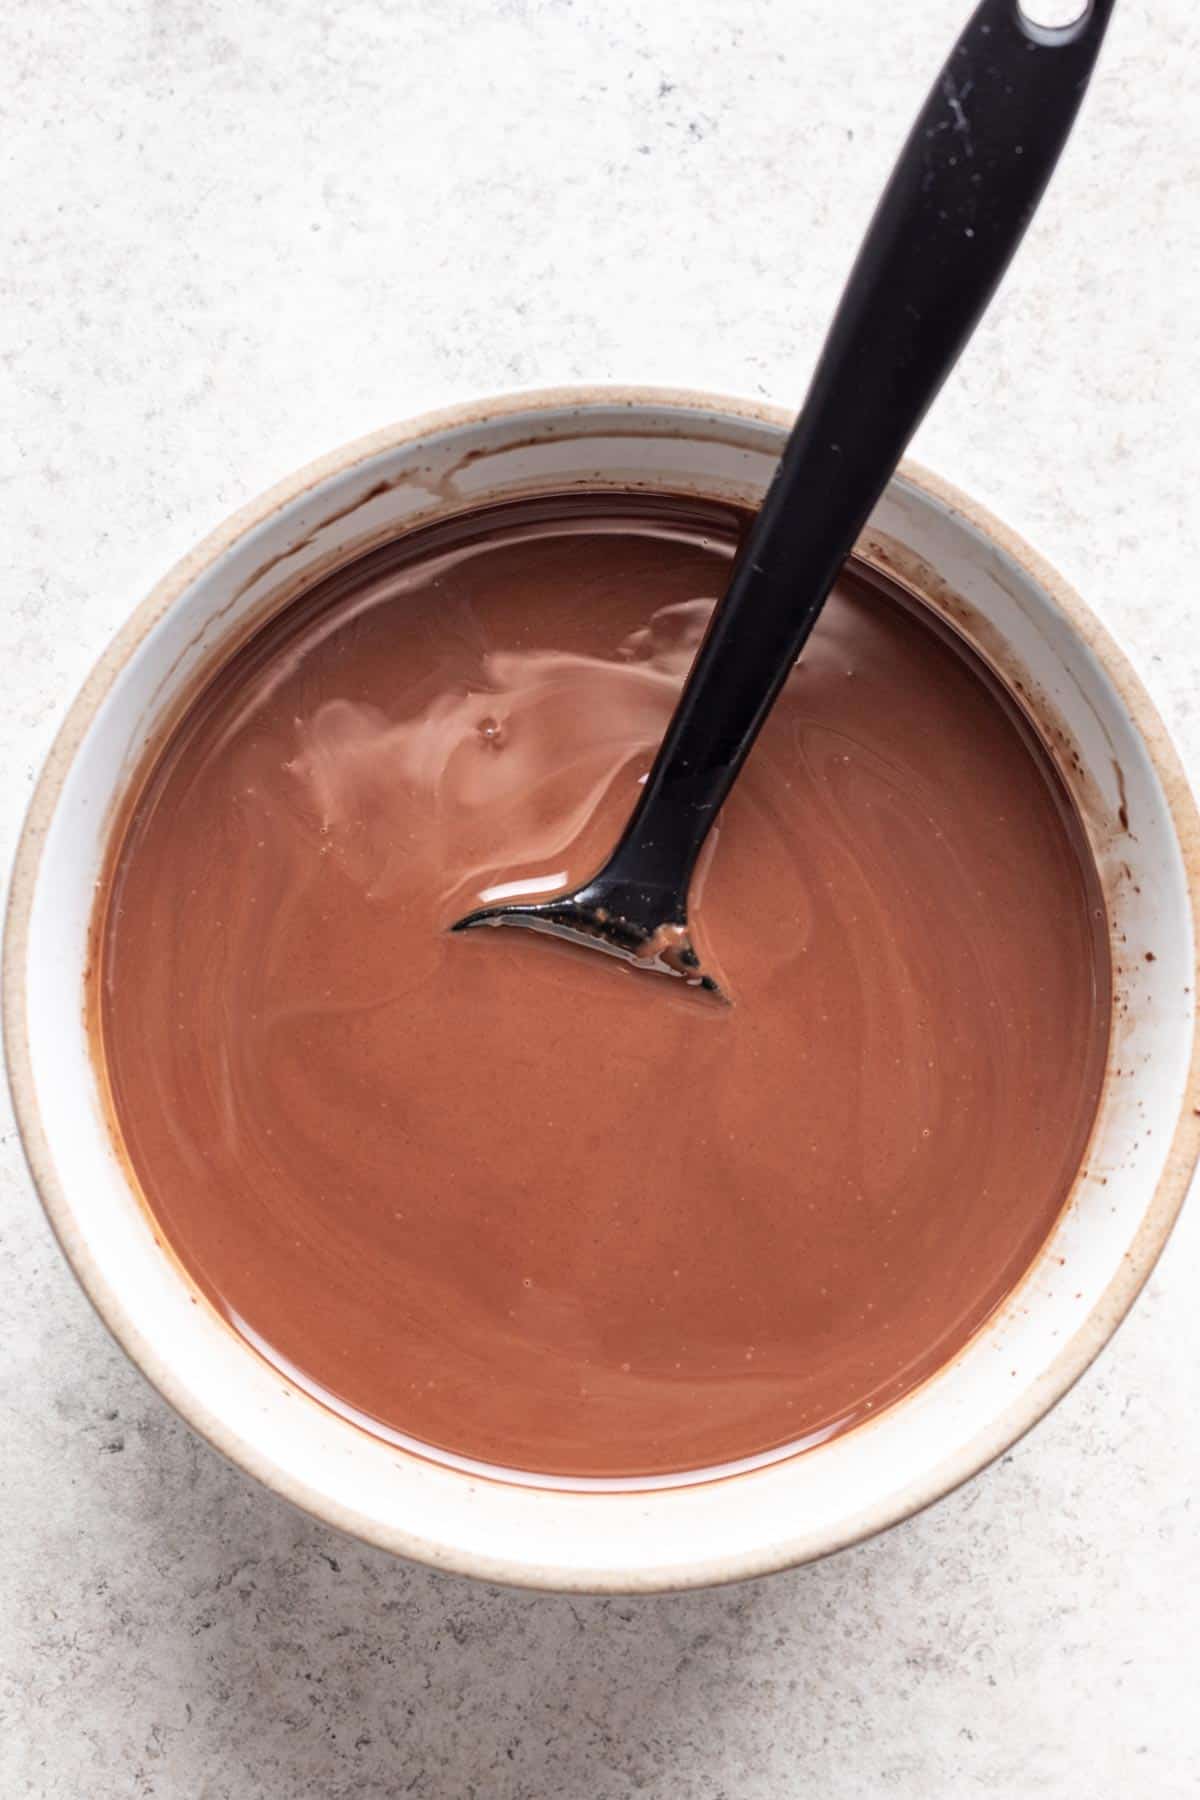
- Step 4: In a medium bowl, add 1 ½ cups chocolate chips and ¾ cup coconut oil. Microwave in 30 second intervals, stirring in between, until melted and smooth. Allow to cool slightly.
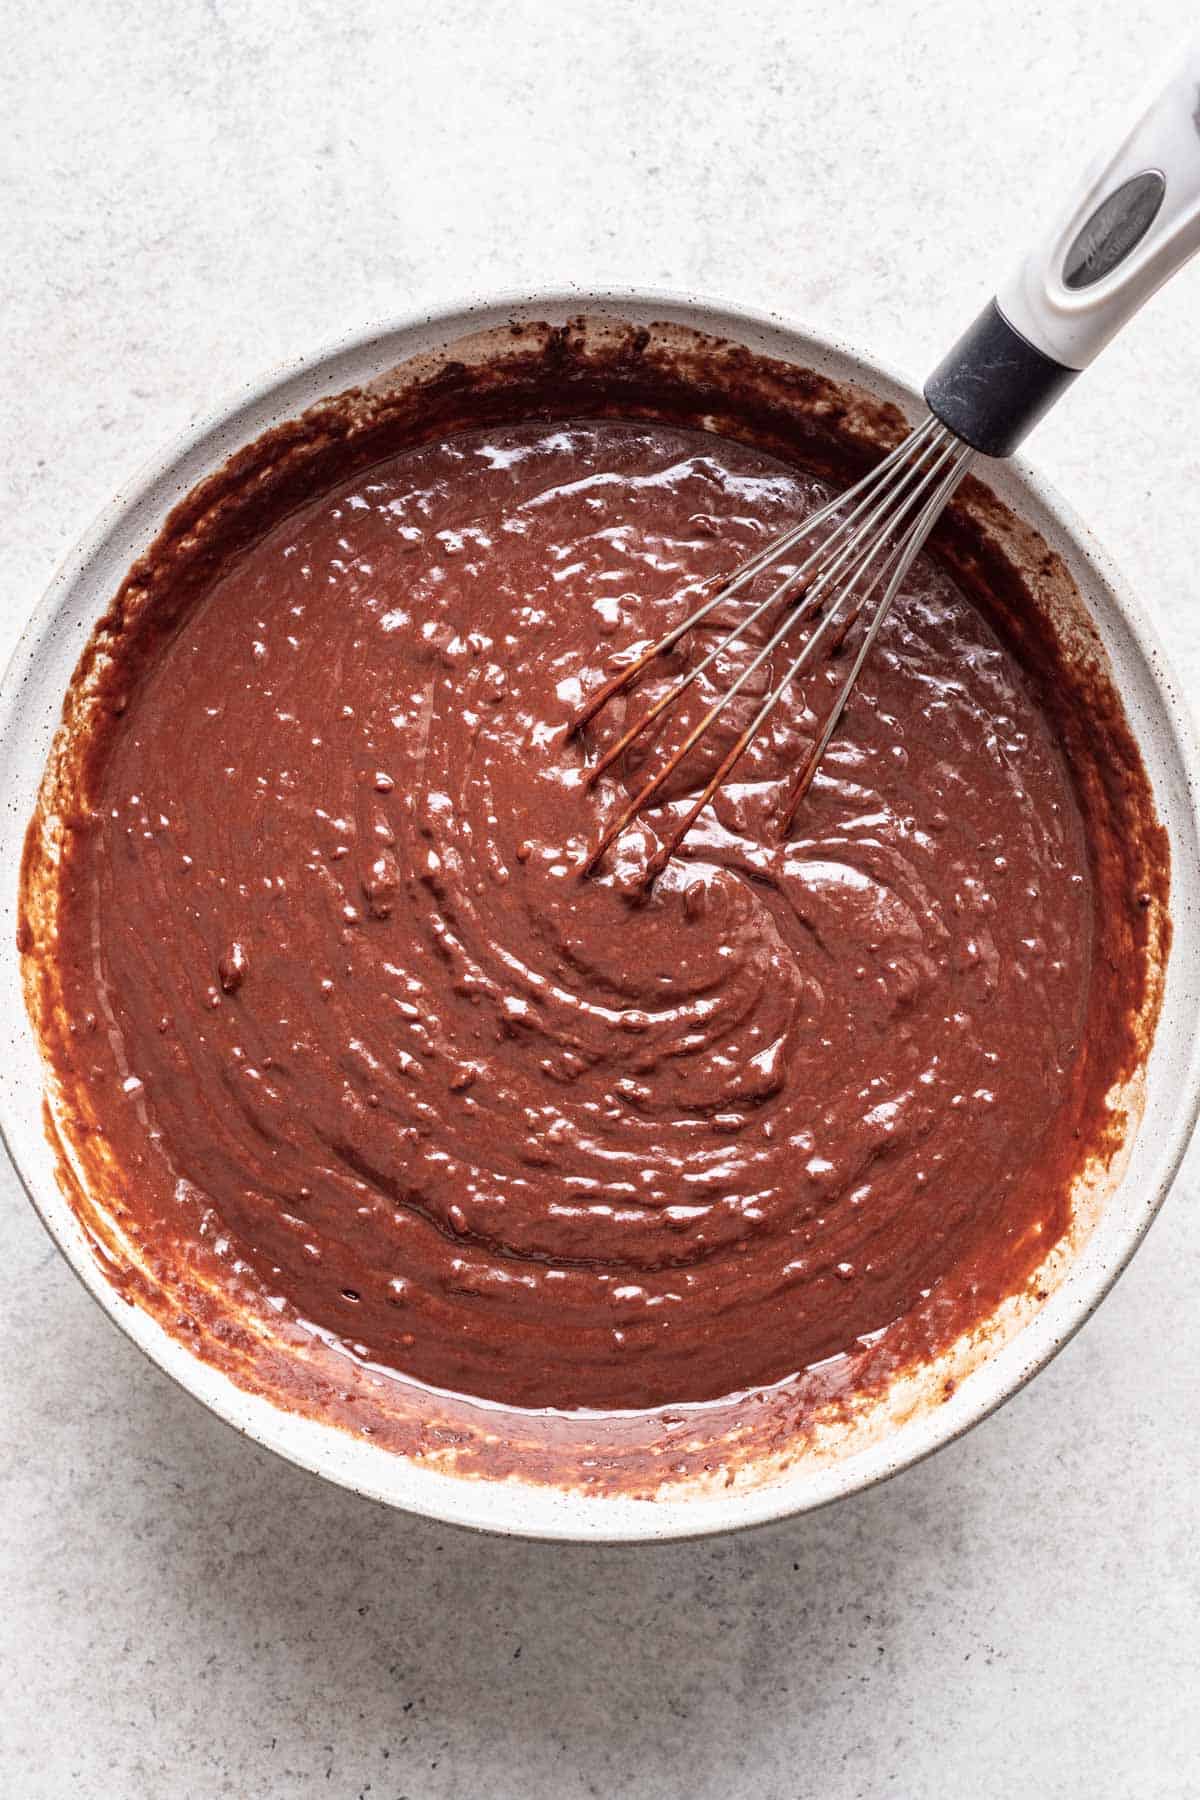
- Step 5: Add melted chocolate to the flour mixture, along with eggs, vanilla extract, and the date paste. Mix just until combined.
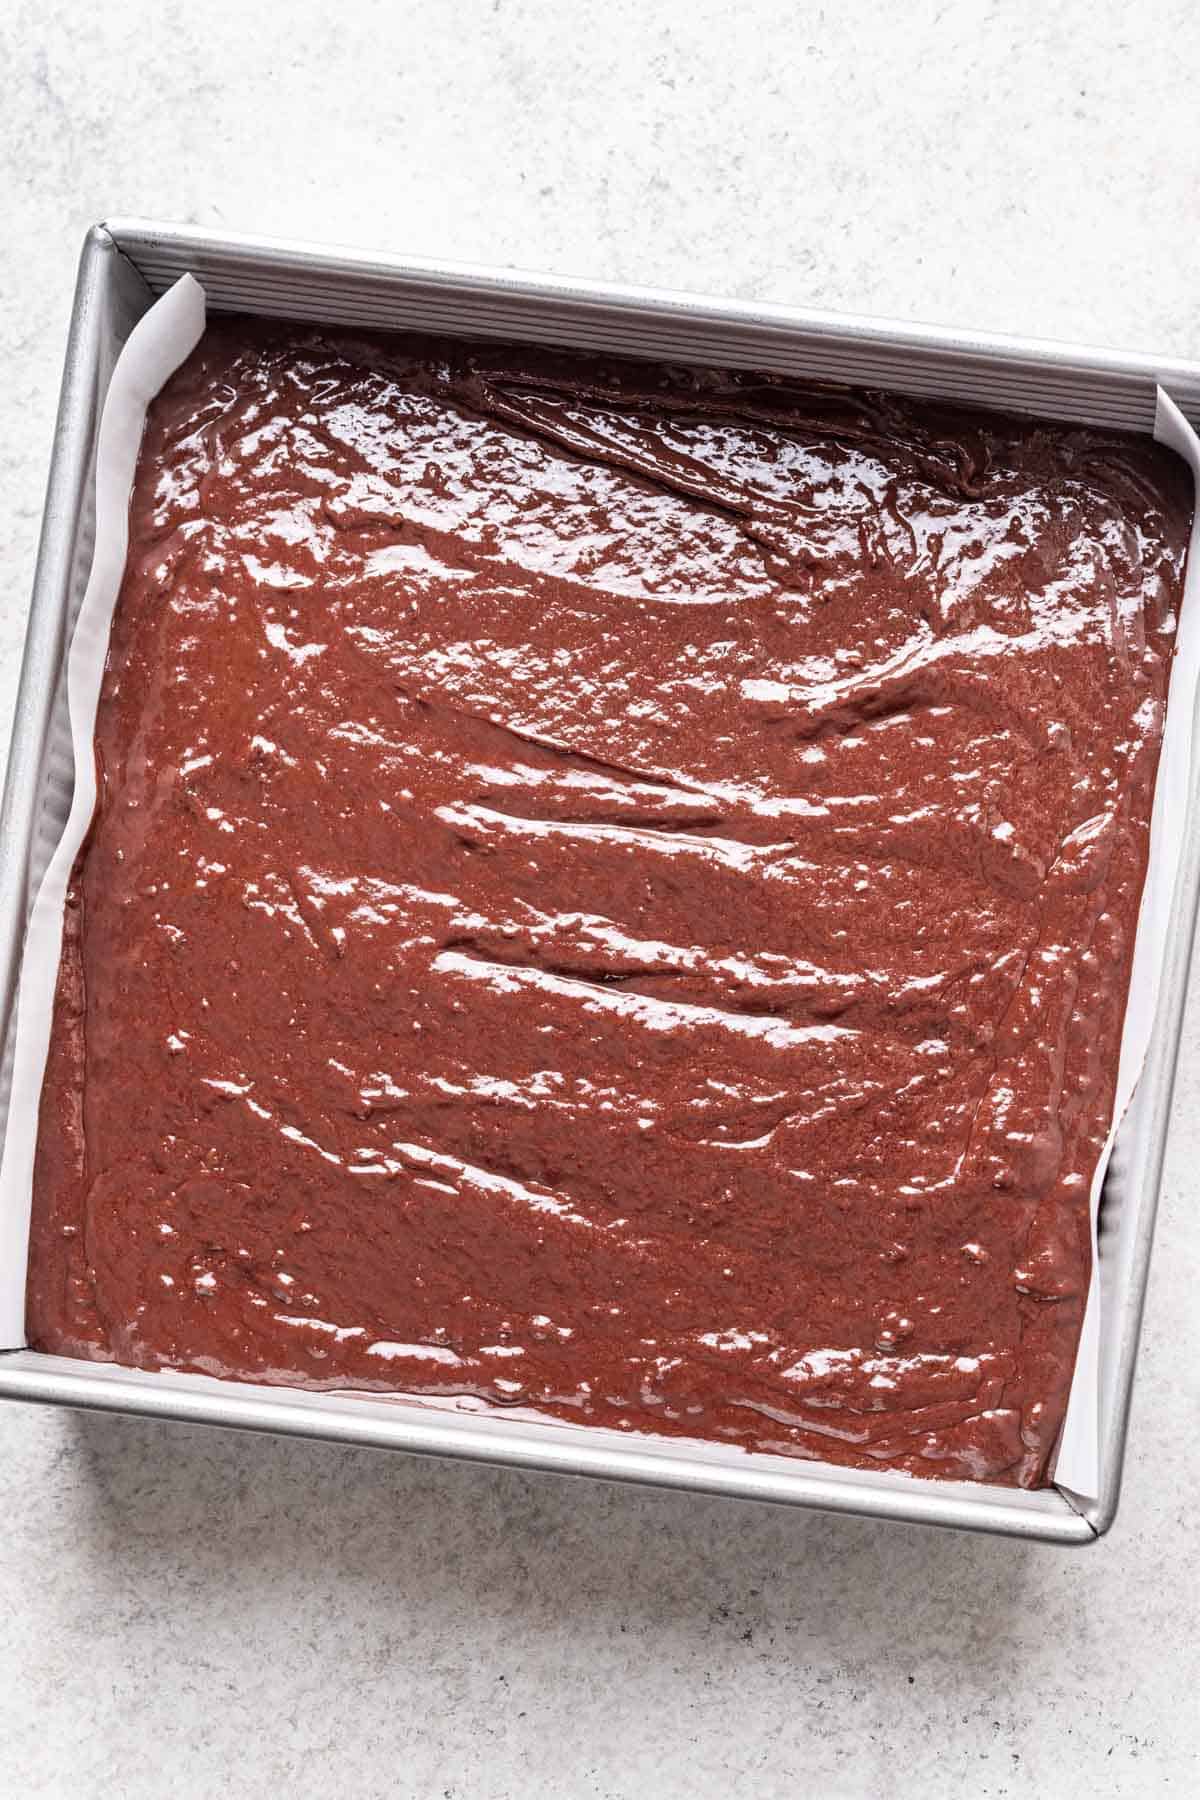
- Step 6: Pour batter into prepared baking pan, smooth from edge to edge. Bake for 60 to 65 minutes, or until a toothpick inserted in the middle comes out clean. The brownies will still be slightly jiggly.
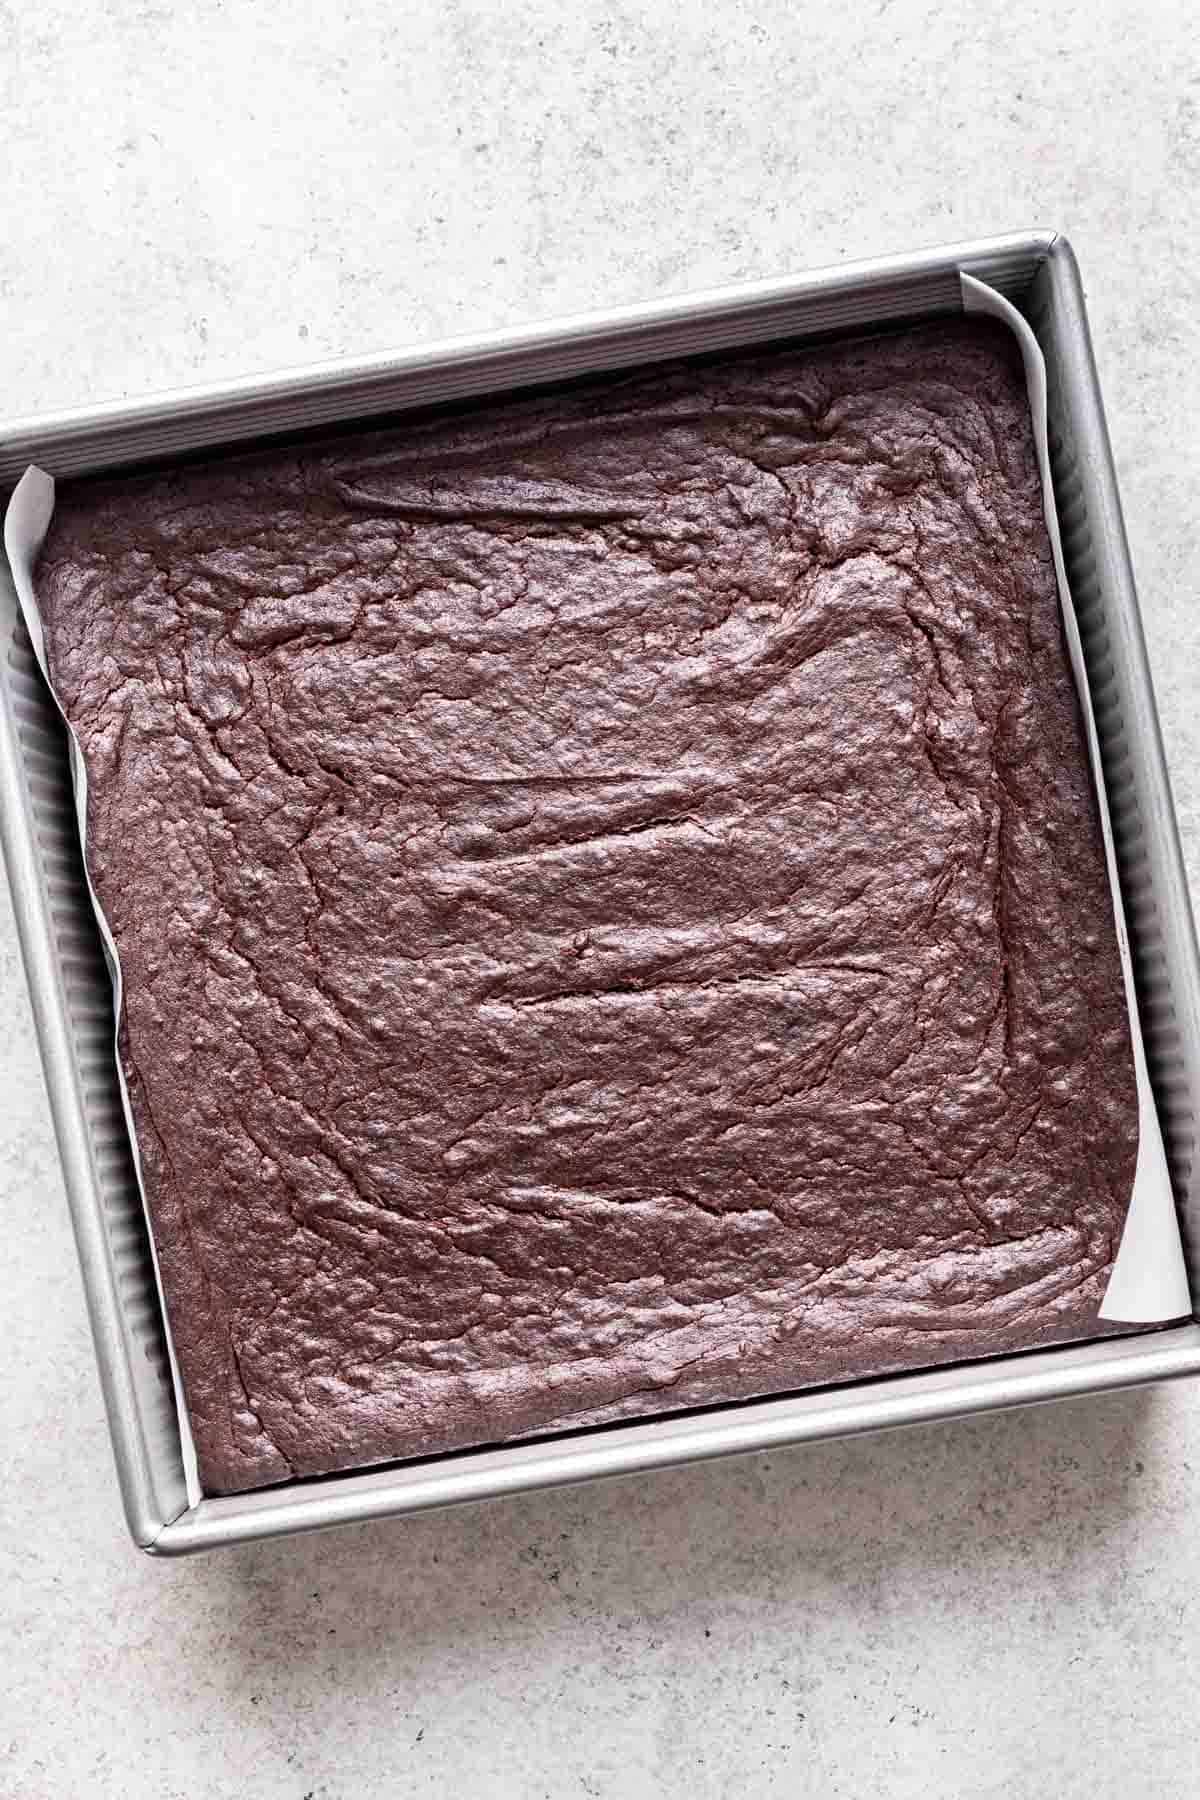
- Step 7: Let brownies cool completely.
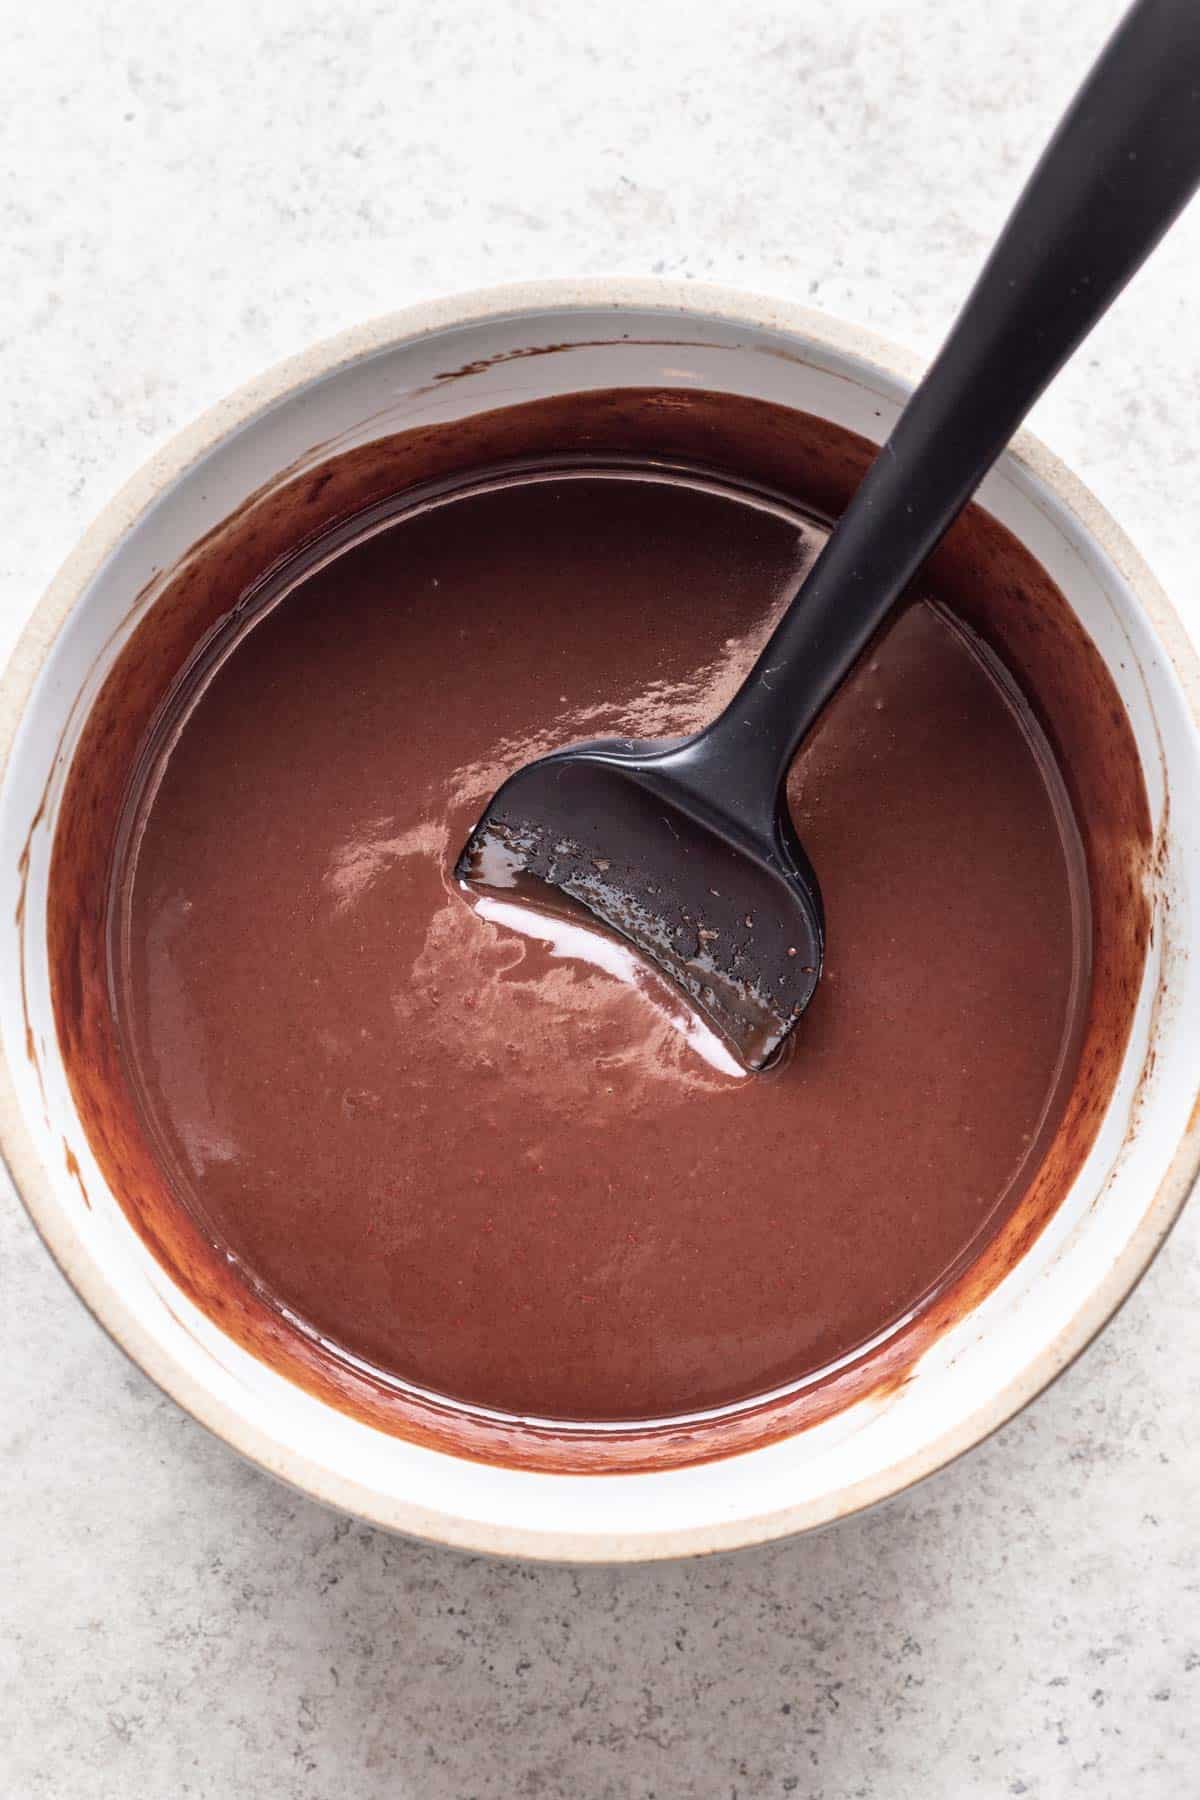
- Step 8: Make the topping by adding the heavy cream to a microwave safe bowl. Microwave for about 1 minute. Then, add ¾ cup chocolate chips and let sit, covered, for 3 minutes before mixing the melted chocolate into the cream until smooth.
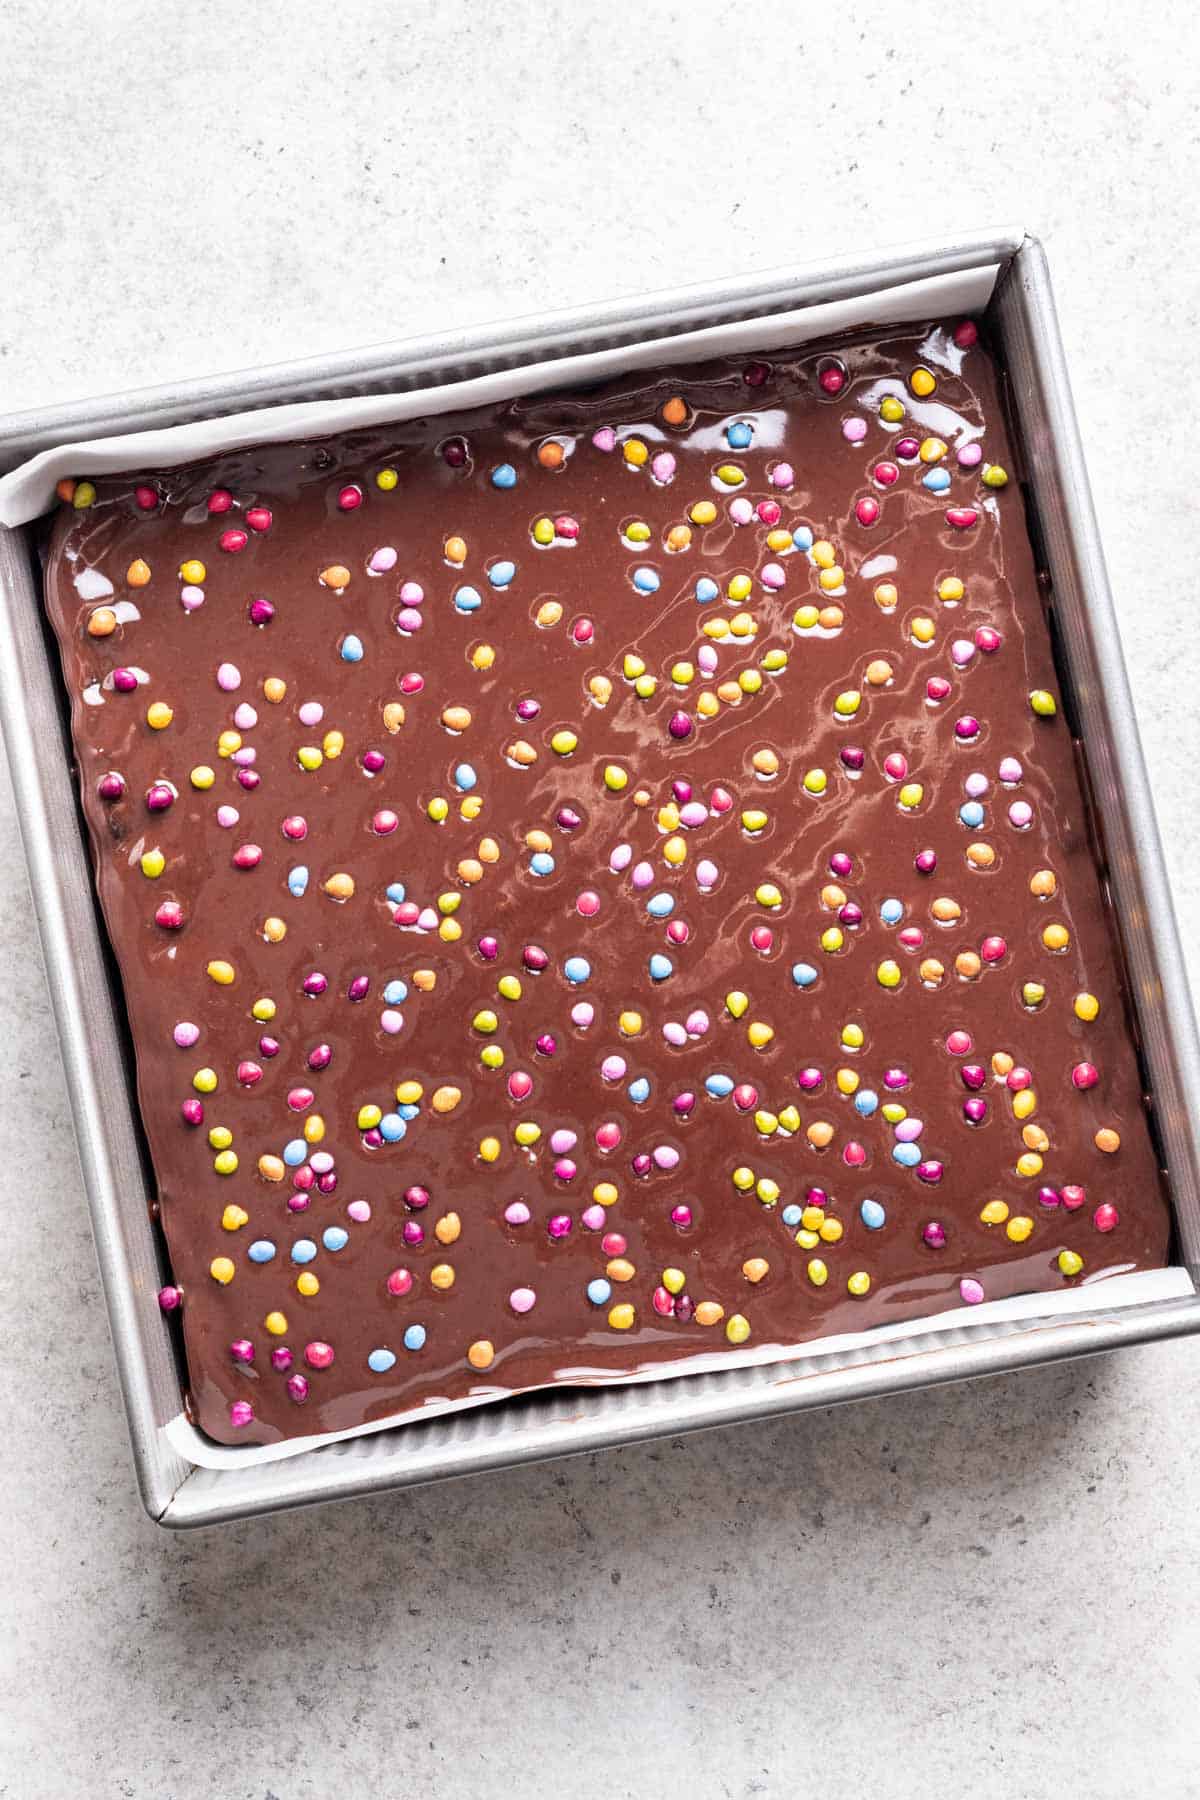
- Step 9: Pour chocolate topping over the cooled brownies and smooth with a spatula as needed. Sprinkle with the candy coated chocolate chips. Refrigerate for at least 1 hour or until the chocolate topping is set.
- Step 10: To slice: Remove brownies from the pan and place them on a cutting board. Cut into 16 square pieces or 8 rectangular pieces.
⭐️ Tip: Make sure to remove all pits and stems from the dates! The pits are hard and will not blend well. Instead, remove them and discard them before blending the dates with the water.
Substitutions and Alterations
- Semisweet Chocolate Chips - For sweeter brownies, you can use milk chocolate chips. For less sweet brownies, you can use bittersweet chocolate chips.
- Heavy Cream - ½ cup of coconut milk will work as well!
- Gluten Free Version - Gluten free 1:1 flour should work in place of the all purpose flour.
- Dairy Free Version - If you need these cosmic brownies to be dairy free, use dairy free semisweet chocolate chips and coconut milk instead of heavy cream!
How to Store Homemade Cosmic Brownies
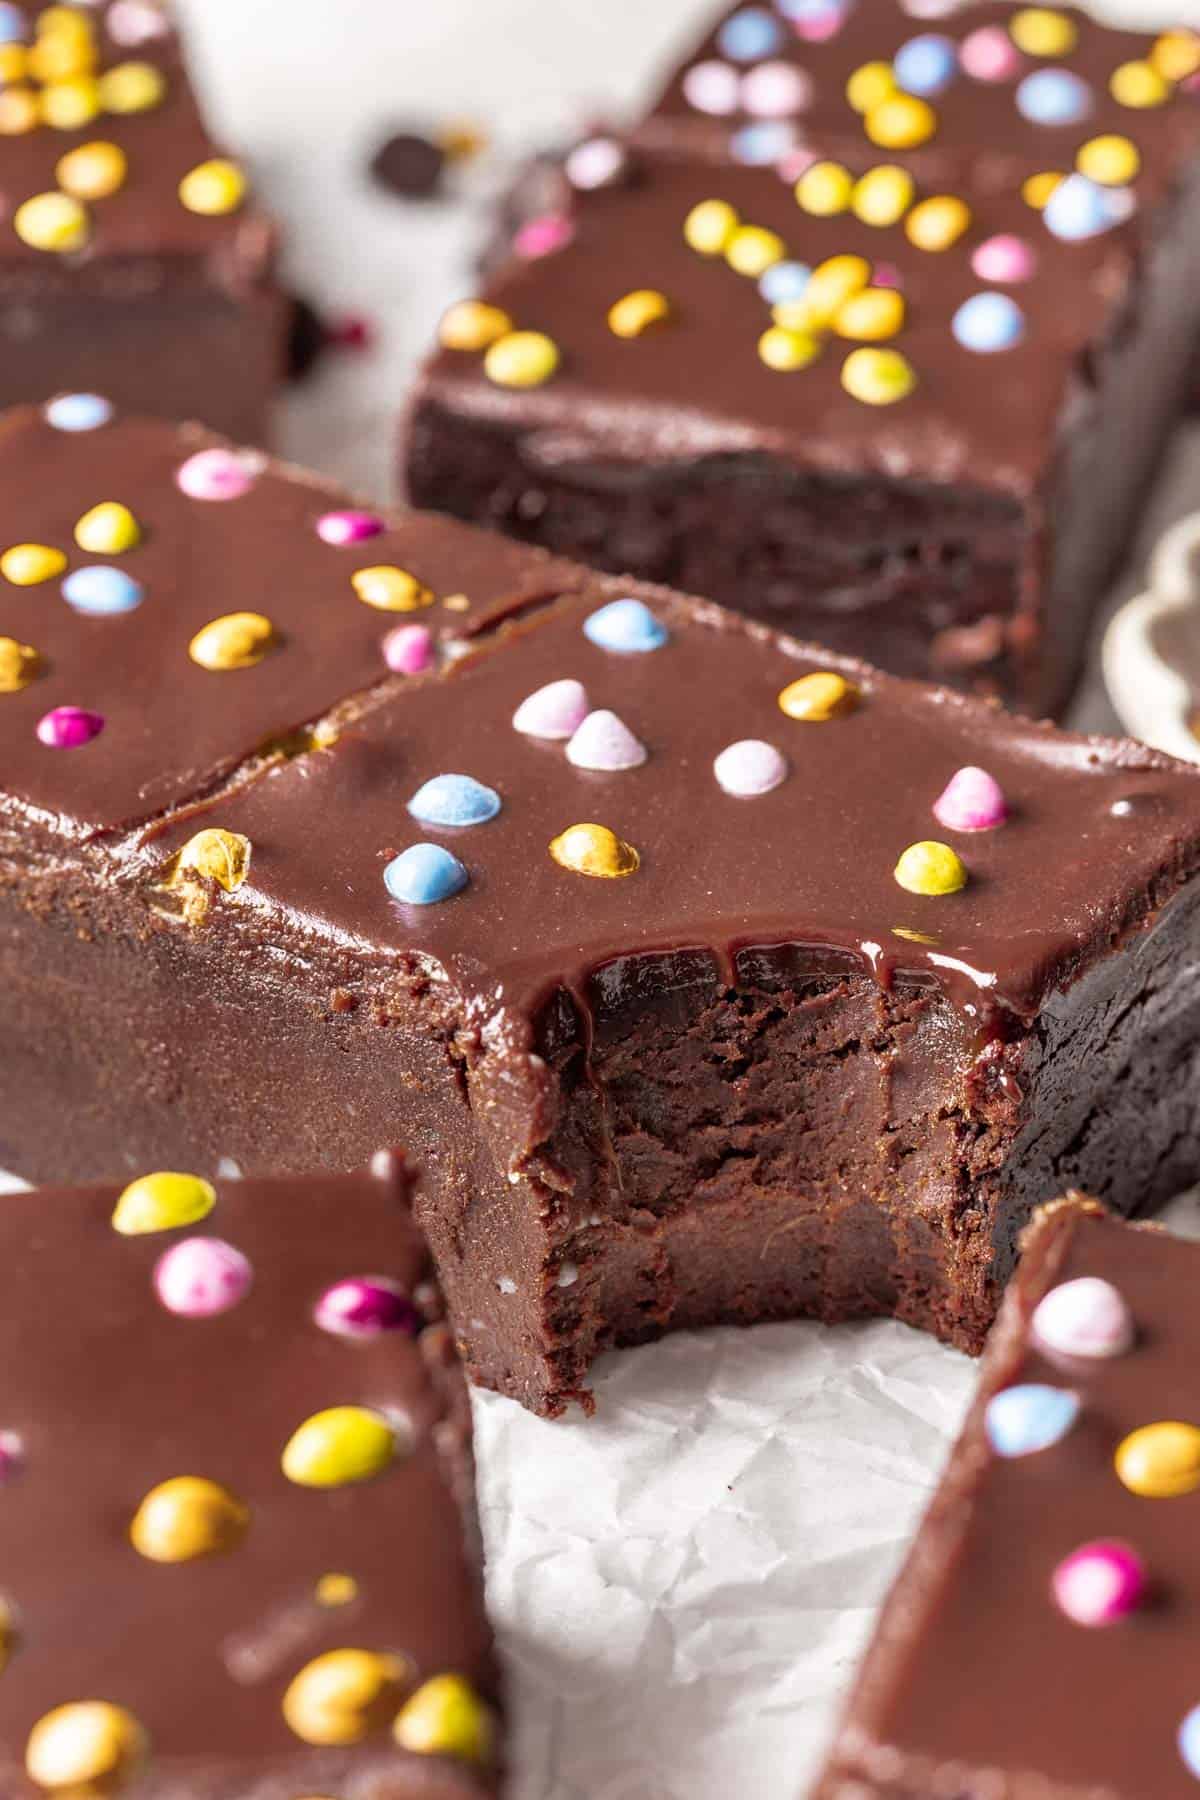
To store: Store these healthier cosmic brownies in an airtight container in the refrigerator up to 1 week.
To freeze: These brownies freeze well. Store in an airtight, freezer-safe container for up to 6 months.
To defrost: Defrost brownies in the refrigerator overnight or on the counter for about 1 hour before eating.
Top tip!
Make sure to blend the dates until they're mostly smooth! The smoother the date paste, the fudgier and smoother the texture of the brownies will be.
Recipe FAQs
Nope! Cosmic brownies have been around since 1999 and have not been discontinued in the USA. However, according to Google, they have been discontinued in Canada.
There is a long list of ingredients on the back of the cosmic brownies' package, but some of the main ingredients include: bleached flour, corn syrup, palm and soybean oils, dextrose, cocoa, and food dyes.
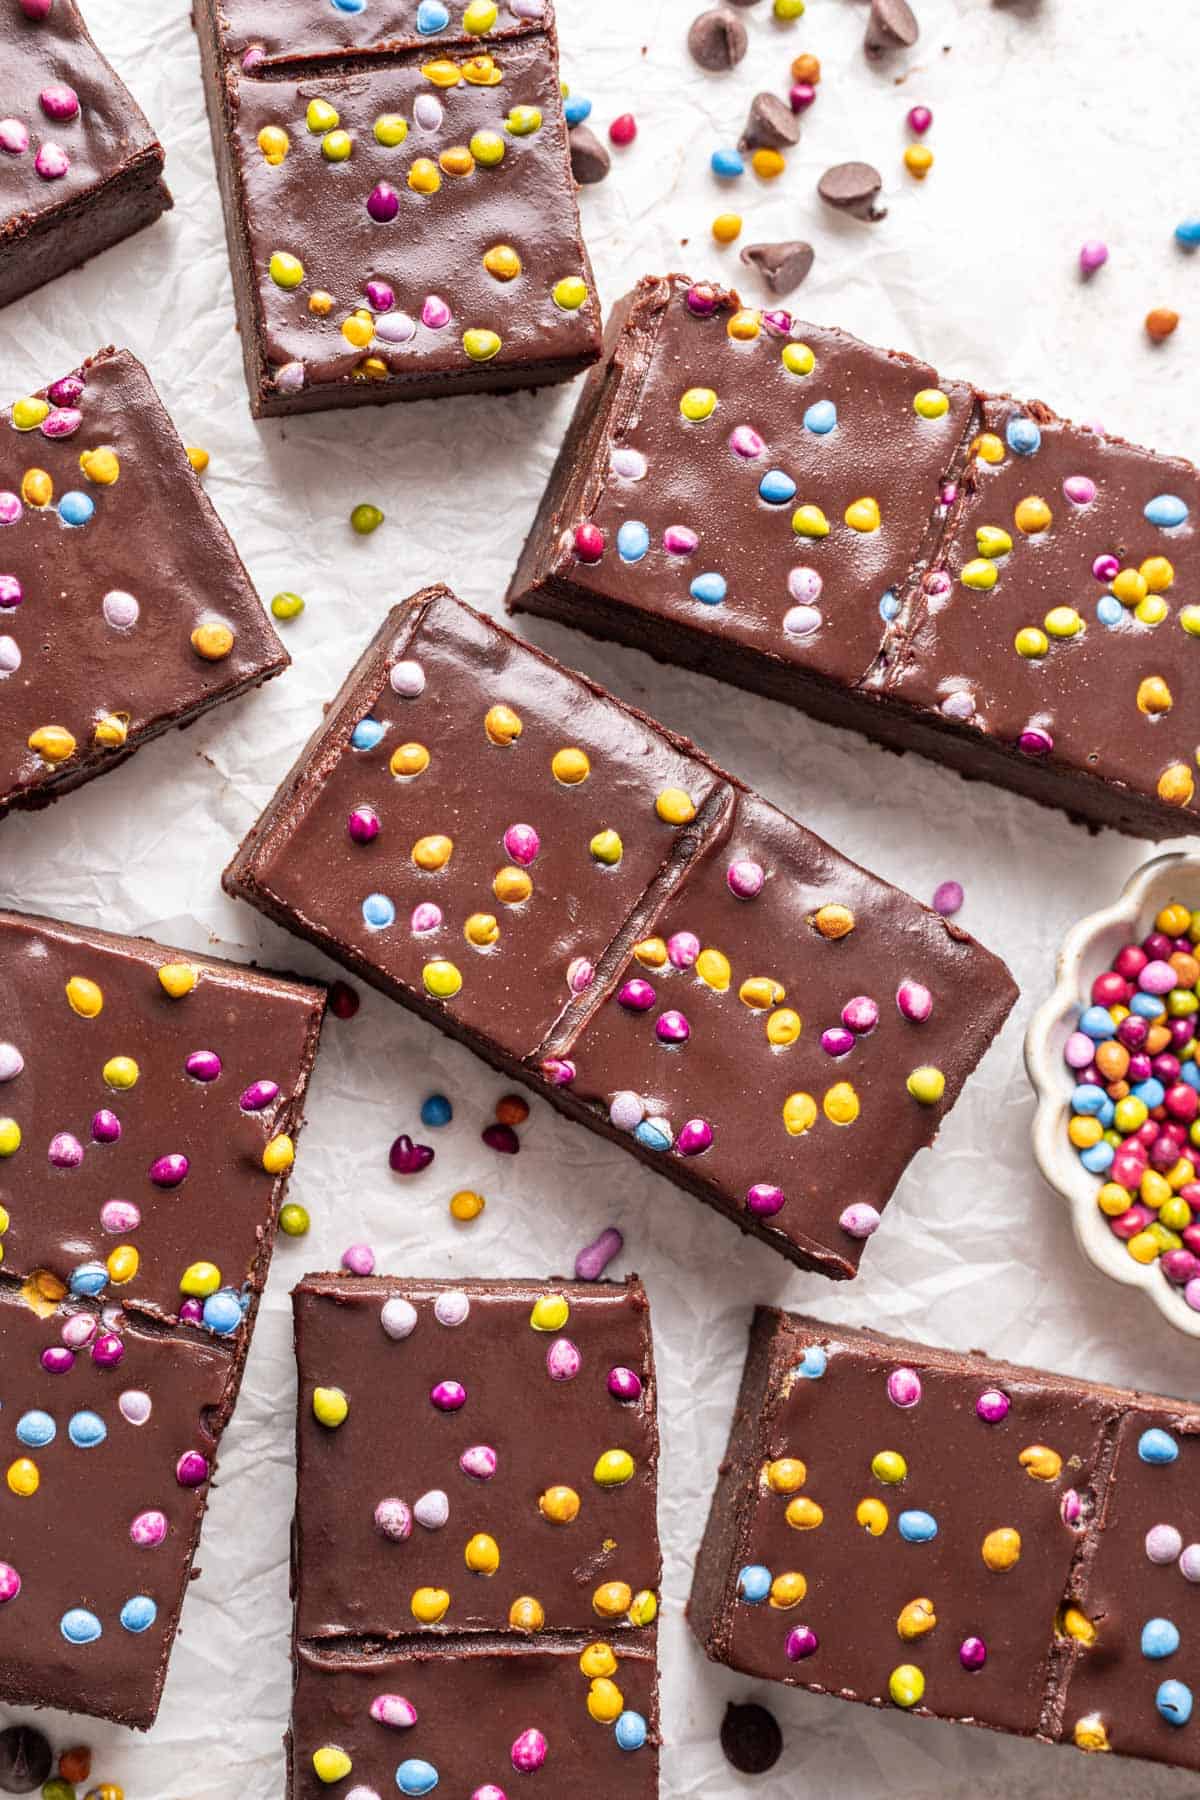
Yes! The classic cosmic brownie comes with 2 brownies in a package. They're connected in a rectangular shape with a "perforated" line down the middle to help you break them into 2 pieces.
For that similar nostalgic look, I used a wooden skewer to imprint the line into the chocolate topping without pushing it all the way through the brownie. Then, once it left a mark, I lifted it up to reveal the line and cut the brownies into 8 rectangles with the line in the middle, instead of cutting them into 16 squares.
Related Recipes
Looking for more nostalgic dessert recipes? Try these:
Share your cooking with me! If you make this recipe, I'd love to know. Leave a comment with a rating at the bottom of this page!
Homemade Cosmic Brownies
Ingredients
- 12 ounces pitted medjool dates (about 24 dates or 2 cups)
- 2 cups hot water
- 1 cup all purpose flour
- 1 cup unsweetened cocoa powder
- ½ teaspoon kosher salt
- 1 ½ cups semisweet chocolate chips
- ¾ cup refined coconut oil
- 2 large eggs, room temperature
- 1 tablespoon vanilla extract
For Topping
- ½ cup heavy cream
- ¾ cup semisweet chocolate chips
- dye free candy coated chocolate chips
Instructions
- Preheat oven to 350 degrees F. Line a 9x9 inch baking pan with parchment paper.
- Add pitted dates and hot water to your food processor or blender. Blend until it forms a liquid paste, about 30 seconds to 1 minute.
- To a large bowl, add flour, cocoa powder, and salt. Whisk to combine.
- In a medium bowl, add 1 ½ cups chocolate chips and ¾ cup coconut oil. Microwave in 30 second intervals, stirring in between, until melted and smooth. Allow to cool slightly.
- Add melted chocolate to the flour mixture, along with eggs, vanilla extract, and the date paste. Mix just until combined.
- Pour batter into prepared baking pan, smooth from edge to edge. Bake for 60 to 65 minutes, or until a toothpick inserted in the middle comes out clean. The brownies will still be slightly jiggly.
- Let brownies cool completely.
- Make the topping by adding the heavy cream to a microwave safe bowl. Microwave for about 1 minute. Then, add ¾ cup chocolate chips and let sit, covered, for 3 minutes before mixing the melted chocolate into the cream until smooth.
- Pour chocolate topping over the cooled brownies and smooth with a spatula as needed. Sprinkle with the candy coated chocolate chips. Refrigerate for at least 1 hour or until the chocolate topping is set.
- To slice: Remove brownies from the pan and place them on a cutting board. Cut into 16 square pieces or 8 rectangular pieces.
Notes
- The classic cosmic brownie comes with 2 brownies in a package. They're connected in a rectangular shape with a "perforated" line down the middle to help you break them into 2 pieces. For that similar nostalgic look, I used a wooden skewer to imprint the line into the chocolate topping without pushing it all the way through the brownie. Then, once it left a mark, I lifted it up to reveal the line and cut the brownies into 8 rectangles with the line in the middle, instead of cutting them into 16 squares.
- Make sure to blend the dates until they're mostly smooth! The smoother the date paste, the fudgier and smoother the texture of the brownies will be.
- Store brownies in an airtight container in the refrigerator up to 1 week.
Nutrition
Want more recipes like this delivered right to your inbox? Be sure to subscribe above and never miss a thing!

Autumn says
These are great! I’m pregnant and needing to get my dates in 😅. Only a slight date taste every now and then but I may not have gotten them blended enough. I did up the chocolate chips in the ganache to 1.5 cups and it came out perfect. My husband approves which is great so this recipe will be a keeper for when we are wanting something sweet but a little healthier than the real thing.
Alana Lieberman says
So great to hear! Glad this was a hit with your family!