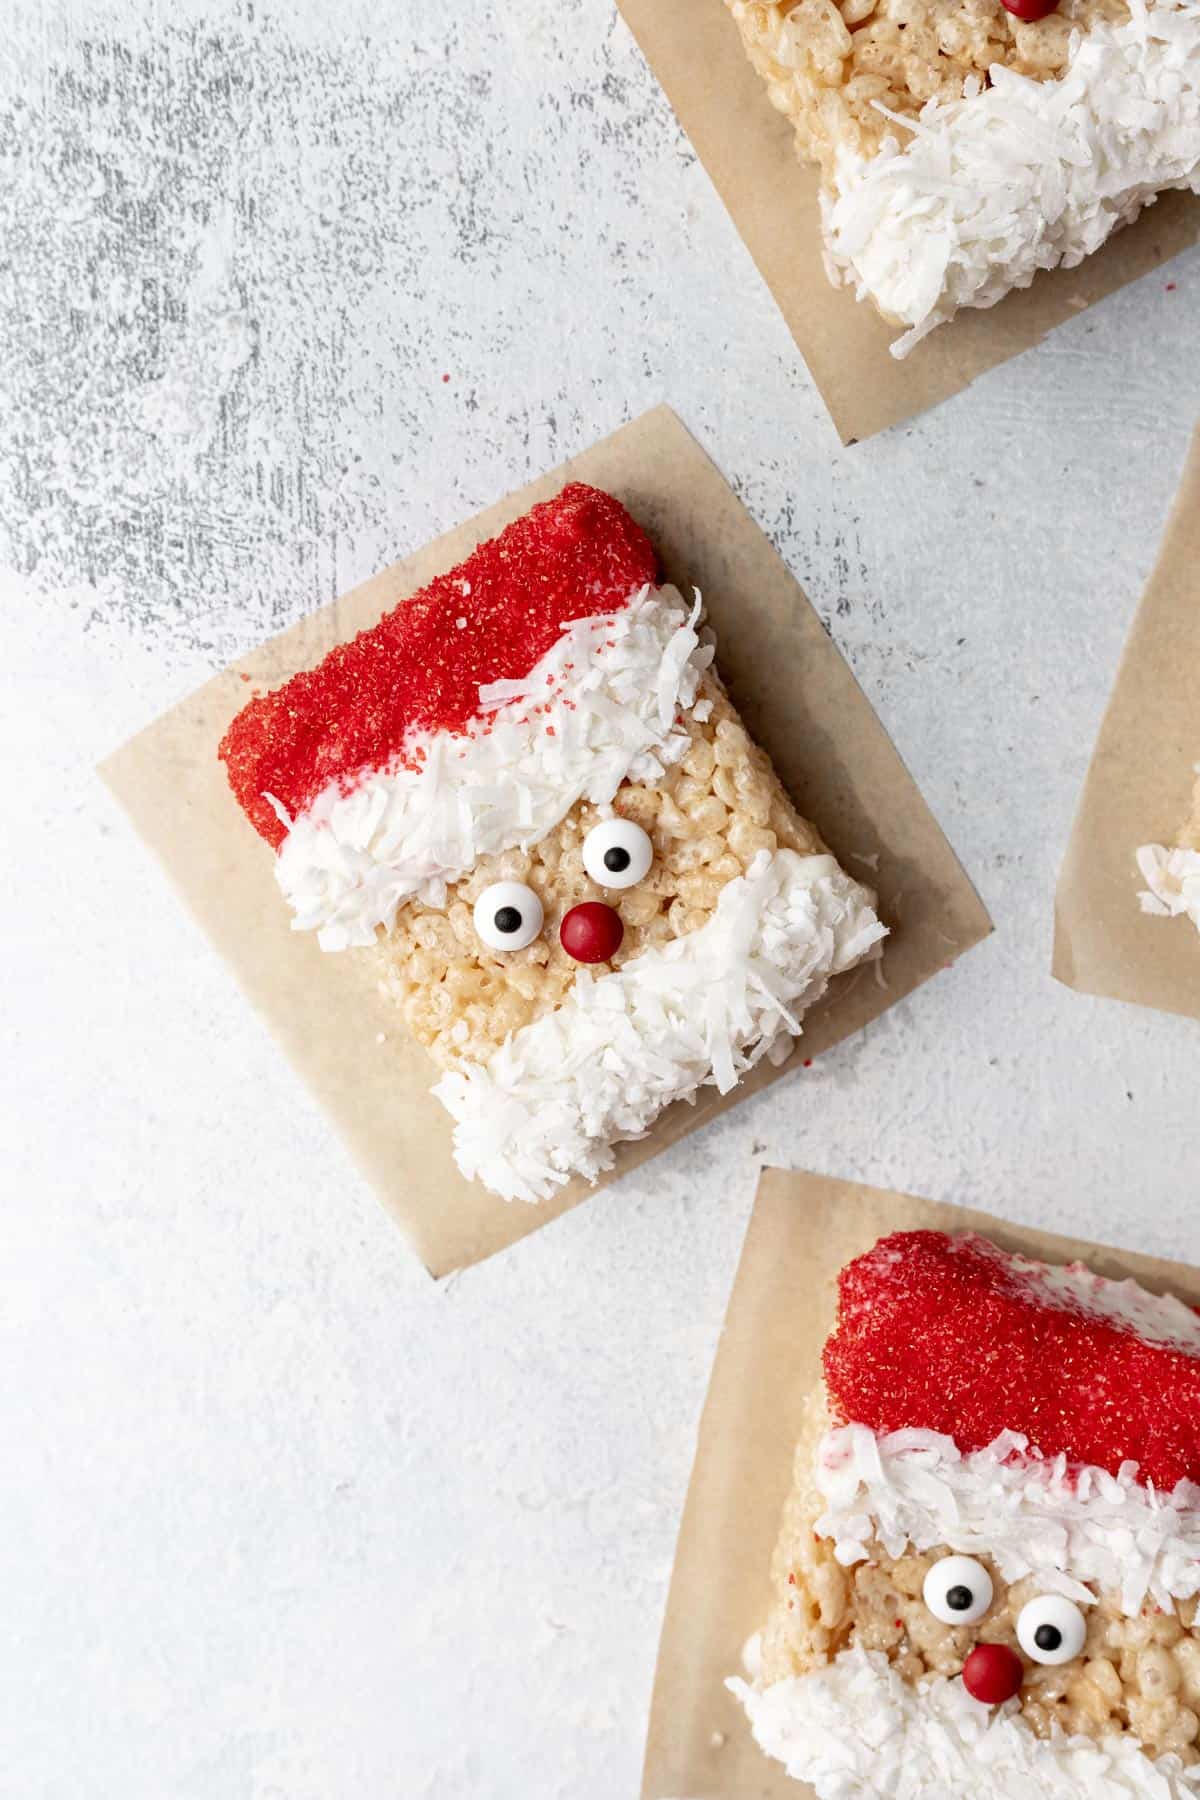
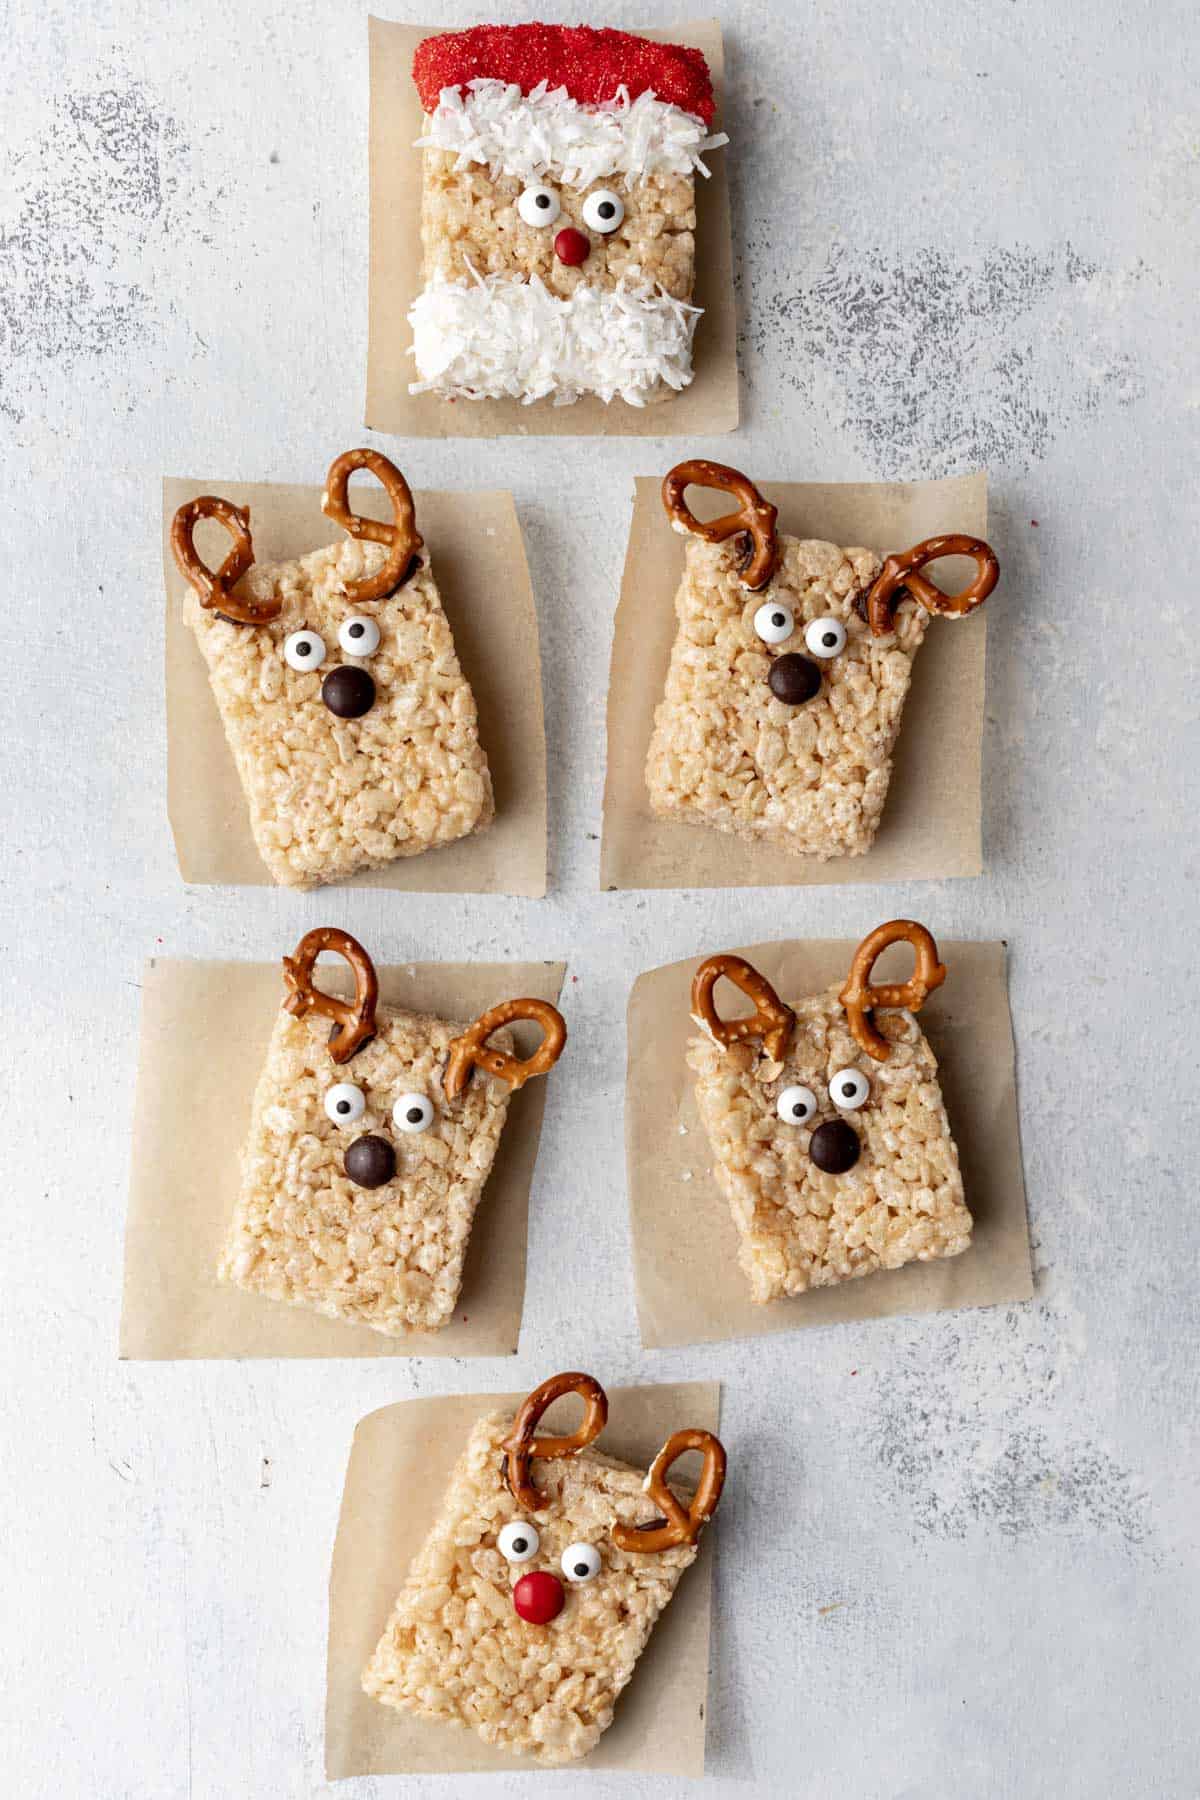
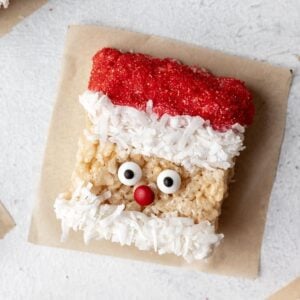
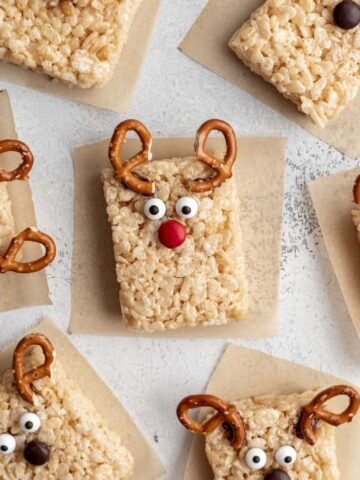
These adorable Santa Rice Krispie Treats are the perfect Christmas dessert for hosting, school parties, or as a fun holiday gift idea for neighbors. They're made with sweetened shredded coconut, white chocolate, and vibrant red decorating sugar. Serve them with my Reindeer Rice Krispie Treats for an extra festive Christmas celebration!
Jump to:
📋 About the Recipe
- These Santa Christmas treats are simple to prepare. Just 10 ingredients and made in about 30 minutes, including decorating! They're the perfect treat to make during the busy Christmas season! If you need another easy cookie recipe, try these cranberry orange shortbread cookies too!
- They're made with extra butter and marshmallows, making them softer and chewier than your average rice krispie treat. A great dessert for serving to a crowd over a long period of time.
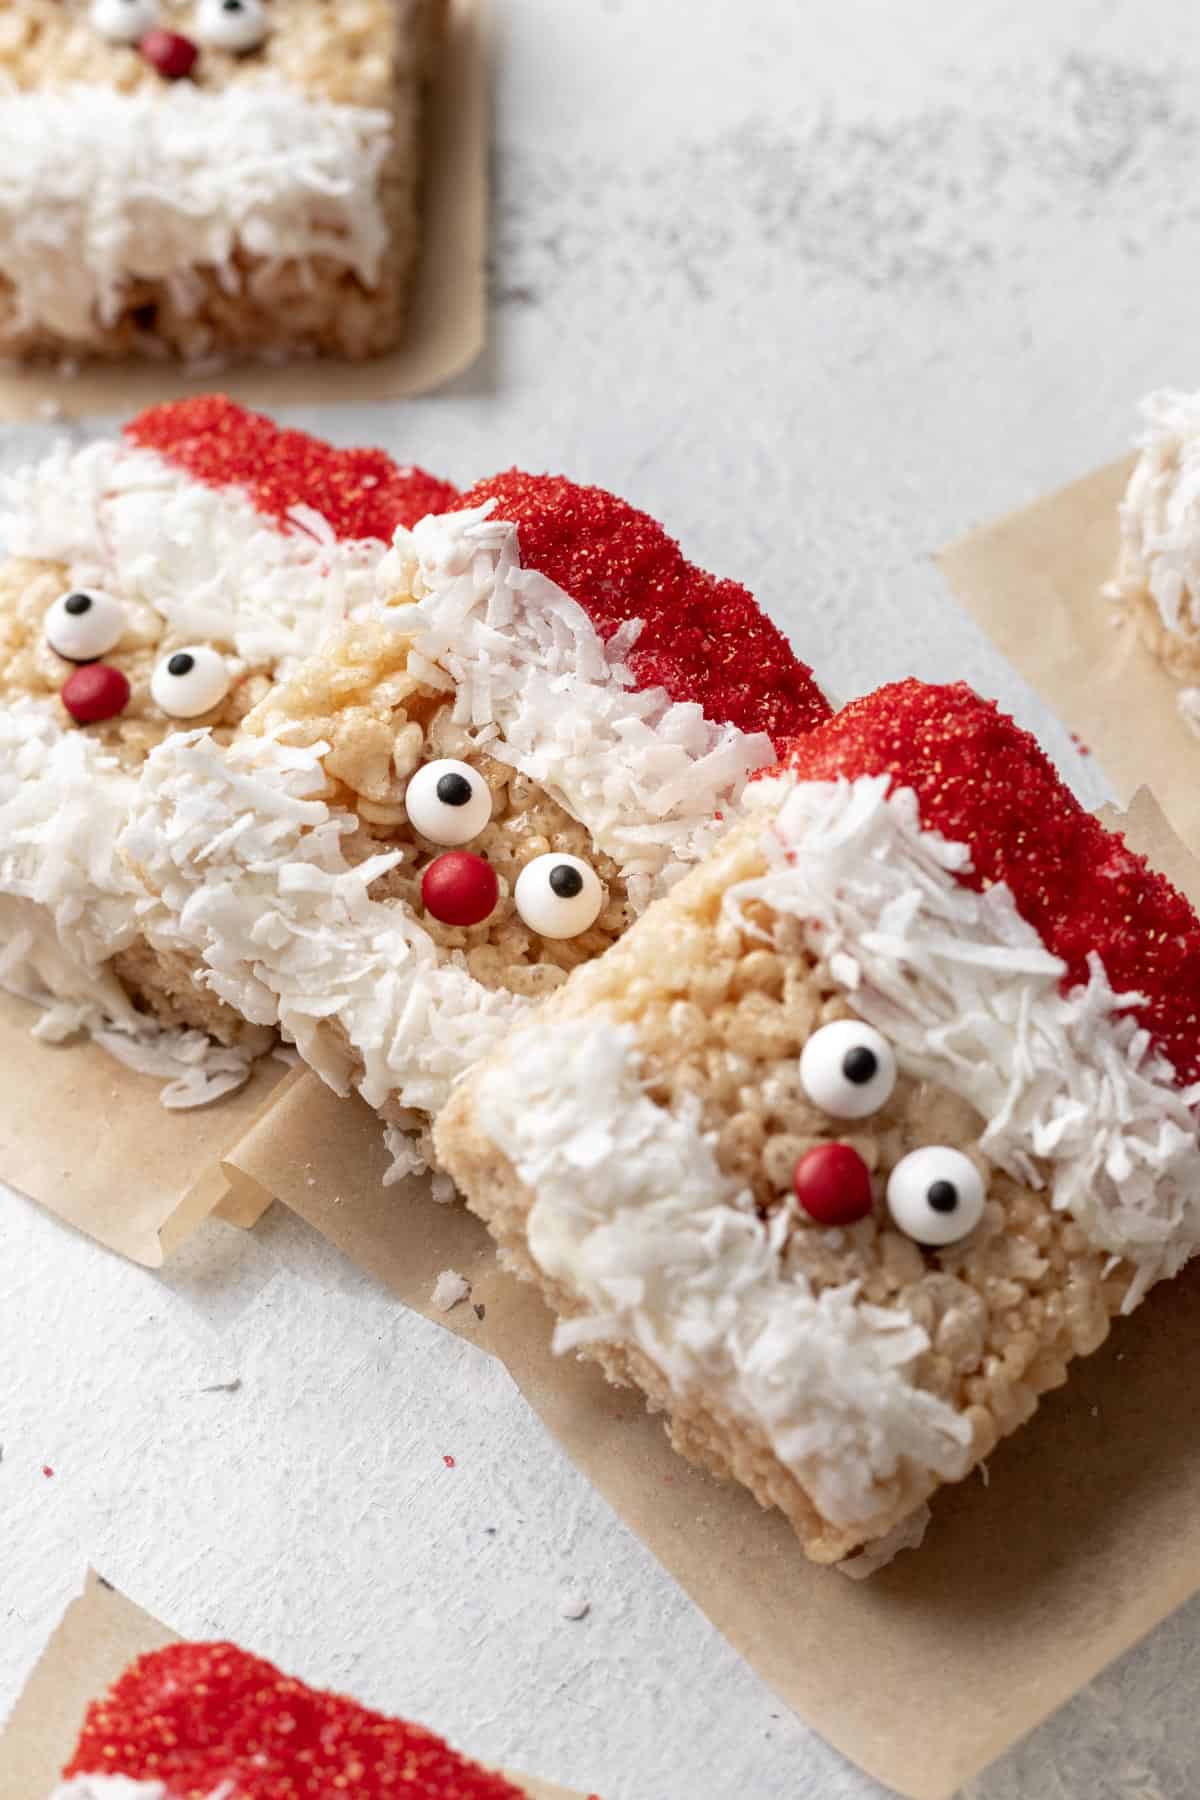
- The white chocolate and shredded coconut not only make the cutest edible Santa hat and Santa beard, but is the perfect compliment to the buttery, sweet flavor!
- They're a finger friendly dessert - great for holiday parties, kids, and gifting.
🛒 Ingredients
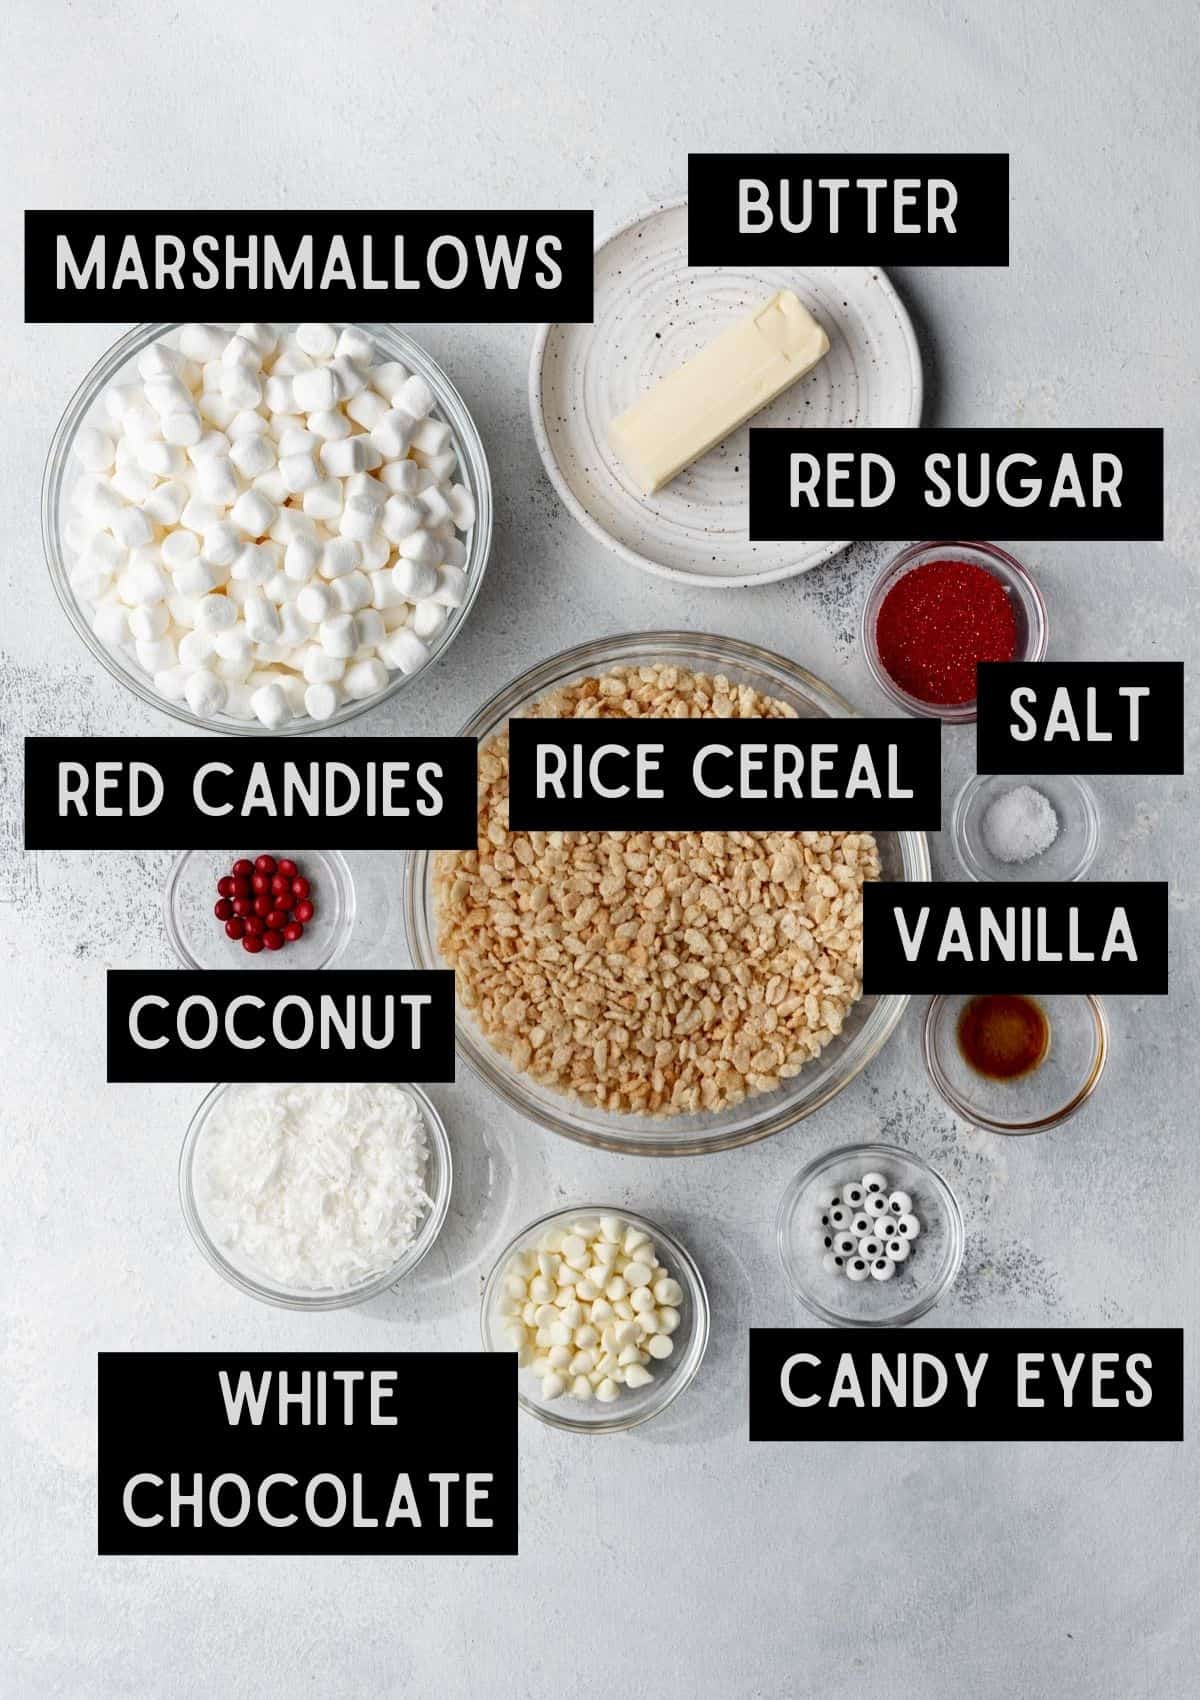
A few notes about the ingredients:
- Rice cereal - This recipe uses a full 8 cups of rice cereal. Be sure to measure! Using too little rice cereal will result in rice krispie treats that are too gooey to fully set and slice!
- Marshmallows - Fresh marshmallows are a MUST when making fluffy, gooey rice krispie treats! Be sure to melt your marshmallows over low heat to prevent burning or evaporating too much of the moisture.
- Butter - Essential to a delicious, rich, creamy flavor and keeps the treats moist and chewy.
- Sweetened shredded coconut - Used to make the Santa beard and white trim of Santa's hat! It not only gives your treat great texture, but pairs so well with the flavors.
- White chocolate - Instead of using milk chocolate, these treats use white chocolate to replicate Santa's beard and hat trim. It also brings out the buttery undertones of these rice krispie treats.
- Red sugar - Gives Santa's hat the best sparkle! It's finer consistency also sticks evenly to the white chocolate in just 1 dip.
📓 Instructions
1. Prepare a 9x13 baking pan by spraying it with nonstick spray and adding parchment paper to the bottom for easy removal.
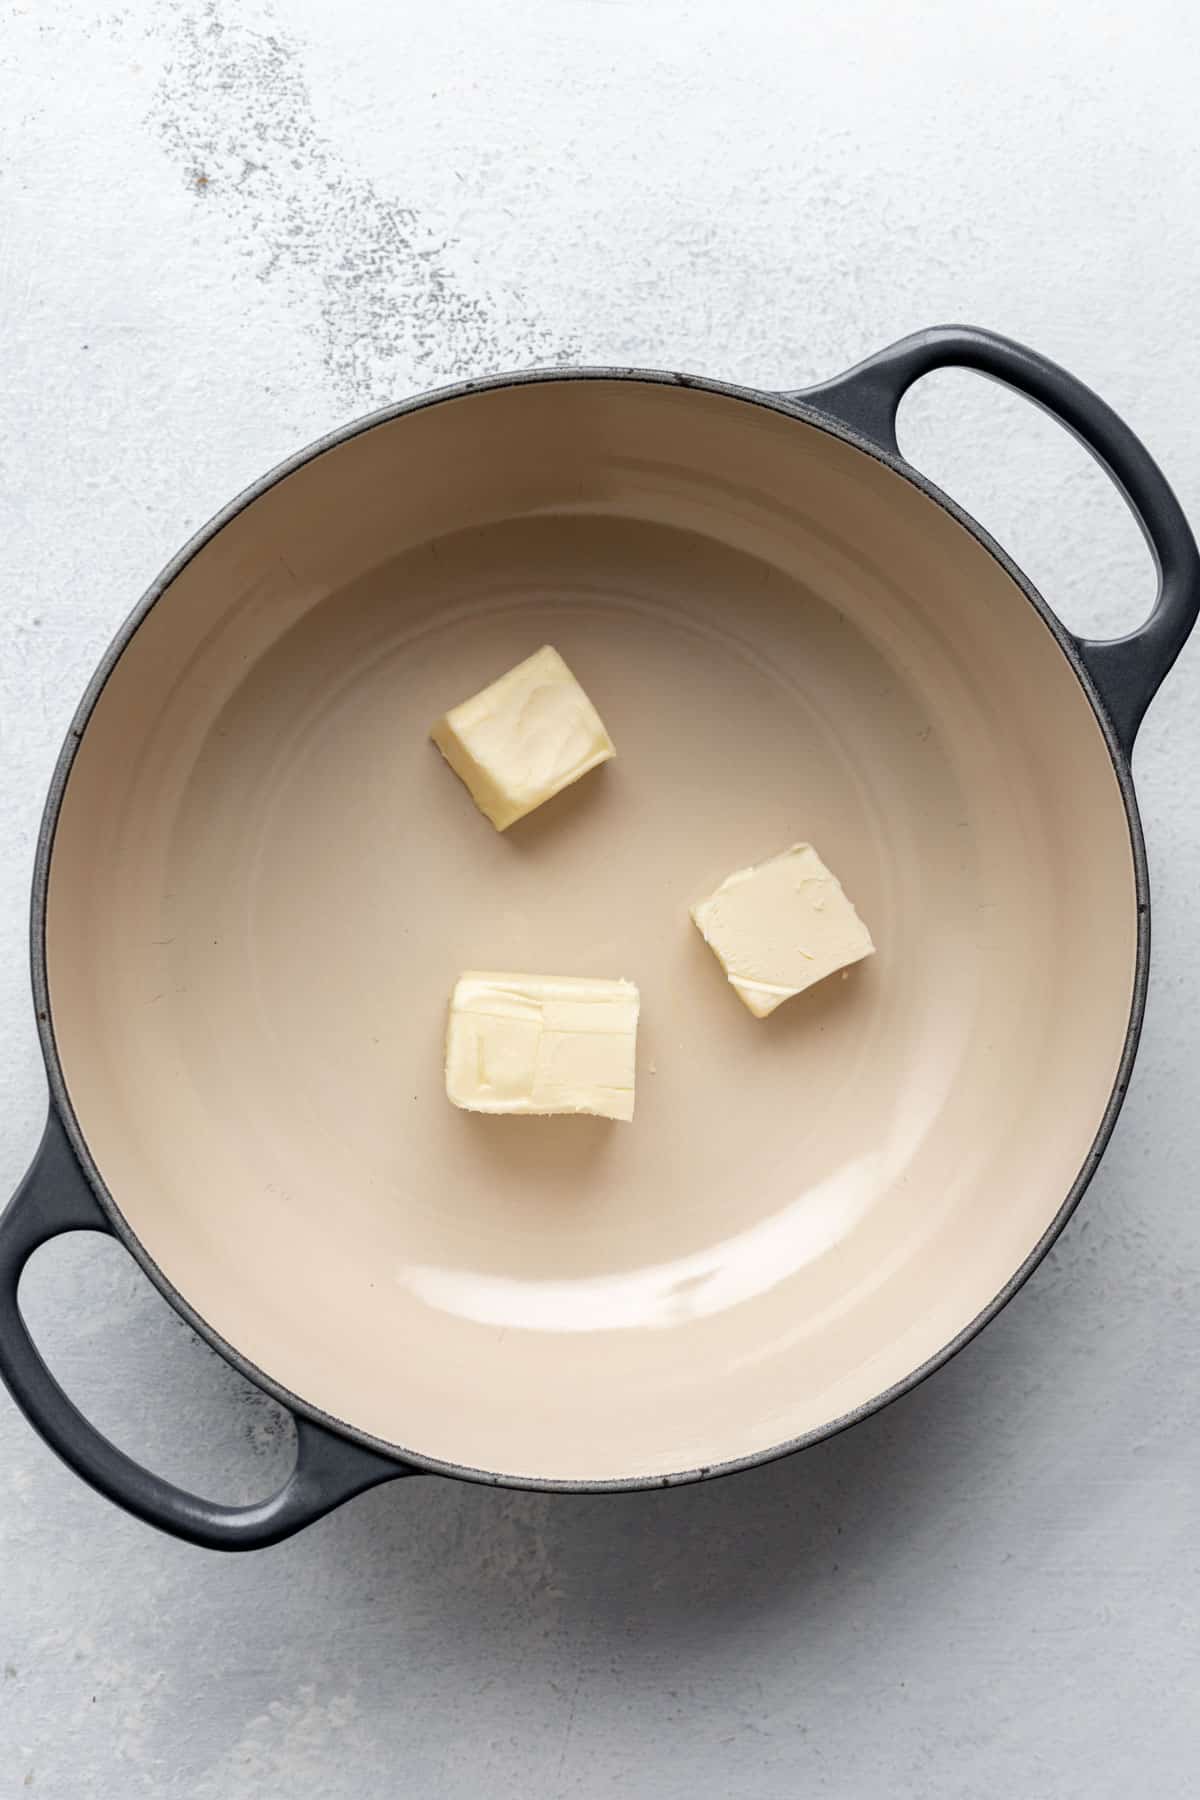
2. In a large pot, melt the butter over medium-low heat. Once the butter is almost completely melted, add the marshmallows.
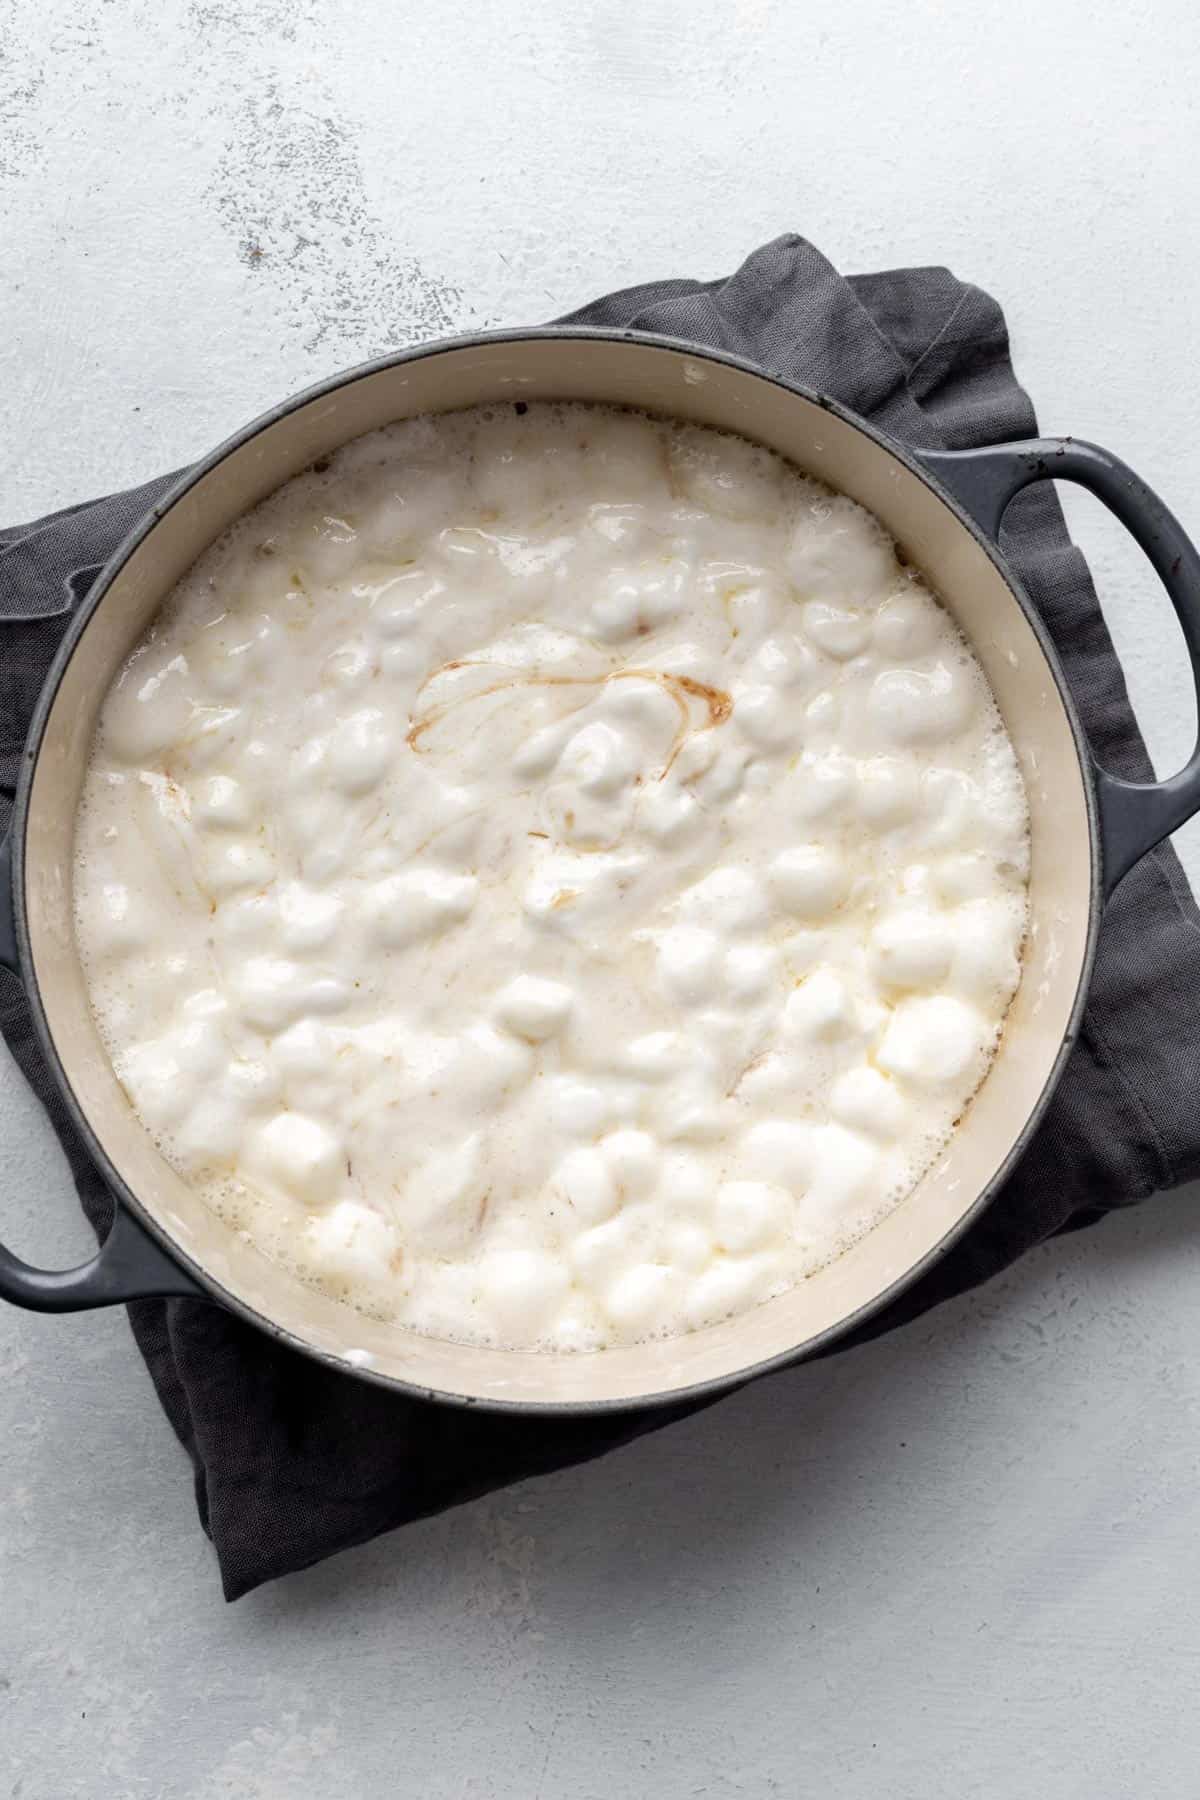
3. Stir to coat the marshmallows fully in the butter. Cook for 5 to 8 minutes, stirring intermittently until the marshmallows melt completely. Don't overcook, as this will cause the mixture to burn and the marshmallows to harden.
4. Remove the pot from the heat. Stir in vanilla extract and salt.
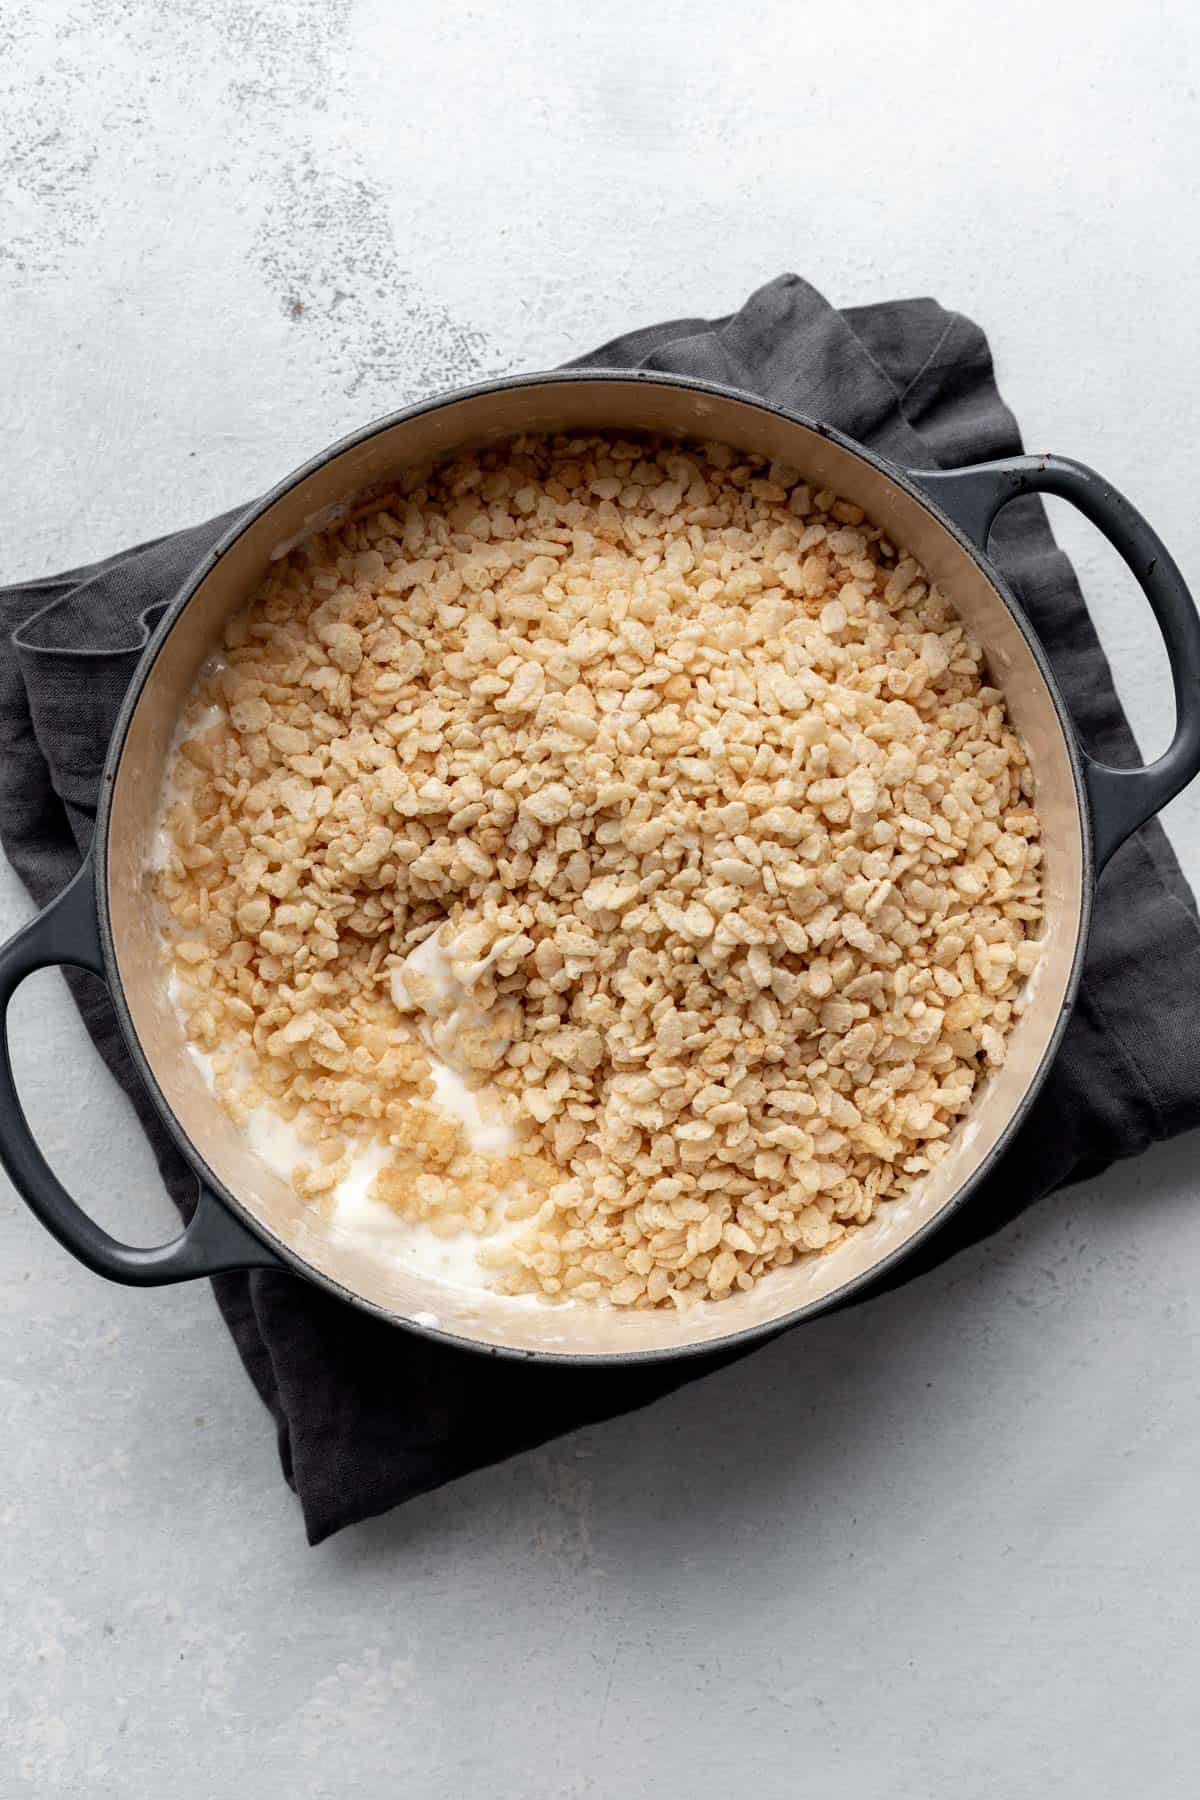
5. Pour in the cereal. Stir to fully combine, making sure to scrape any additional marshmallows from the bottom of the pot.
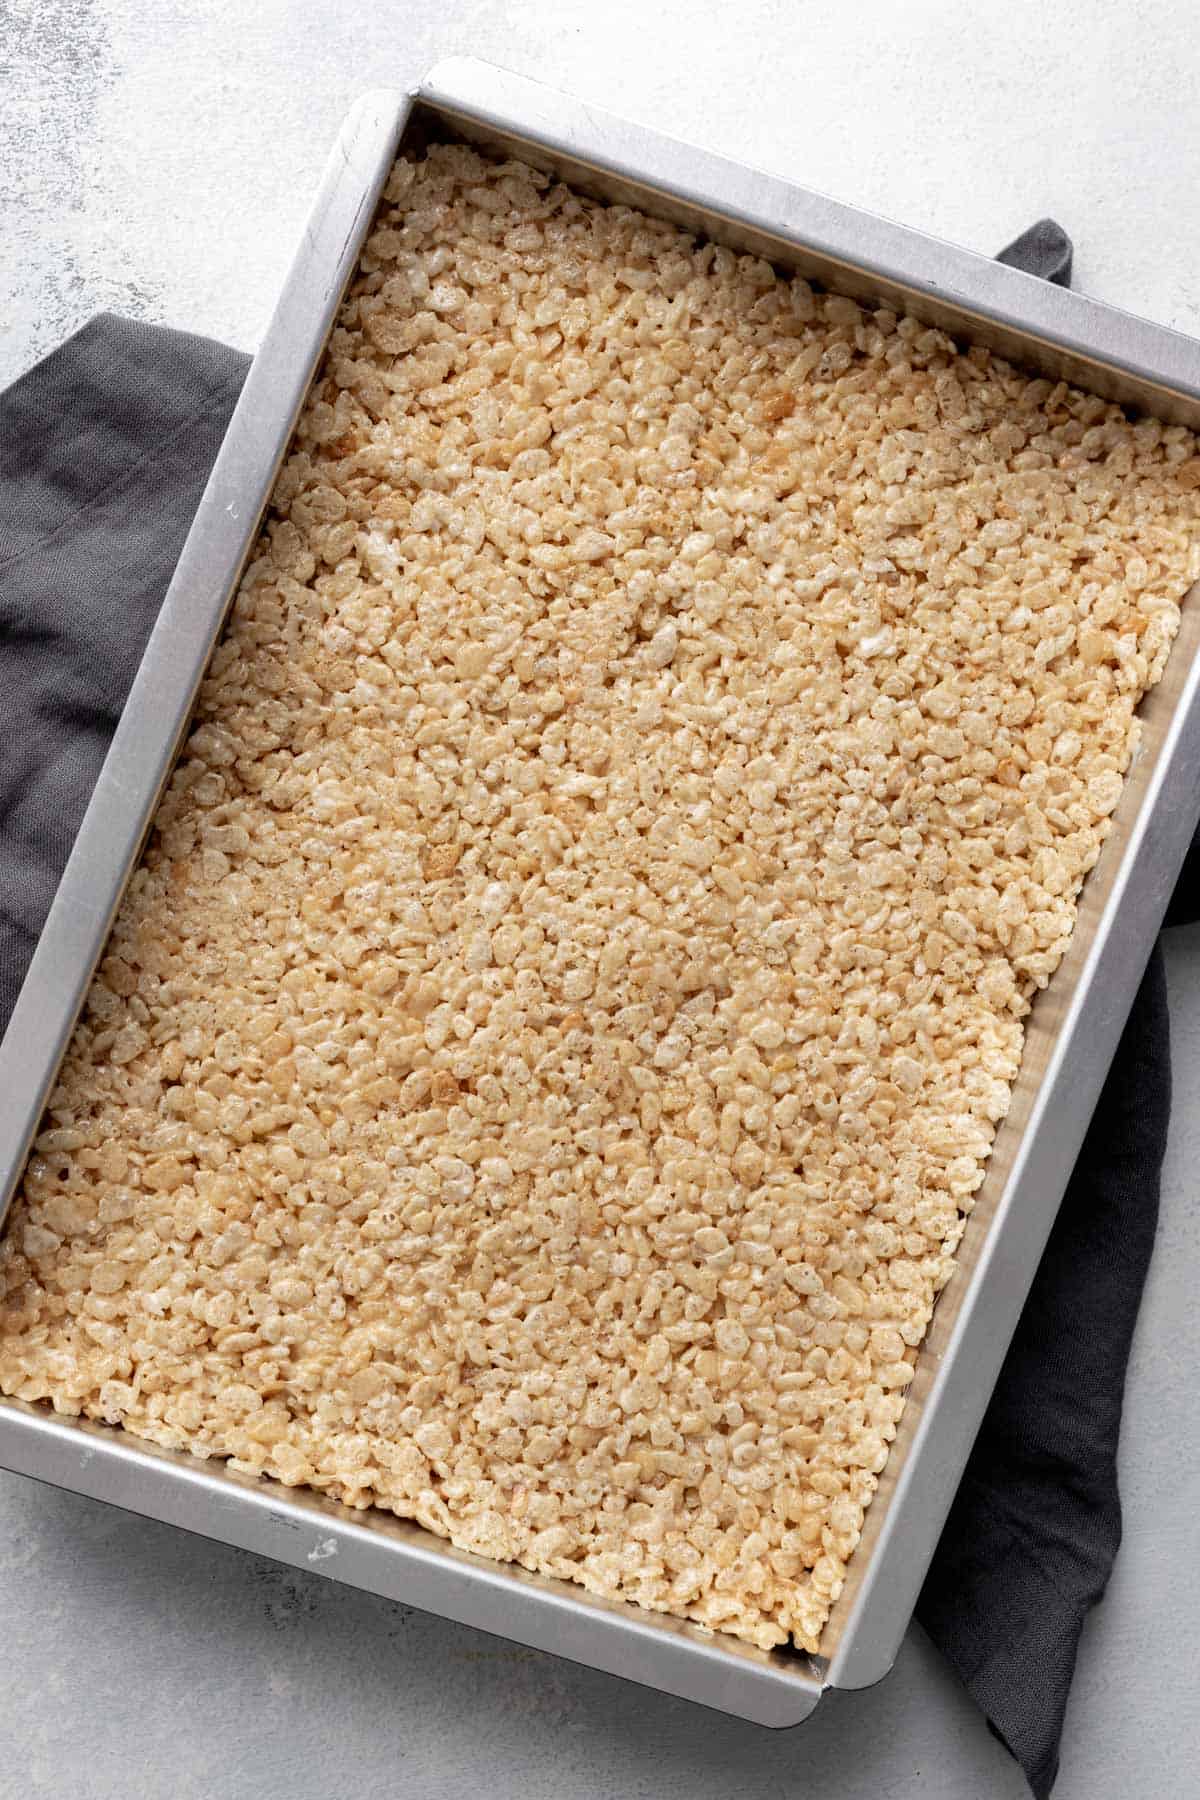
6. Dump out the cereal and marshmallow mixture into the 9x13 baking pan. Using a greased spoon, spread out evenly from edge to edge.
7. Allow the rice krispie treats to cool and slightly harden for about 15 minutes before slicing into 15 even-sized rectangles.
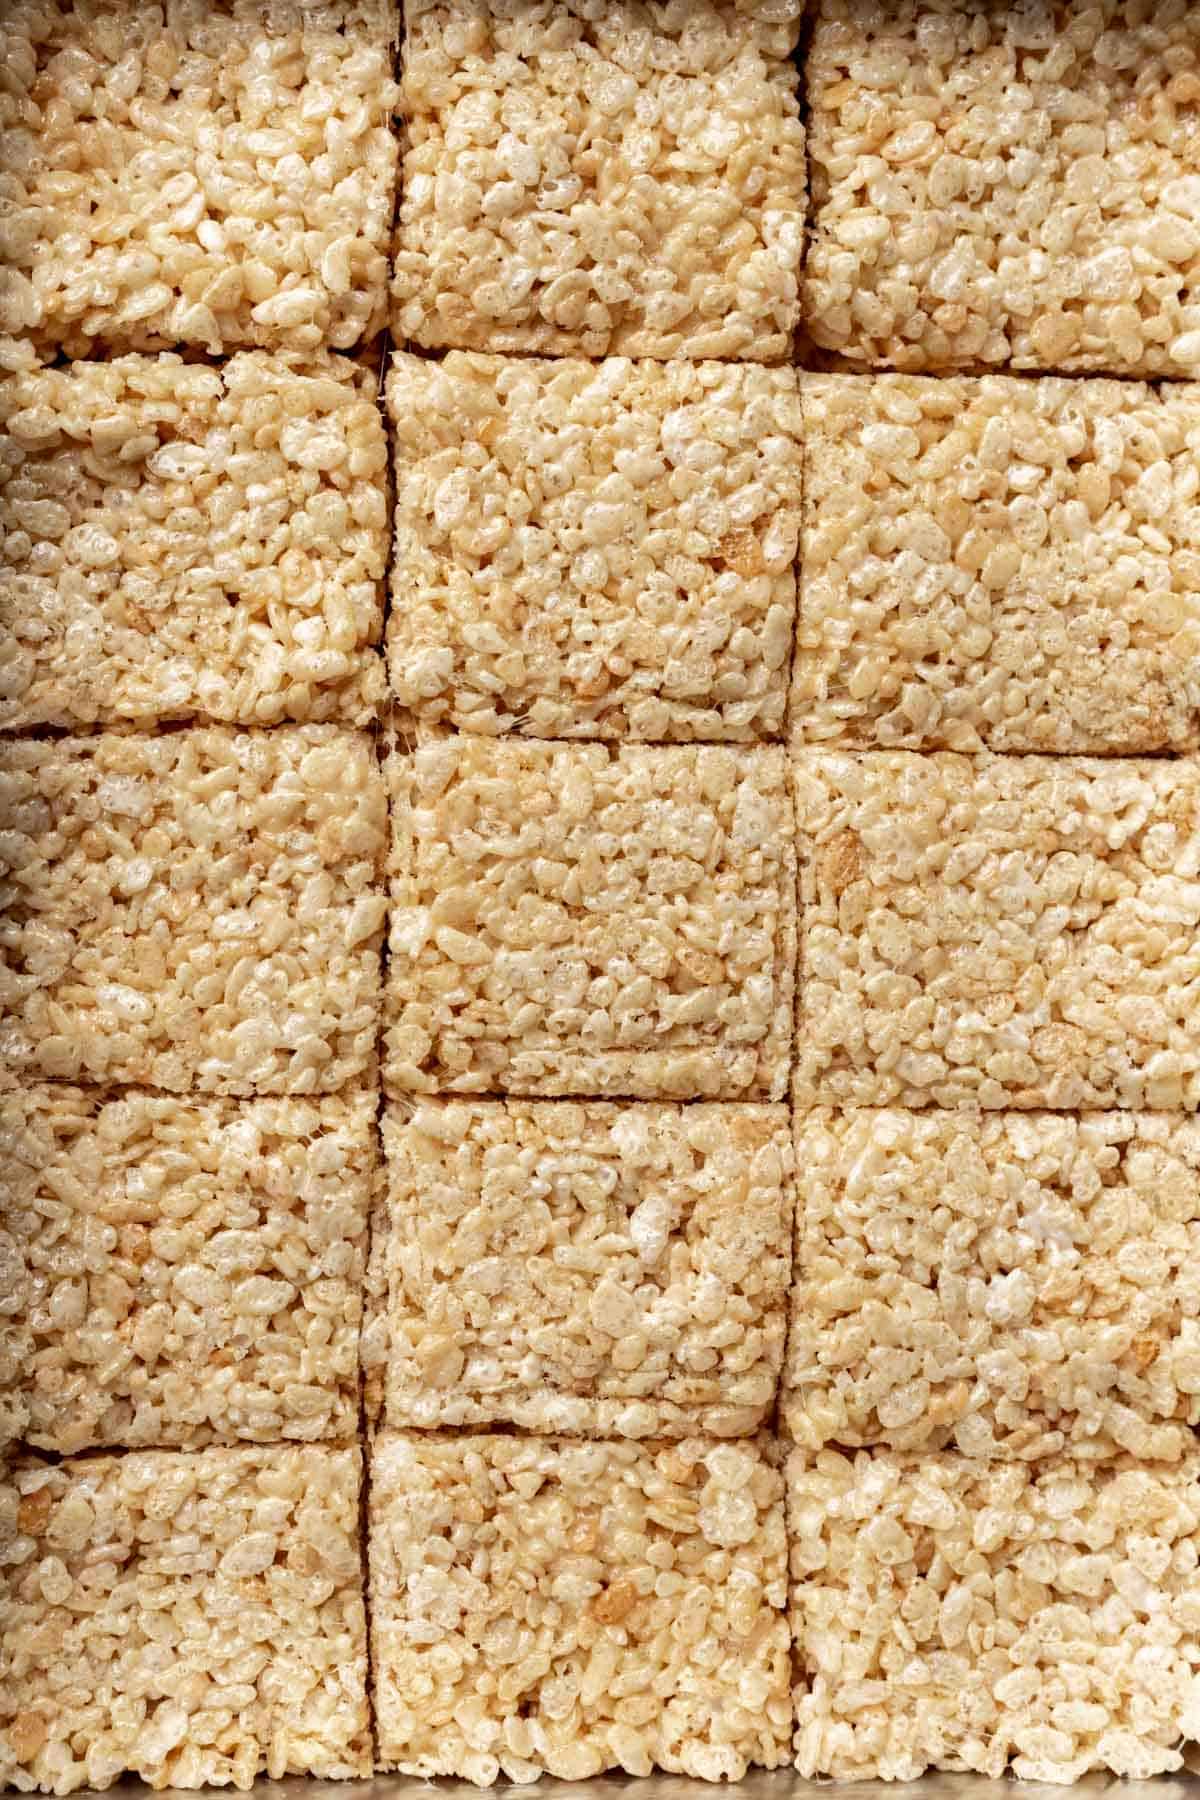
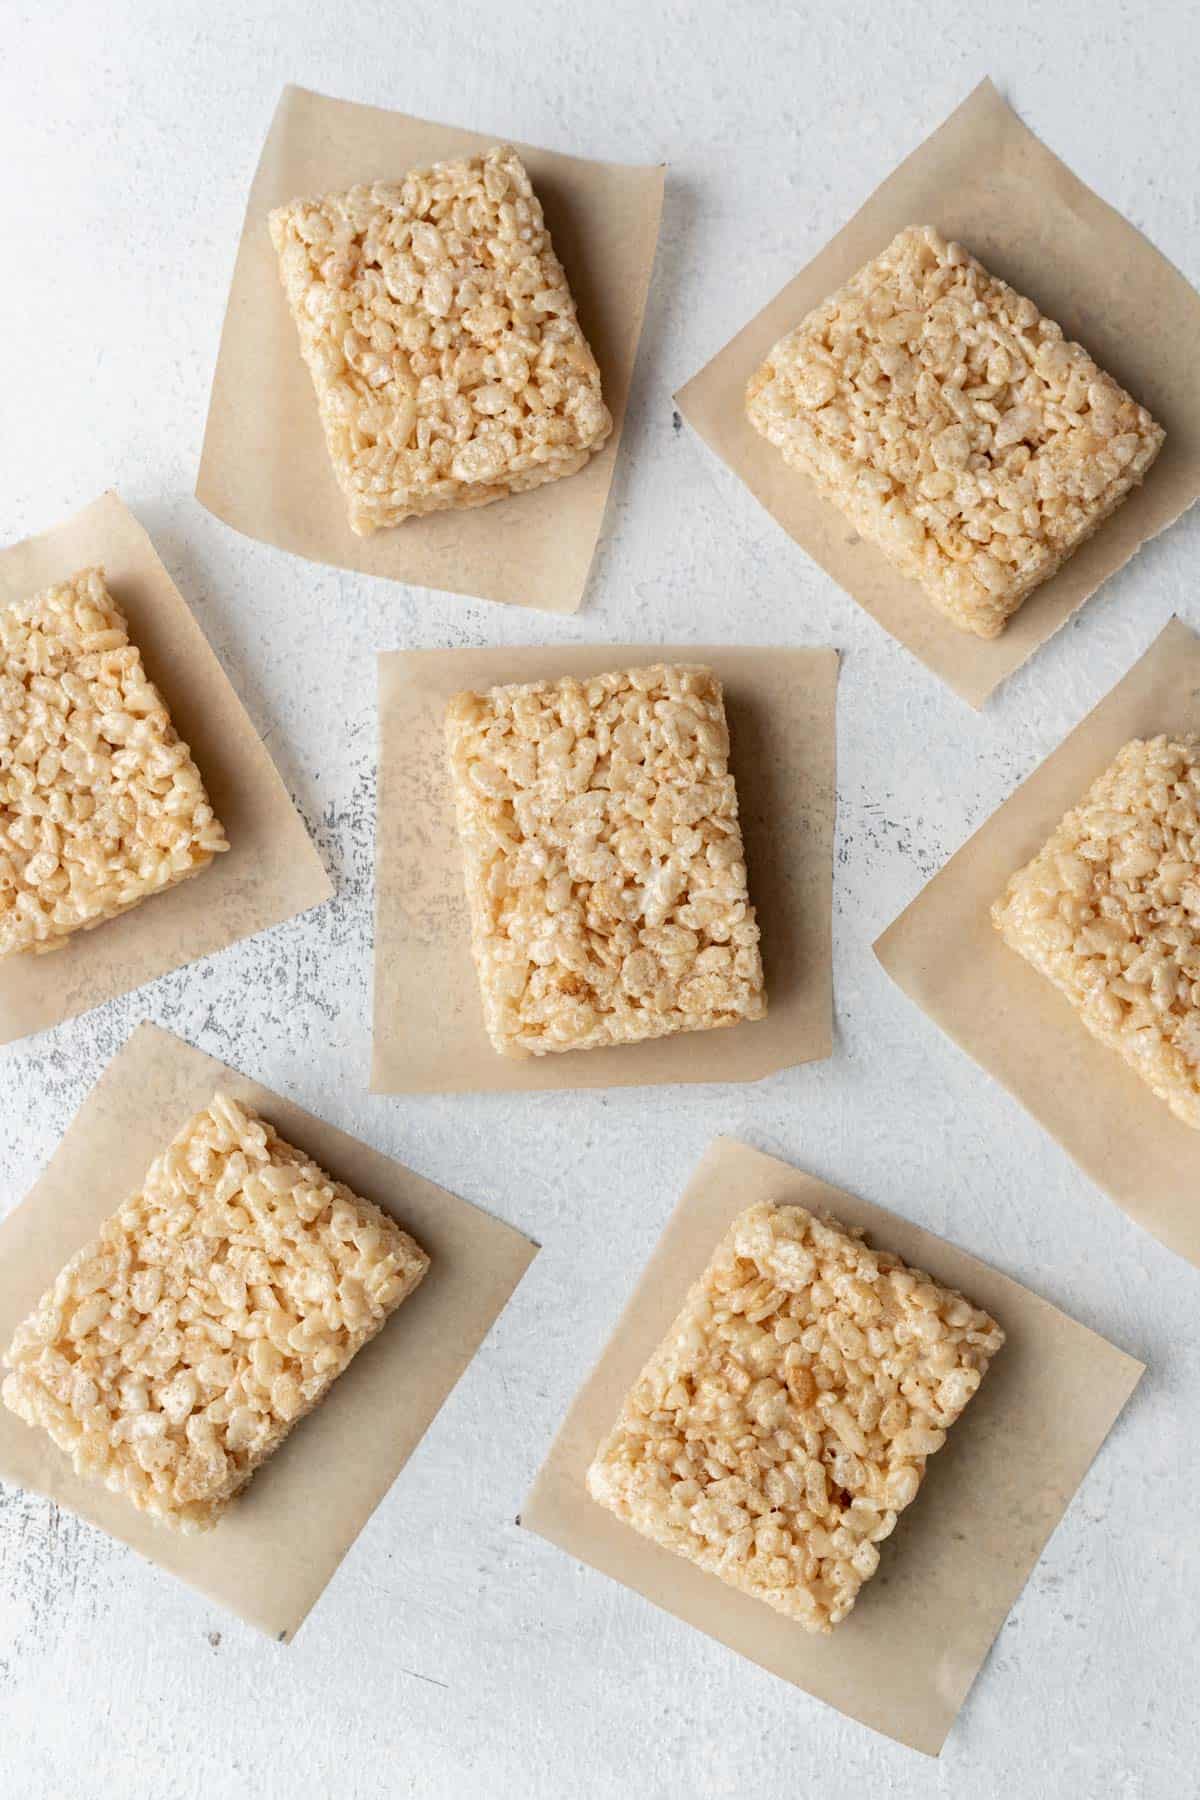
8. Remove them from the baking pan and use your hands to mold them into evenly shaped rectangles.
9. In a small bowl, add white chocolate chips and coconut oil. Melt in 30 second intervals in the microwave until completely smooth.
10. In a separate bowl, add the red sugar.
11. Working with only 1 at a time, dip the top third of a rice Krispie treat in the melted chocolate. Then, dip the top part of the white chocolate in the red sugar to create Santa's hat.
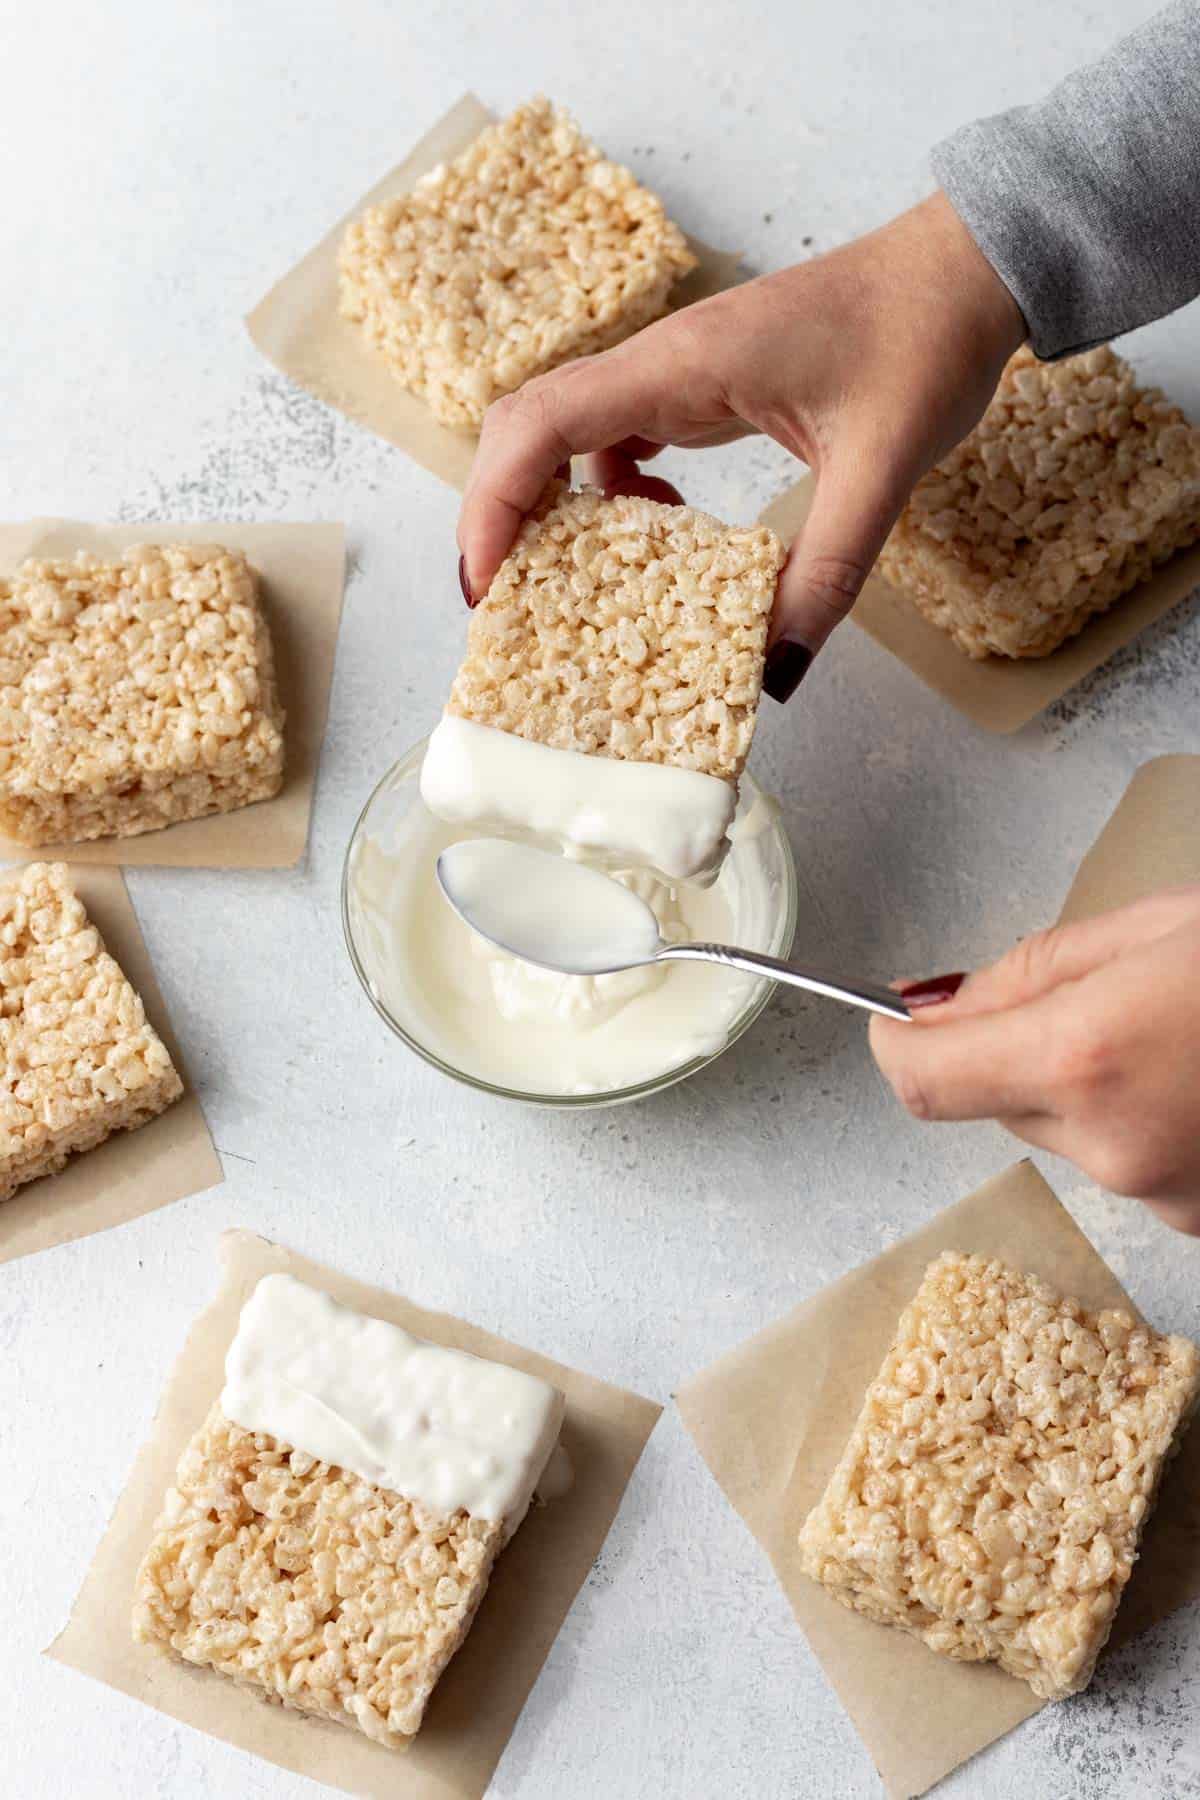
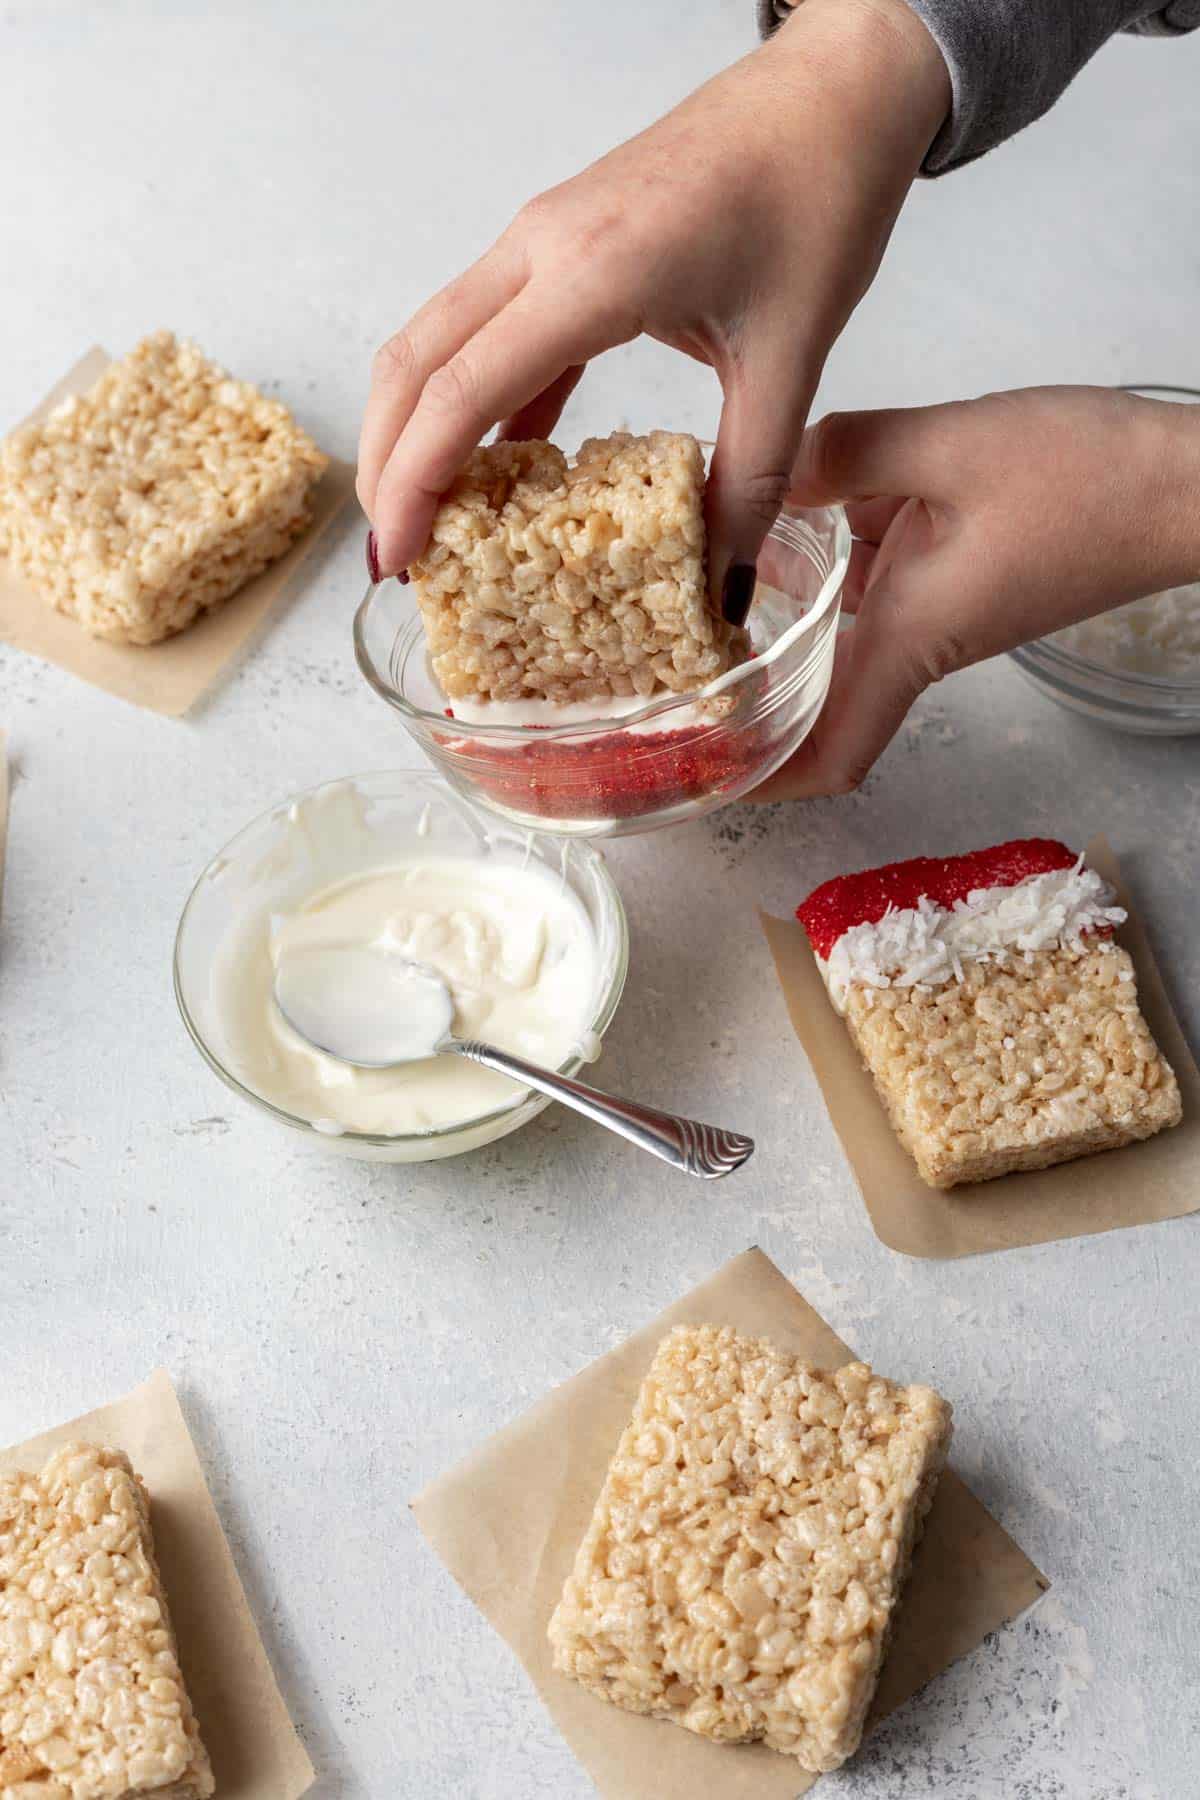
12. There should be a thin line of white chocolate below the red sugar in order to add the coconut, but if not, use a spoon to add a small strip of chocolate before using your fingers to carefully stick in the coconut flakes just below the sugar.
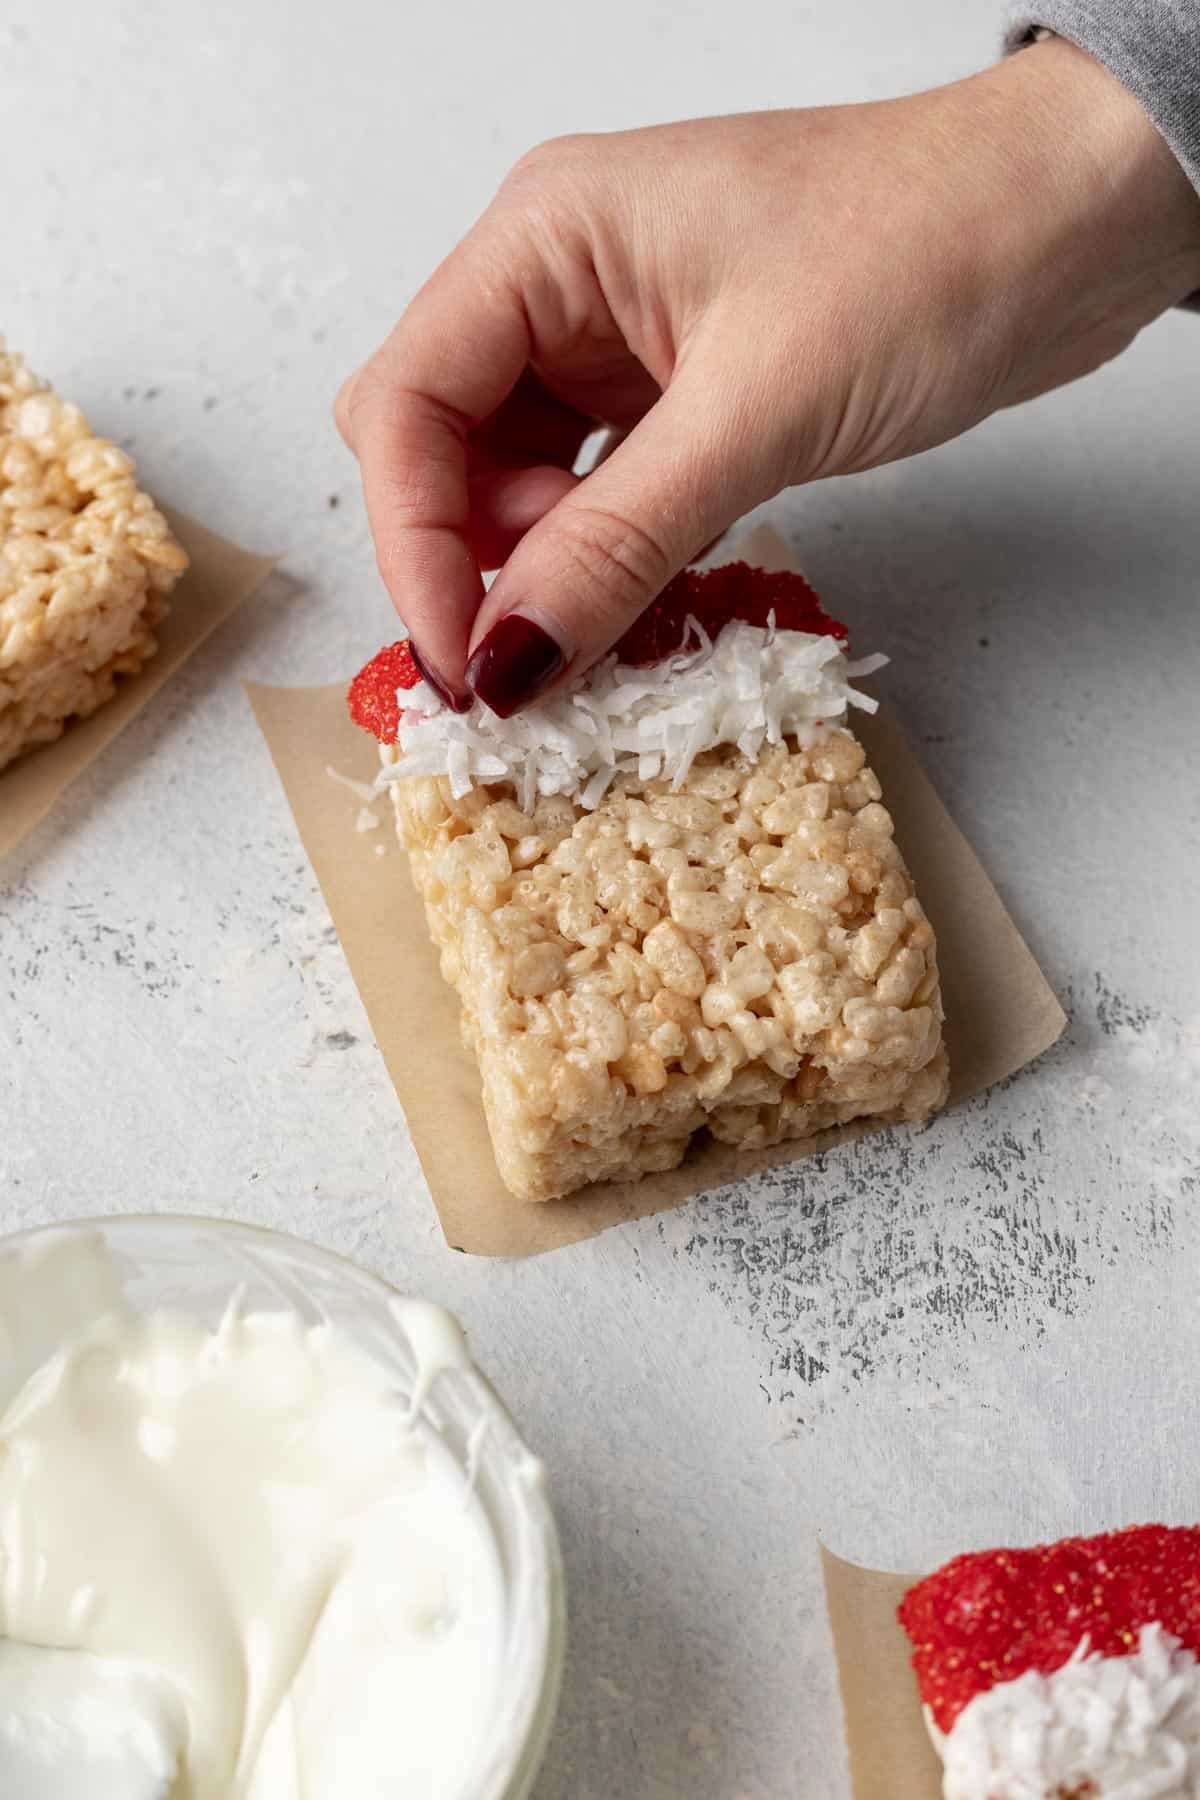
13. Using a spoon, add another small strip of white chocolate to the bottom quarter of the Krispie treat. Using your fingers, stick additional coconut to the bottom white chocolate to create Santa's beard.
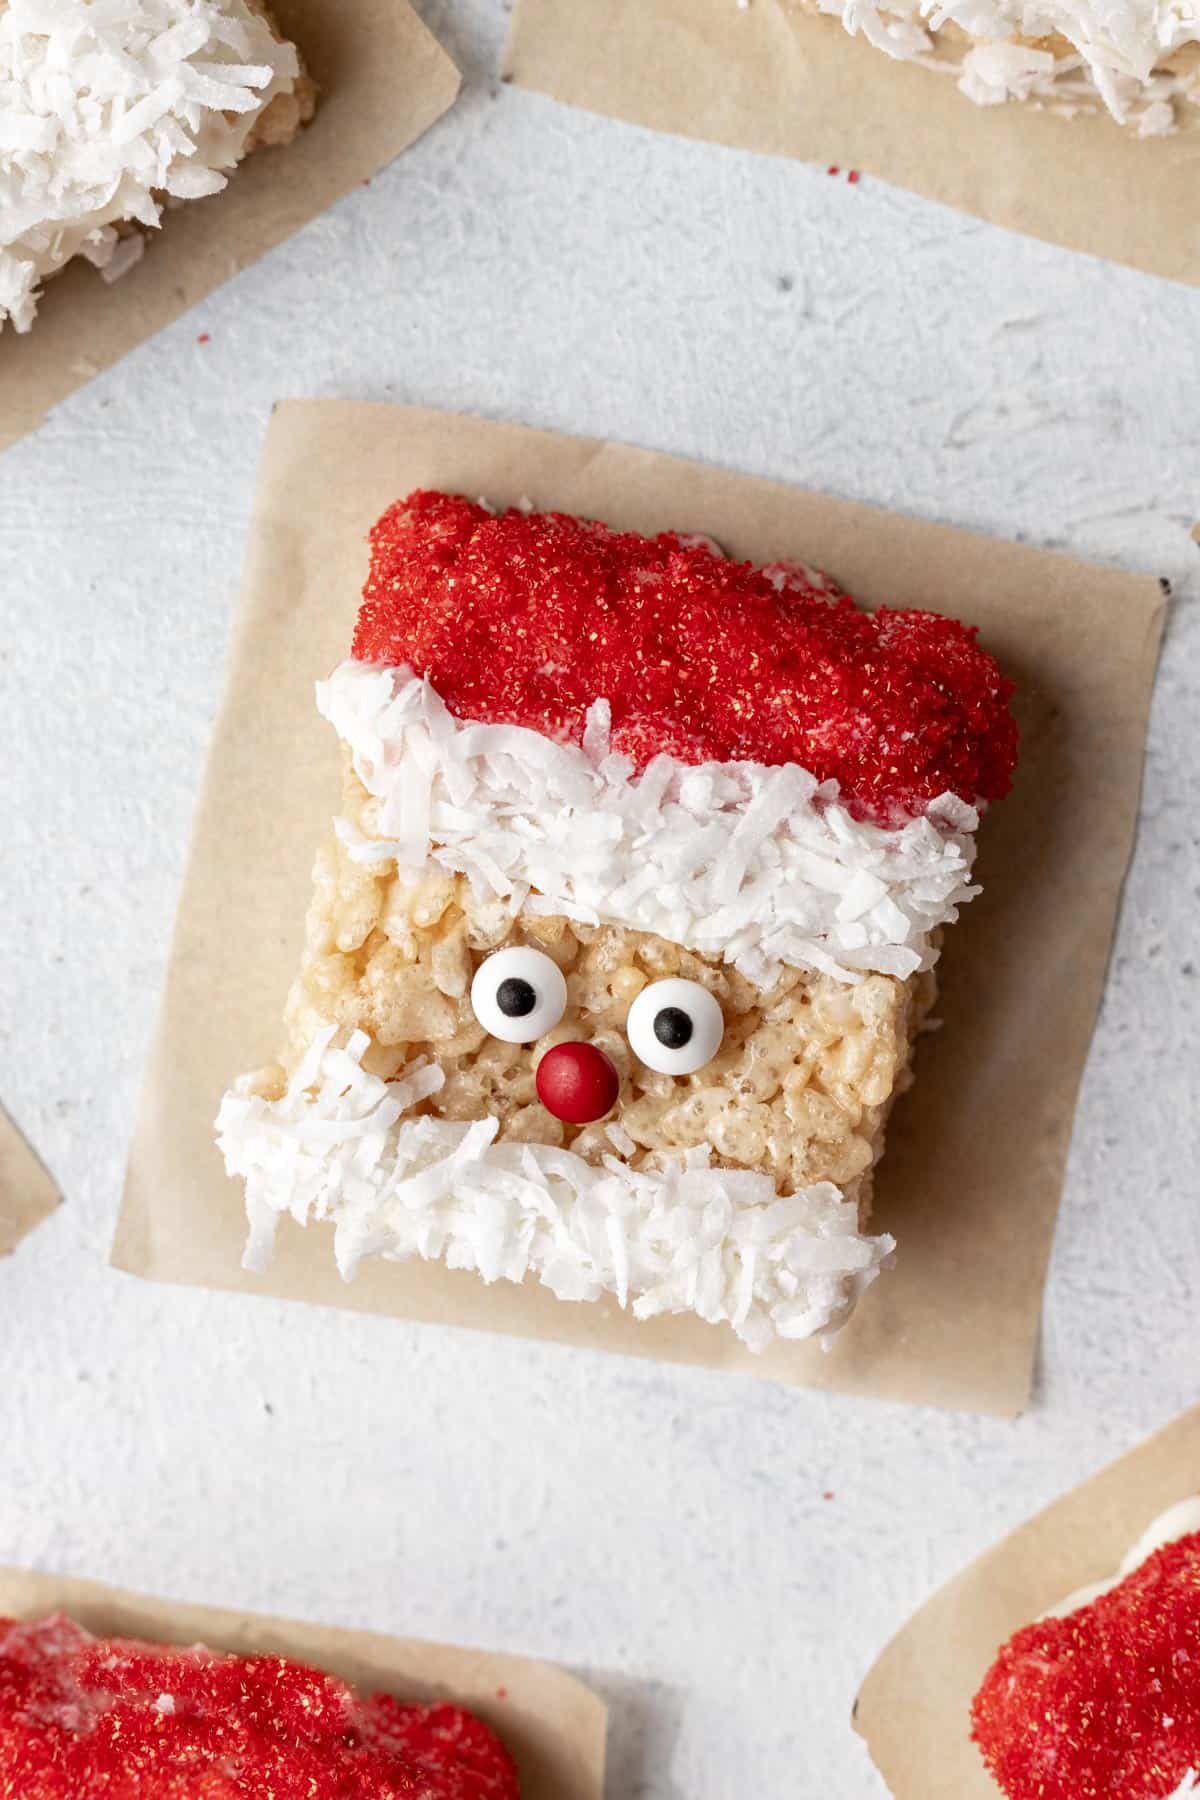
14. Place a very small amount of white chocolate on the back of 2 candy eyes and stick them in the middle of the treat. Add a small amount of white chocolate to a red candy and place this for Santa's nose just below the eyes. (If using a candy like m&m's with a noticeable logo, flip them upside down so only the plain side is showing.)
15. Repeat with the rest of the treats until they're all fully decorated, or decorate half as Santa and the rest like reindeer treats! Allow all the chocolate to harden before moving, stacking, or serving.
⁉️ Substitutions and Alterations
- There are a few different types of shredded coconut you can buy in stores. Both shredded coconut and desiccated coconut would work well to create the Santa beard and Santa hat. Using coconut flakes is not recommended as they are typically much larger and would be difficult to decorate with.
- If you're out of red decorating sugar, try decorating Santa's hat with red sprinkles!
- Melting the white chocolate with coconut oil creates the best consistency for dipping. But if necessary, you can use unsalted butter instead of coconut oil. Do not substitute the coconut oil with another baking oil that is liquid at room temperature - this will make your chocolate too oily.
- For the basic rice krispie treat recipe, I prefer to use unsalted butter with a half teaspoon of kosher salt, but you can use salted butter in a pinch - just omit the kosher salt.
❄️ How to Store
To store: For optimal, long lasting results, store your Santa treats at room temperature in an airtight container for up to 5 days. Refrigeration is not recommended as this will alter the texture.
To freeze: These Santa treats freeze well up to 6 months. Be sure to allow them to fully thaw on the counter at room temperature before enjoying. You can also microwave them for 15 to 30 seconds to help speed up the process.
🔍 FAQs
If you search for red sugar, you will likely come across two versions. One is the version needed for this recipe. It is typically called red decorating sugar or red sanding sugar. It's simply red cane sugar mixed with red food coloring to yield red sugar used to decorate baked goods.
The other is a traditional sugar in Chinese dishes and is what Americans know as brown sugar.
Yes! To make red decorating sugar at home, simply mix 6 tablespoons of white cane sugar with 5 drops of red food dye or red food gel until completely incorporated and the white sugar is made red. Add additional food coloring as needed until desired color is achieved.
Heating the butter and marshmallows at too high of heat is a common culprit of hard rice Krispie treats. This causes the marshmallows to lose too much moisture and therefore lose their fluffy softness.
Additionally, make sure to store any leftover rice krispie treats properly. Storing in an airtight container on your counter prevents them from going stale and turning hard.
No, rice Krispie treats should not be refrigerated. This will also make them harder and the rice cereal will lose it's crispness.
💭 One More Tip
Don't worry about decorating your Santa treats perfectly! Have fun with it and get the kids involved. Enjoy!
🍴 Related Recipes
Share your cooking with me! If you make this recipe, I'd love to know! Tag @yourhomemadehealthy on Instagram or leave a comment with a rating and some feedback at the bottom of this page!
Santa Rice Krispie Treats
Equipment
Ingredients
- 6 tablespoons unsalted butter
- 15 ounces mini marshmallows (about 1 ½ bags)
- ½ teaspoon vanilla extract
- ½ teaspoon kosher salt
- 8 cups rice cereal such as Rice Krispies
- 2 cups white chocolate chips
- 2 teaspoons coconut oil
- 6 tablespoons red sugar
- ½ cup sweetened shredded coconut
- 30 candy eyes
- 15 small red candies (mini m&m's or red hots)
Instructions
- Prepare a 9x13 baking pan by spraying it with nonstick spray and adding parchment paper to the bottom for easy removal.
- In a large pot, melt the butter over medium-low heat. Once the butter is almost completely melted, add the marshmallows.
- Stir to coat the marshmallows fully in the butter. Cook for 5 to 8 minutes, stirring intermittently until the marshmallows melt completely. Don't overcook, as this will cause the mixture to burn and the marshmallows to harden.
- Remove the pot from the heat. Stir in vanilla extract and salt.
- Pour in the cereal. Stir to fully combine, making sure to scrape any additional marshmallows from the bottom of the pot.
- Dump out the cereal and marshmallow mixture into the 9x13 baking pan. Using a greased spoon, spread out evenly from edge to edge.
- Allow the rice krispie treats to cool and slightly harden for about 15 minutes before slicing into 15 even-sized rectangles.
- Remove them from the baking pan and use your hands to mold them into evenly shaped rectangles.
- In a small bowl, add white chocolate chips and coconut oil. Melt in 30 second intervals in the microwave until completely smooth.
- In a separate bowl, add the red sugar.
- Working with only 1 at a time, dip the top third of a rice krispie treat in the melted chocolate. Then, dip the top part of the white chocolate in the red sugar to create santa's hat.
- There should be a remaining thin line of white chocolate below the red sugar in order to add the coconut, but if not, use a spoon to add a small strip of chocolate before using your fingers to carefully stick in the coconut flakes just below the sugar.
- Using a spoon, add another small strip of white chocolate to the bottom quarter of the krispie treat. Using your fingers, stick additional coconut to the bottom white chocolate to create santa's beard.
- Place a very small amount of white chocolate on the back of 2 candy eyes and stick them in the middle of the treat. Add a small amount of white chocolate to a red candy and place this for his nose just below the eyes. (If using a candy like m&m's with a noticeable logo, flip them upside down so only the plain side is showing.)
- Repeat with the rest of the treats until they're all fully decorated, or decorate half as santa and the rest like reindeer! Allow all the chocolate to harden before moving, stacking, or serving.
Storage
- To store: For optimal, long lasting results, store your Santa treats at room temperature in an airtight container for up to 5 days. Refrigeration is not recommended as this will alter the texture. To freeze: These treats freeze well up to 6 months. Be sure to allow them to fully thaw on the counter at room temperature before enjoying. You can also microwave them for 15 to 30 seconds to help speed up the process.
Notes
- Candy eyes can be found in the baking or cake decorating aisle of your grocery store. You can also purchase them on amazon.
- Use the photos provided in the above post to help you with assembling the decorations.
Nutrition
Want more recipes like this delivered right to your inbox? Be sure to subscribe above and never miss a thing!





Lexi says
These are the cutest and so easy to make! Loving your holiday rice krispie series!
Alana Lieberman says
Thank you! These are definitely one of my favorites too 🙂