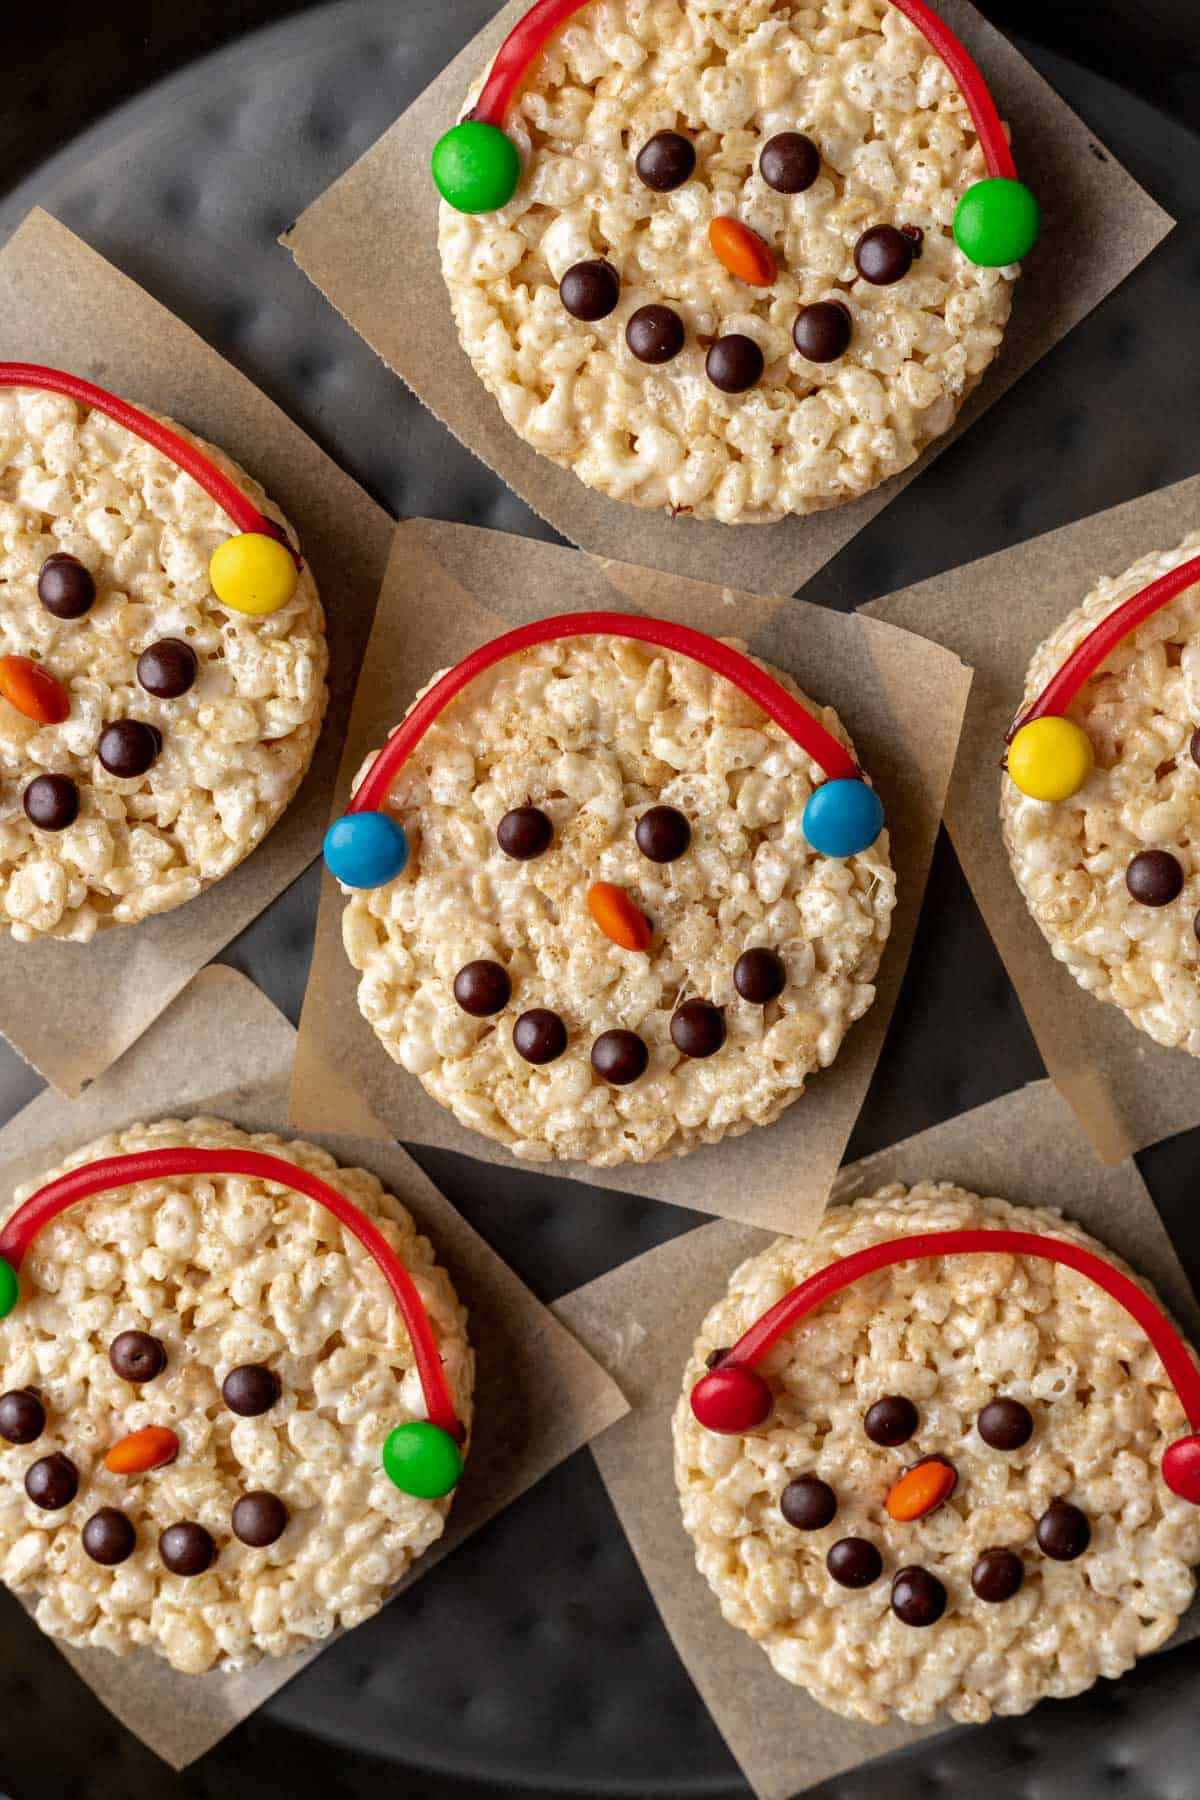
Add some holiday cheer to your winter parties this year with these no-bake Snowman Rice Krispie Treats! They're the perfect winter dessert to bring to school events, gift exchanges, and a kid-friendly snow day activity. All you need is 6 simple ingredients, plus candies for decorating!
Jump to:
📋 About the Recipe
- These snowmen are a great wintertime treat - not just for Christmas!
- A great make-ahead dessert! The addition of extra butter and marshmallows allows these snowman treats to stay fresh for up to 5 days.
- Very kid-friendly - a great edible craft to involve the kids in! Allow them to get creative and decorate their own snowman.
- Minimal dishes required - All you need to make this no-bake holiday dessert is a spatula, 1 large pot, and a 4 inch round cookie cutter, which means easy clean up, too!
- No wasted scraps! I recommend pressing the rice Krispie treats into the 4 inch round cookie cutter directly from the pot instead of cutting circles out of a tray of rice krispie treats and being left with wasted scraps.
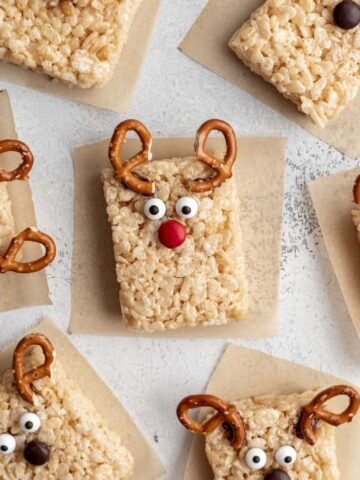
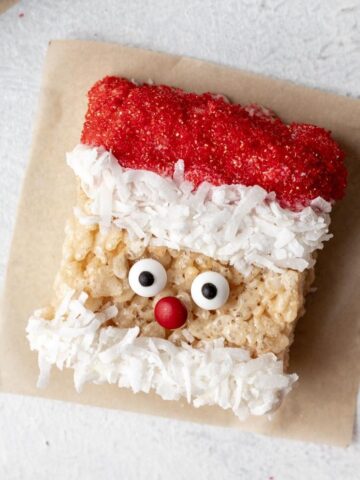
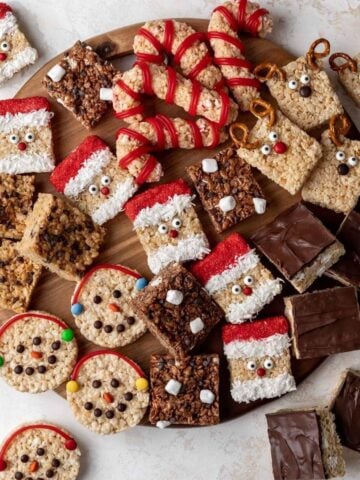
- These treats go perfectly with my other festive winter-time snacks. Try them along with santa rice krispie treats, reindeer rice krispie treats, and peppermint candy cane treats!
🛒 Ingredients
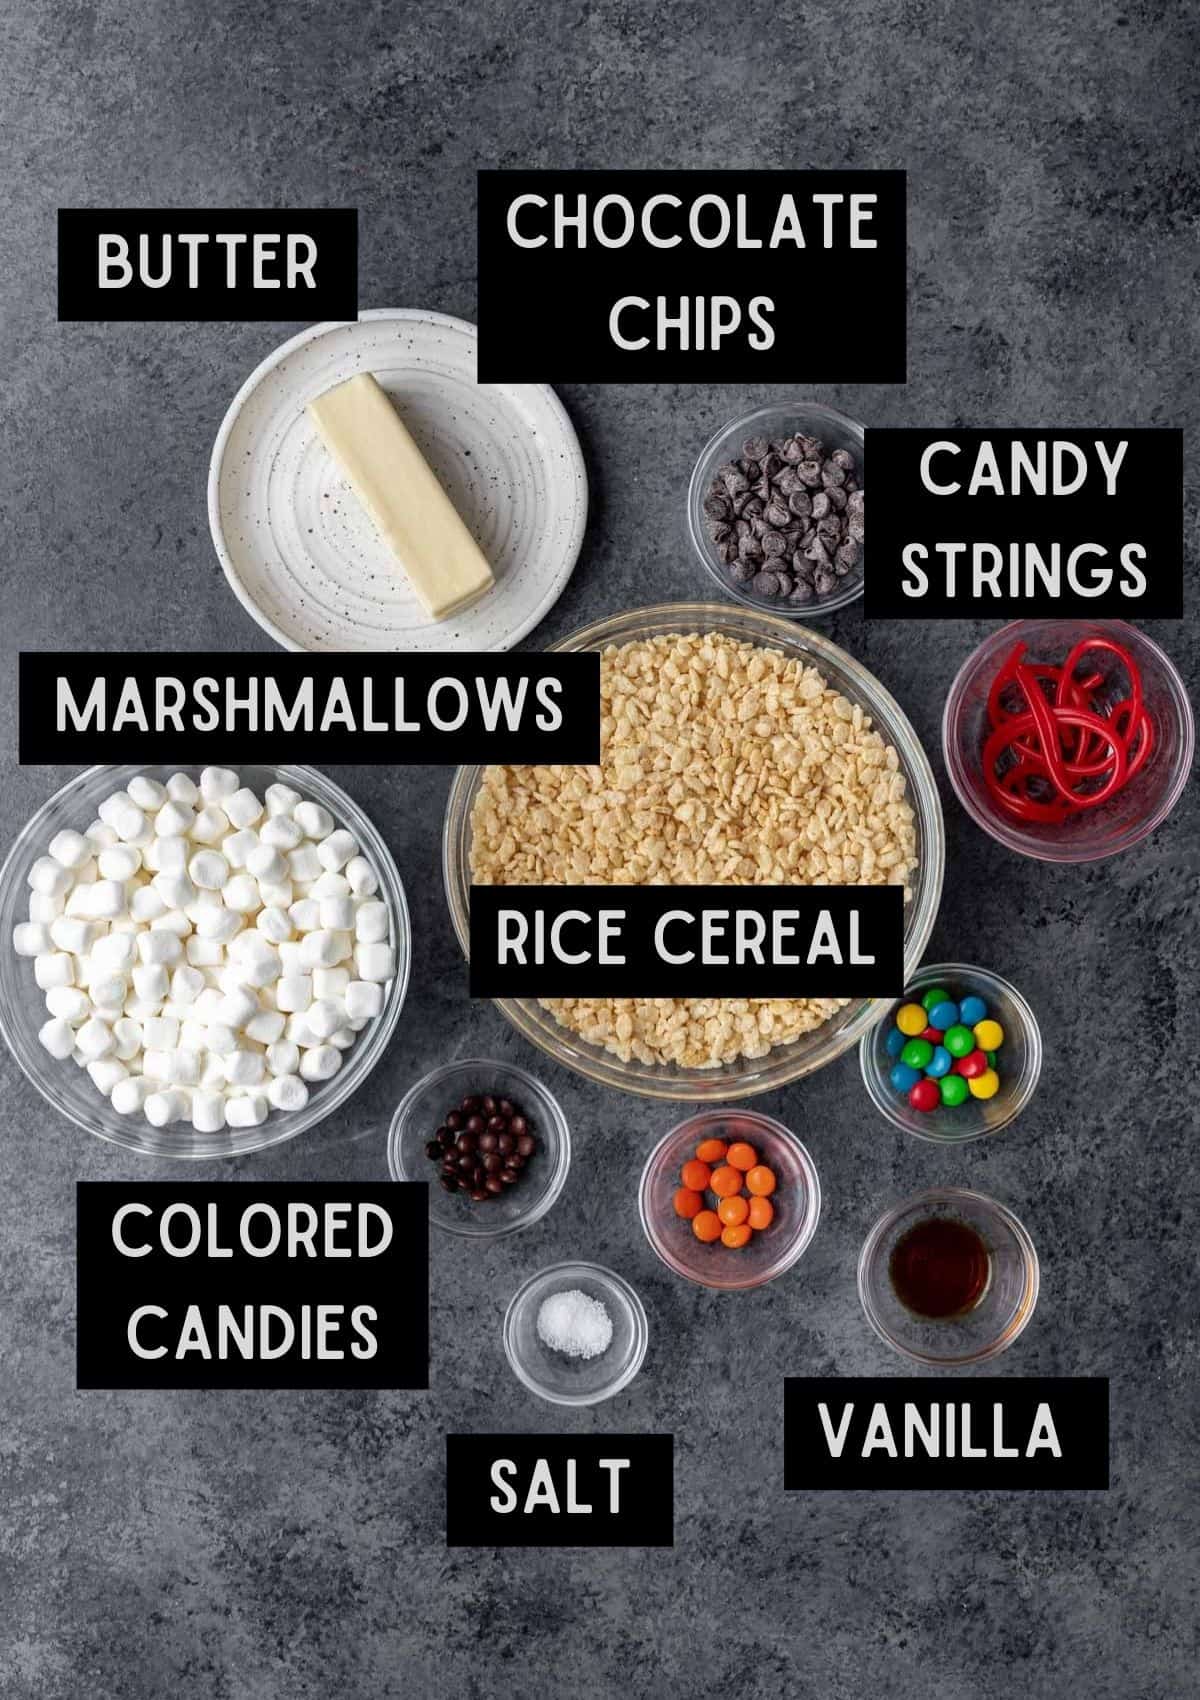
A few notes about the ingredients:
- Rice cereal - A crucial component in any rice Krispie treat! 8 cups is the perfect amount of rice cereal in this recipe.
- Marshmallows - Fresh marshmallows are another essential ingredient. This is what makes them soft and gooey!
- Butter - Gives these treats the best rich, creamy flavor while keeping them both moist and chewy for up to 5 days.
- Chocolate chips - Melted chocolate is used as the glue that keeps the earmuffs, eyes, nose and smile on! I use semi-sweet chocolate chips, however any melted chocolate will do. Chocolate is neutral in flavor and compliments the butteriness of the treats well. If you're making my Candy Cane Rice Krispie Treats or my Santa Rice Krispie Treats, feel free to repurpose any leftover white chocolate as the glue in this recipe.
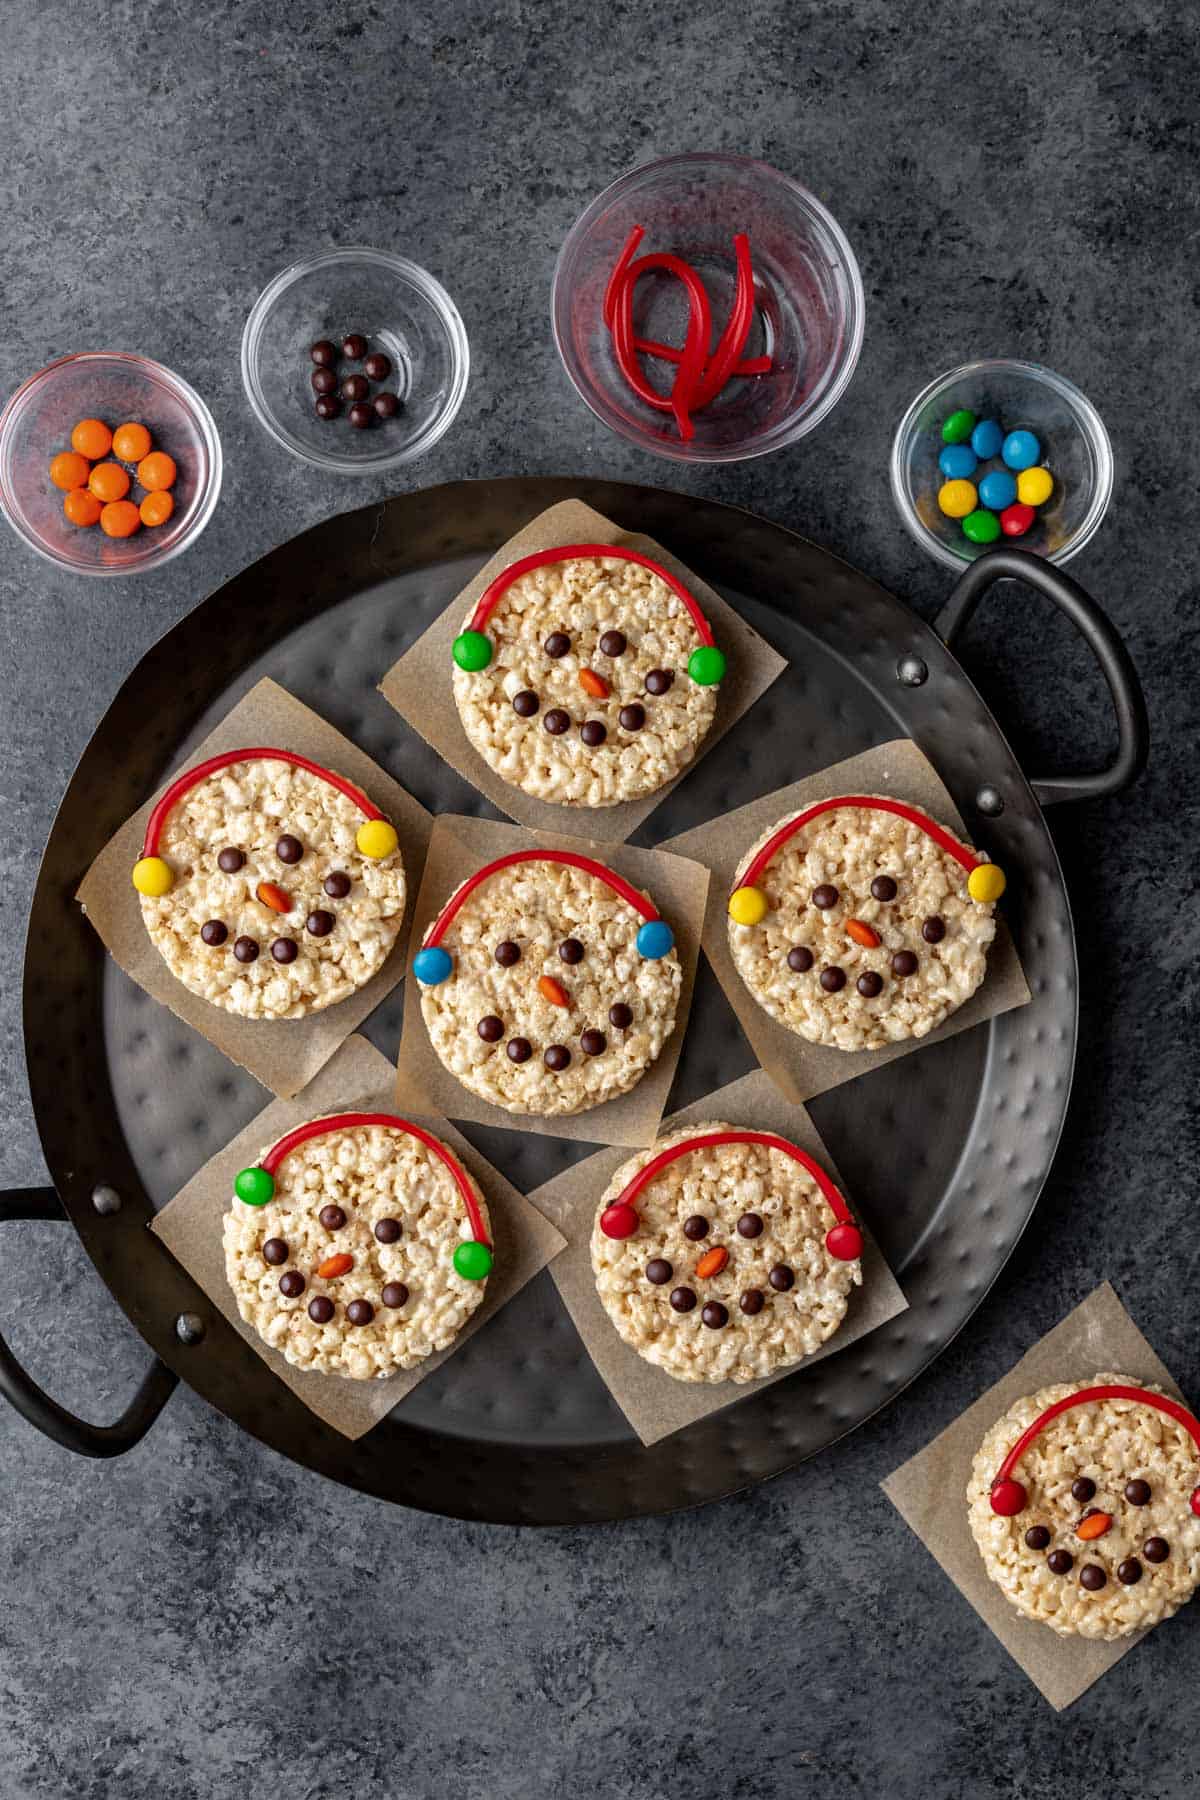
- Chocolate candies - To create the snowman's nose, I used half of an orange M&M. To create the snowman's eyes and smile, I used brown mini M&Ms. To create his ear muffs, I used various bright colored M&Ms. Use any similar chocolate candies you can find!
- Candy "ropes" or candy "strings" - Used to connect the snowman's ear muffs! Use the remaining strings leftover to make my Candy Cane Rice Krispie Treats!
📓 Instructions
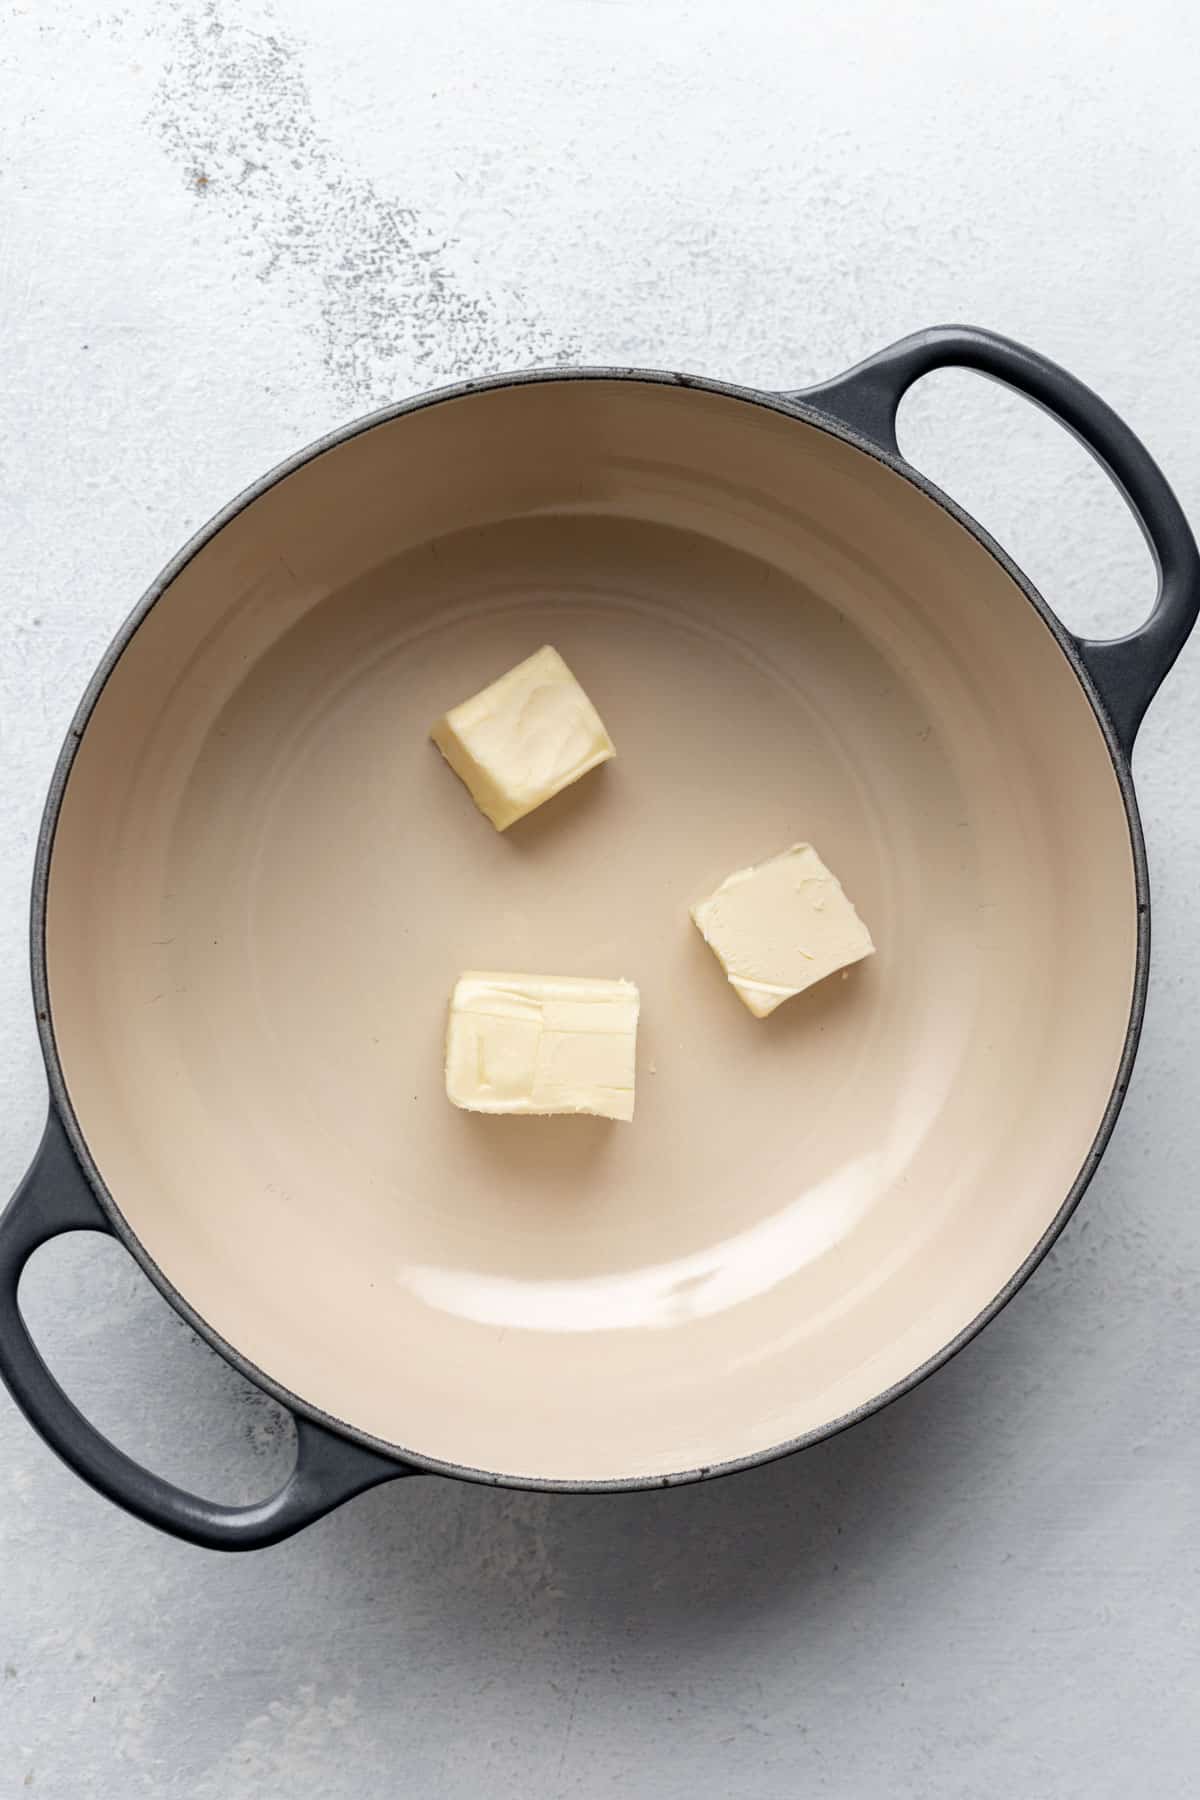
1. In a large pot, melt the butter over medium-low heat. Once the butter is almost completely melted, add the marshmallows.
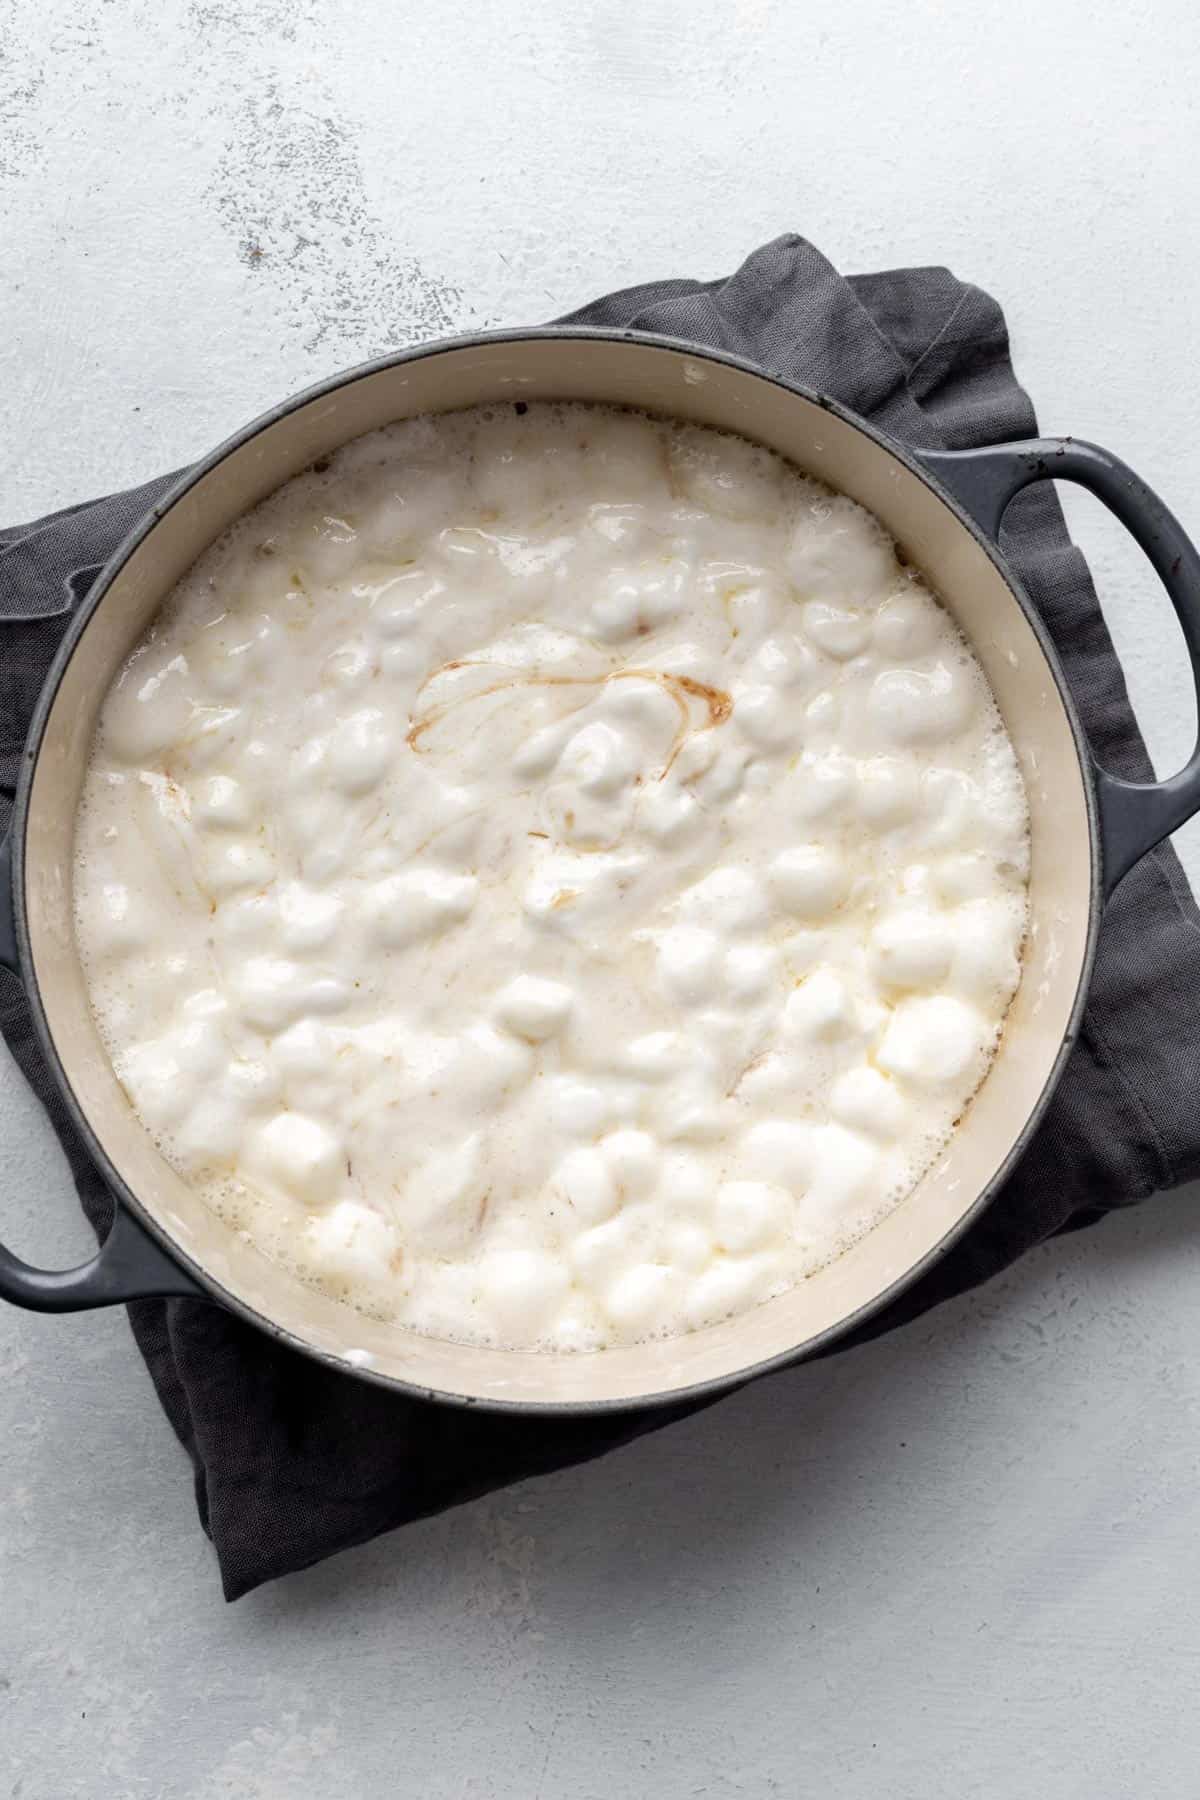
2. Stir to coat the marshmallows fully in the butter. Cook for 5 to 8 minutes, stirring intermittently until the marshmallows melt completely. Don't overcook, as this will cause the mixture to burn and the marshmallows to harden.
3. Remove the pot from the heat. Stir in vanilla extract and salt.
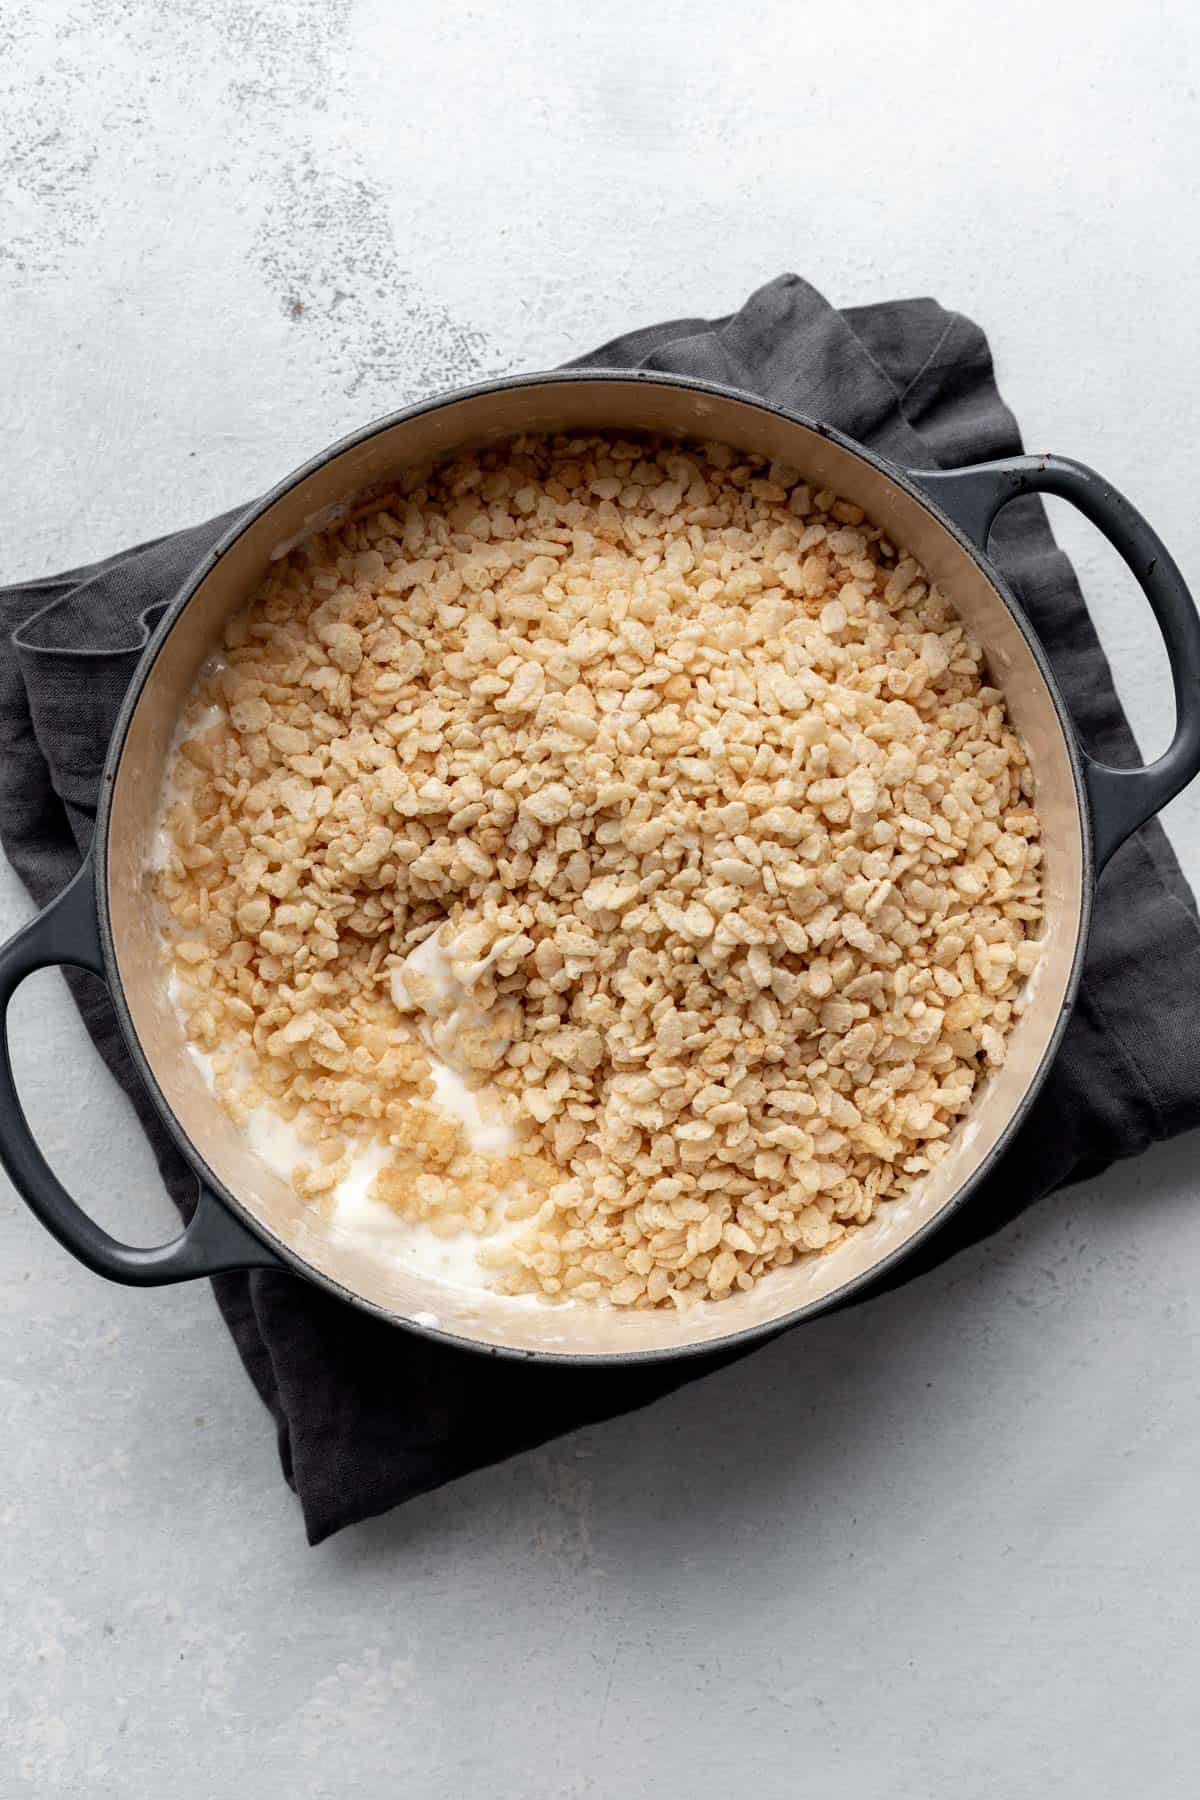
4. Pour in the cereal. Stir to fully combine, making sure to scrape any additional marshmallows from the bottom of the pot.
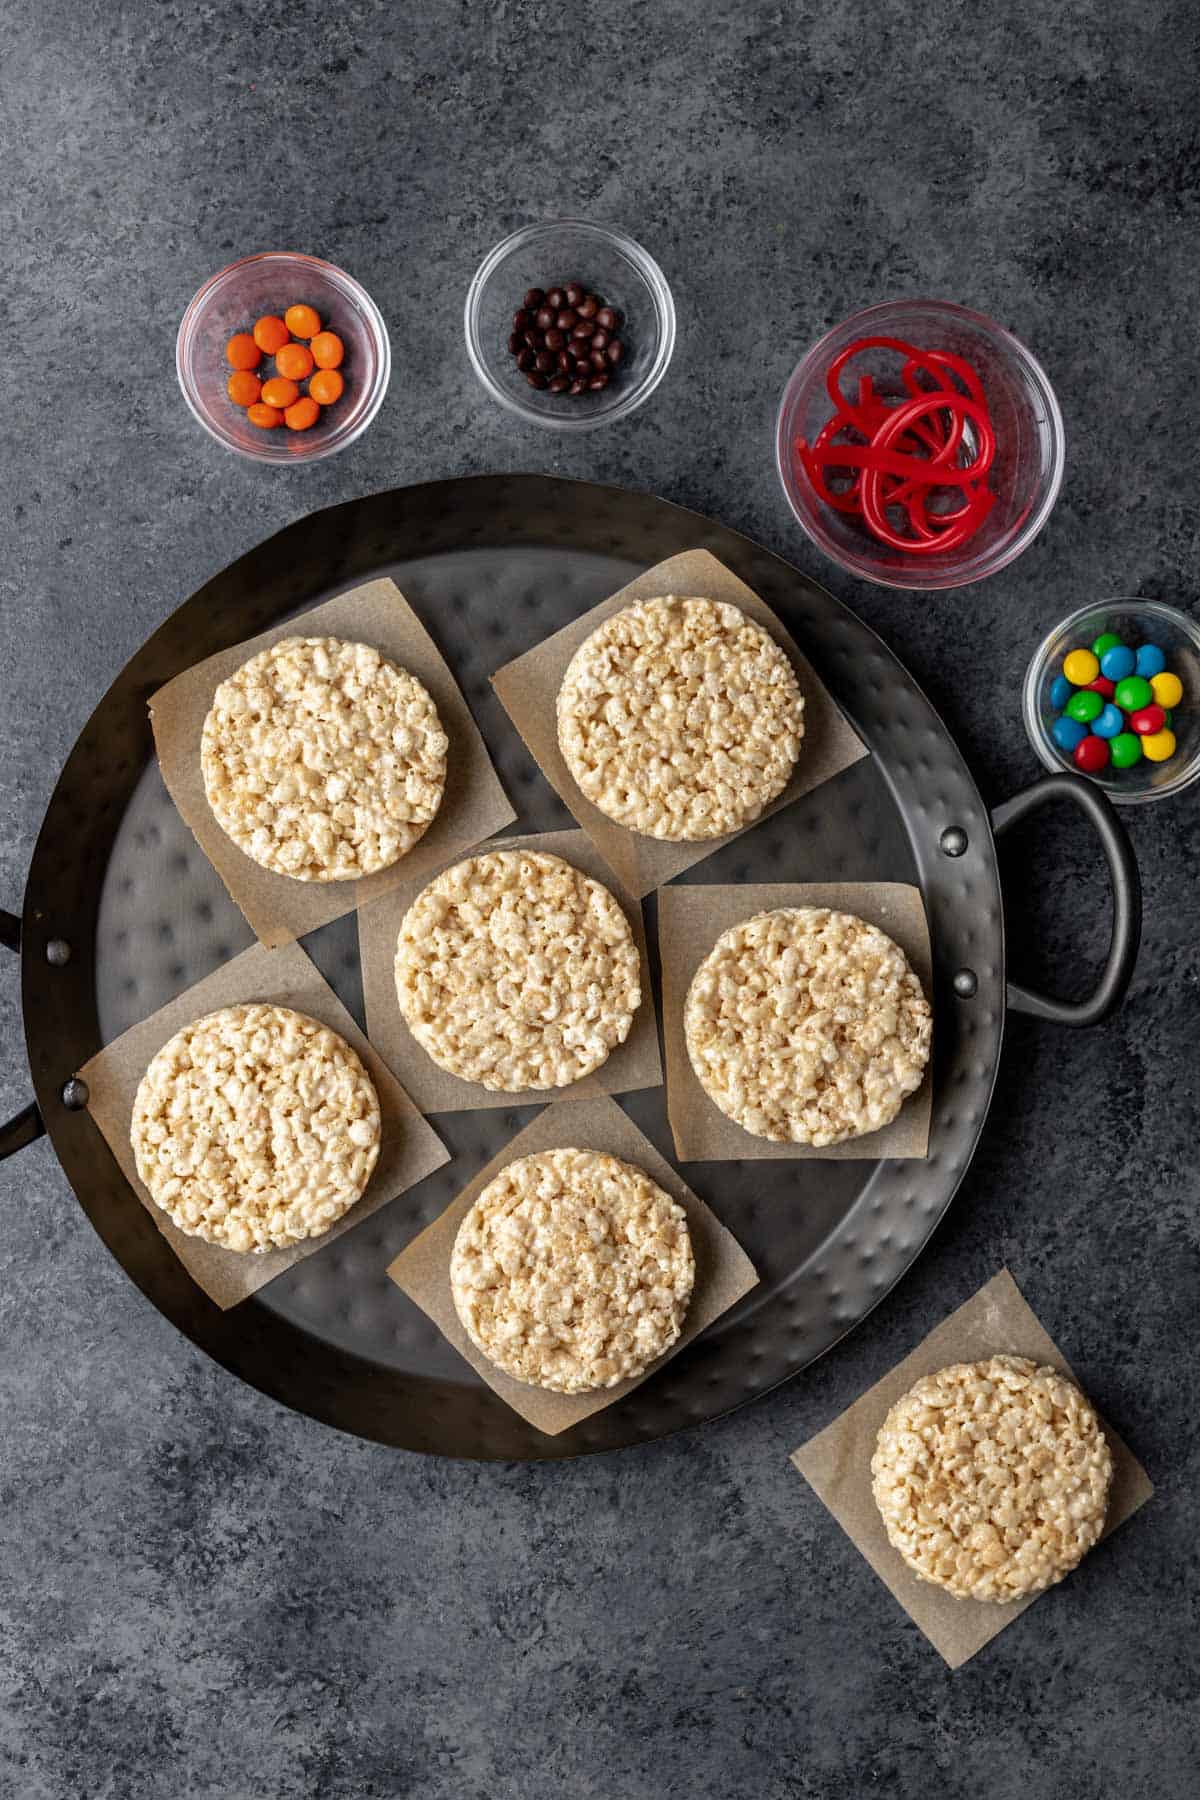
5. Place a 4-inch round cookie cutter on a plate or parchment paper. Carefully scoop some of the marshmallow and cereal mixture into the cookie cutter until it's full and the mixture takes the form of the circle.
6. Allow to cool for 5 minutes, then remove the treat and set it aside. Continue with the rest of the mixture until all of it is shaped into 12 equal-sized circles.
7. Add chocolate chips to a plastic zip-top bag. Melt in 30 second intervals in the microwave until smooth. Snip a small corner off the bag. Use the melted chocolate as the glue to hold on the other decorations.
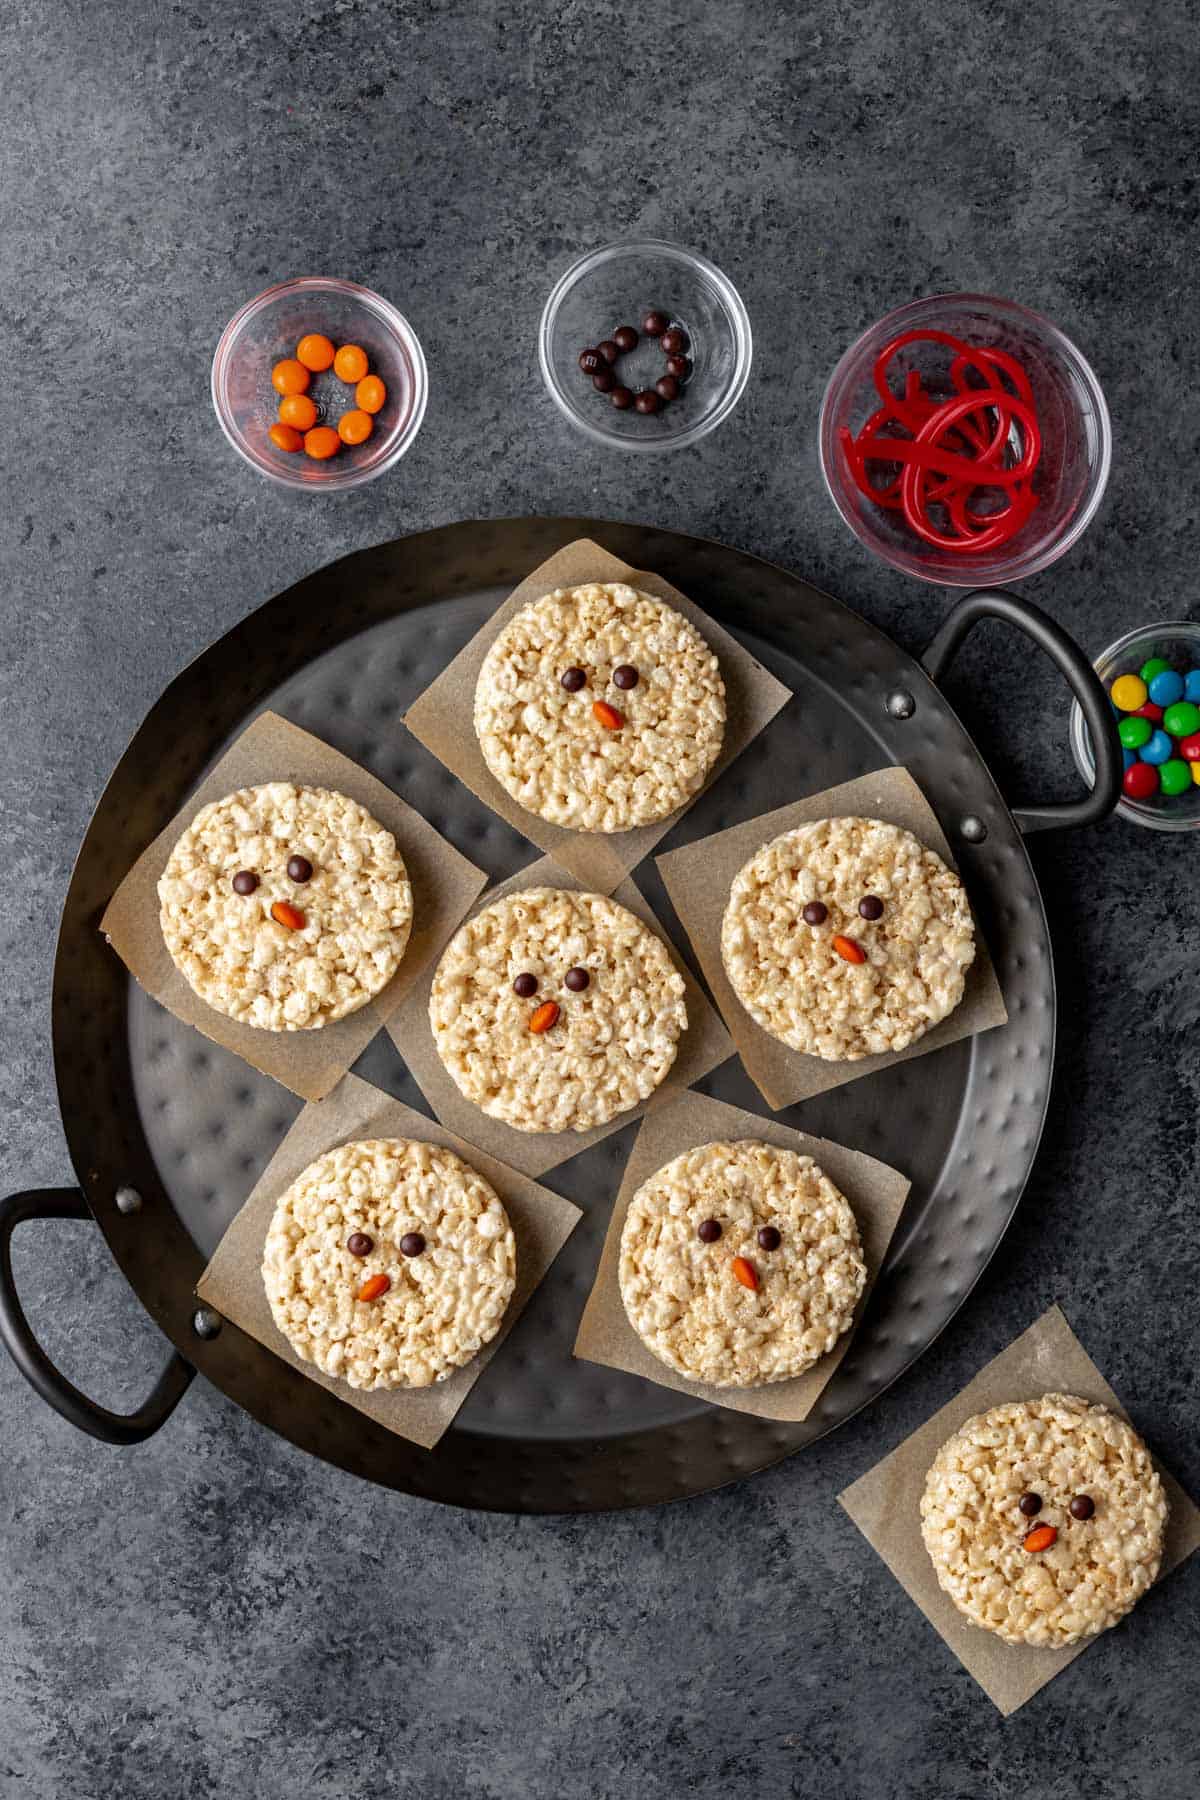
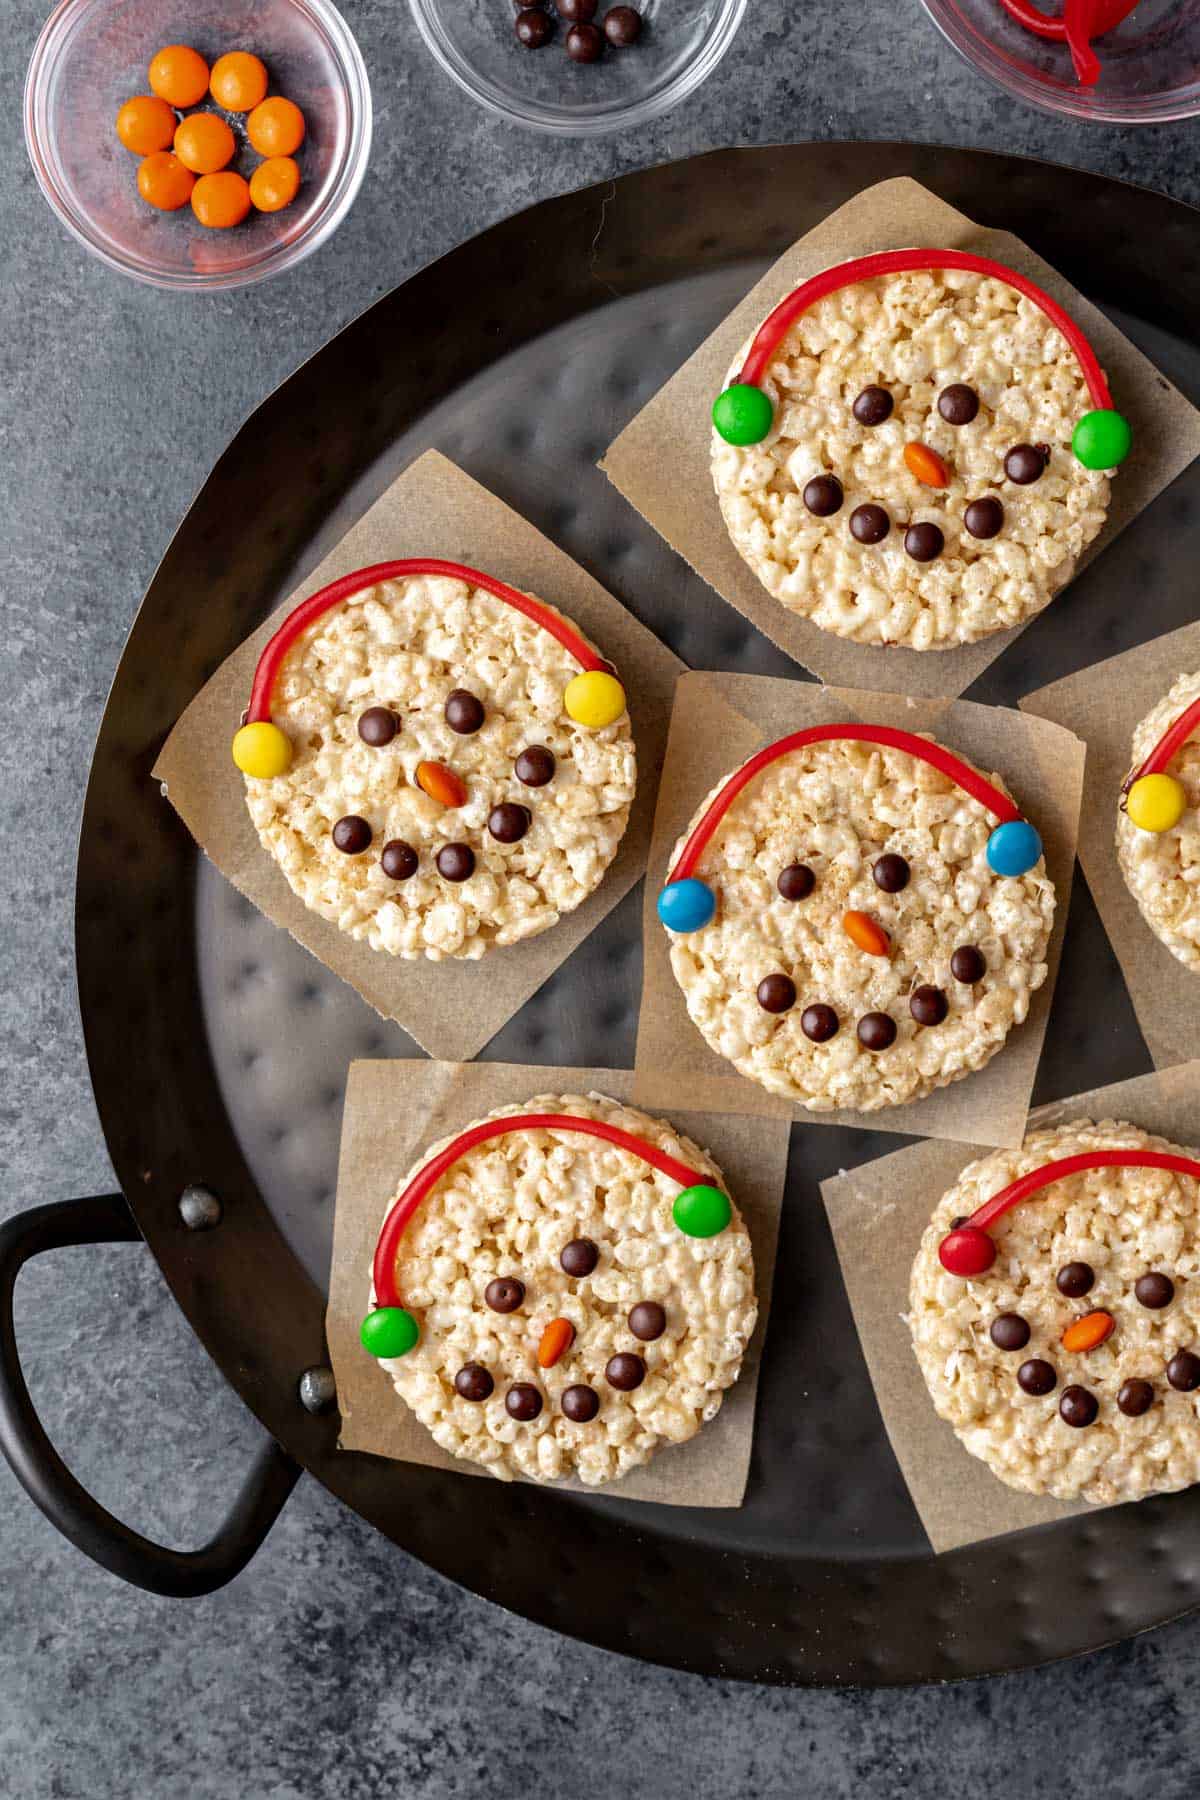
8. Carefully cut the orange m&ms in half. Working with 1 treat at a time, add a dot of melted chocolate to the center of the rice krispie treat and gently press the halved m&m cut side down on the chocolate until it sticks.
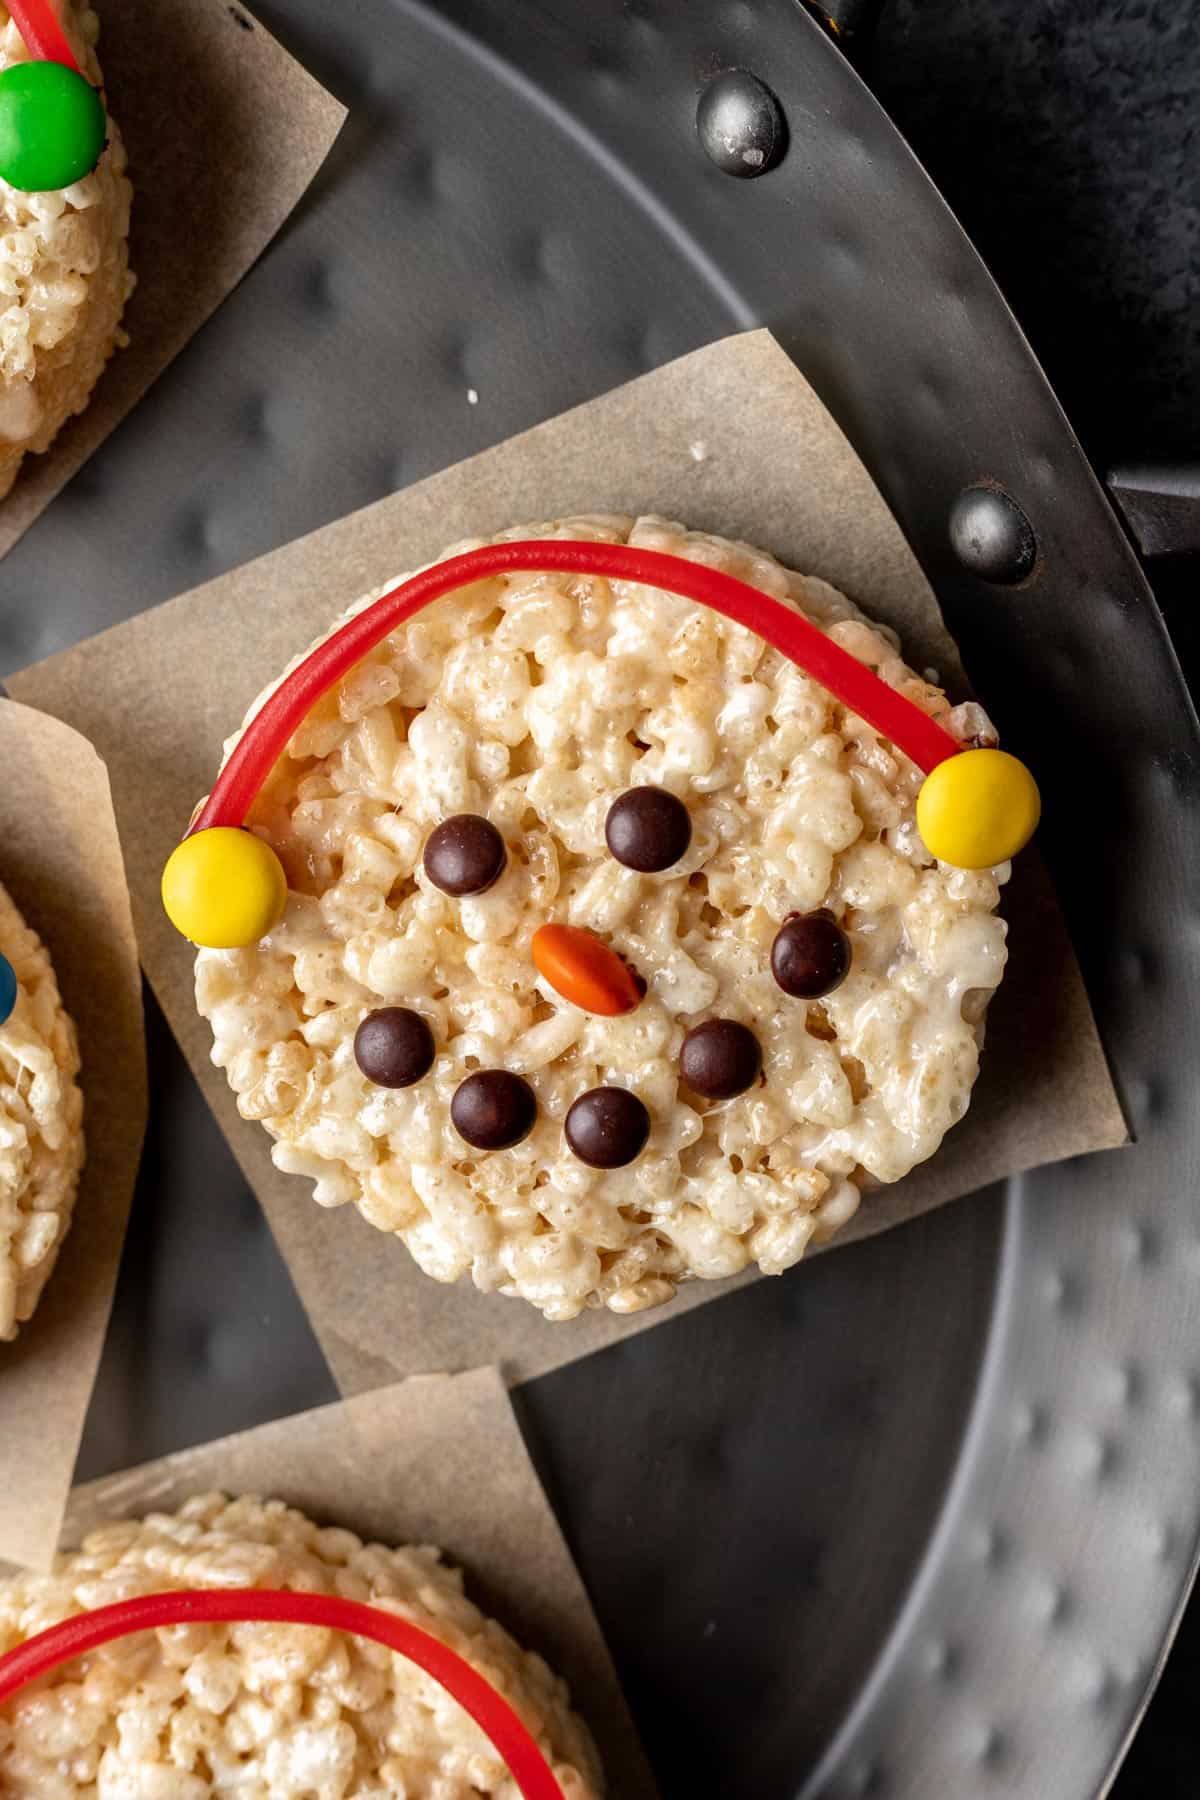
9. Place 2 small dots of melted chocolate above the orange m&m and quickly press 2 brown m&ms into the chocolate until they stick to create the snowman's eyes. (Make sure to place the m&ms upside down so the logo "m" does not show.)
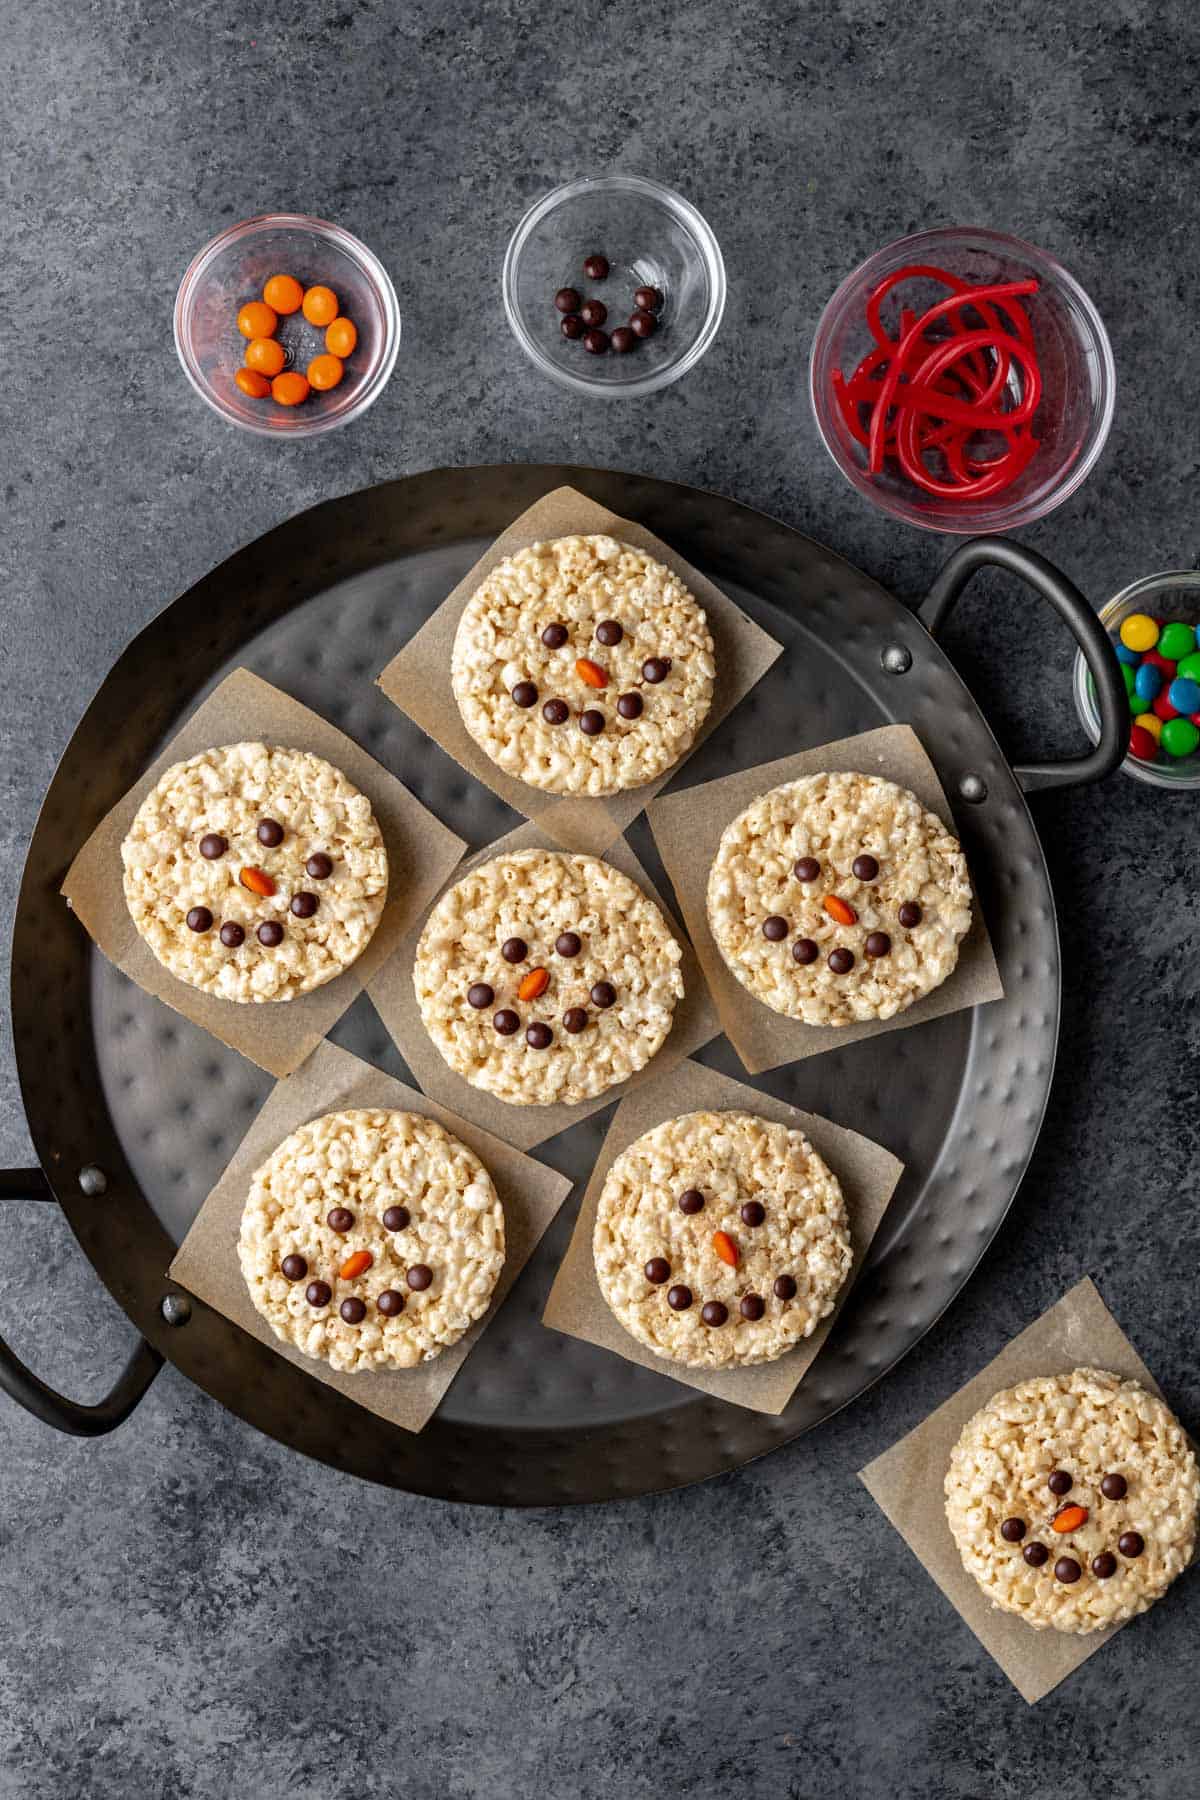
10. Place 5 small dots of melted chocolate below the orange m&m in the shape of a half circle for the snowman's smile. Press 5 brown m&ms into the chocolate until they stick.
11. Cut the candy strings into 4½-inch pieces. Flatten the ends of the string by pressing it between your fingers. Place a small dot of chocolate on each flattened end and then stick the string to the top of the snowman's head.
12. Using 2 of the same colored m&ms, place a chocolate dot on each before pressing one on both ends of the candy string to form the snowman's earmuffs.
13. Repeat until you've finished decorating the rest of the snowmen. Allow all the chocolate to harden before moving, stacking, or serving.
⁉️ Substitutions and Alterations
- If Twizzler Peel 'n' Pulls aren't an option, I'd recommend peeling apart a licorice rope or using Strawberry flavored red licorice strings.
- Use any round colored chocolate candies you can find! Have fun with it and make the snowmen your own.
- If you're out of semi-sweet chocolate chips, try melting some white chocolate or any chocolate you have on hand.
- I used the classic Kellogg's Rice Krispies, however you can use any plain rice cereal. Just make sure it is not sweetened or at the least, very lightly sweetened.
❄️ How to Store
To store: For optimal results, store the snowmen at room temperature in an airtight container. They will last for up to 5 days. Refrigeration is not recommended.
To freeze: These treats freeze well for up to 6 months. Thaw at room temperature for 15 minutes, or until treats are completely defrosted and soft again. You can help speed up the process by simply microwaving for 15 to 30 seconds until softened.
🔍 FAQs
If your treats taste stale, a few things could have happened. For starters, using stale marshmallows and stale cereal will yield stale treats.
However, if those things are fresh and your treats still taste stale, it's likely too much butter was used. Too much butter will prevent the snowman treats from fully setting and will cause them to taste stale and soggy.
Yes! I typically make my rice krispie treats with unsalted butter and add my own kosher salt to control the sodium level, but you can make these treats with salted butter and leave out the added salt, if desired. The taste will still be fantastic!
No, this is not recommended. Hard marshmallows will yield hard treats because hard marshmallows have gone stale and lost the moisture that makes rice krispie treats fluffy and chewy!
💭 One More Tip
A 10 ounce sized bag of mini M&Ms should include enough brown ones for both the snowman's eyes and smiles.
🍴 Related Recipes

Share your cooking with me! If you make this recipe, I'd love to know! Tag @yourhomemadehealthy on Instagram or leave a comment with a rating and some feedback at the bottom of this page!

Snowman Rice Krispie Treats
Equipment
Ingredients
- 6 tablespoons unsalted butter
- 15 ounces mini marshmallows (about 1 ½ bags)
- ½ teaspoon vanilla extract
- ½ teaspoon kosher salt
- 8 cups rice cereal such as Rice Krispies
- 2 tablespoons semi sweet chocolate chips
- 6 regular sized orange m&ms for the nose
- 84 mini brown m&ms for the eyes and mouth (see notes)
- 12 4½-inch long candy strings such as Pull Apart Twizzlers, for the earmuffs
- 24 regular sized m&ms, any color for the earmuffs
Instructions
- In a large pot, melt the butter over medium-low heat. Once the butter is almost completely melted, add the marshmallows.
- Stir to coat the marshmallows fully in the butter. Cook for 5 to 8 minutes, stirring intermittently until the marshmallows melt completely. Don't overcook, as this will cause the mixture to burn and the marshmallows to harden.
- Remove the pot from the heat. Stir in vanilla extract and salt.
- Pour in the cereal. Stir to fully combine, making sure to scrape any additional marshmallows from the bottom of the pot.
- Place a 4-inch round cookie cutter on a plate or parchment paper. Carefully scoop some of the marshmallow and cereal mixture into the cutter until it's full and the mixture takes the form of the circle.
- Allow to cool for 5 minutes, then remove the treat and set it aside. Continue with the rest of the mixture until all of it is shaped into 12 equal-sized circles.
- Add chocolate chips to a plastic zip-top bag. Melt in 30 second intervals in the microwave until smooth. Snip a small corner off the bag. Use the melted chocolate as the glue to hold on the other decorations.
- Carefully cut the orange m&ms in half. Working with 1 treat at a time, add a dot of melted chocolate to the center of the rice krispie treat and gently press the halved m&m cut side down on the chocolate until it sticks.
- Place 2 small dots of melted chocolate above the orange m&m and quickly press 2 brown m&ms into the chocolate until they stick to create the snowman's eyes. (Make sure to place the m&ms upside down so the logo "m" does not show.)
- Place 5 small dots of melted chocolate below the orange m&m in the shape of a half circle for the snowman's smile. Press 5 brown m&ms into the chocolate until they stick.
- Cut the candy strings into 4½-inch pieces. Flatten the ends of the string by pressing it between your fingers. Place a small dot of chocolate on each flattened end and then stick the string to the top of the snowman's head.
- Using 2 of the same colored m&ms, place a chocolate dot on each before pressing one on both ends of the candy string to form earmuffs.
- Repeat until you've finished decorating the rest of the snowmen. Allow all the chocolate to harden before moving, stacking, or serving.
Storage
- To store: For optimal results, store the snowmen at room temperature in an airtight container. They will last for up to 5 days. Refrigeration is not recommended.To freeze: These treats freeze well for up to 6 months. Thaw at room temperature for 15 minutes, or until treats are completely defrosted and soft again. You can help speed up the process by simply microwaving for 15 to 30 seconds until softened.
Notes
- A 10 ounce sized bag of mini m&ms should include enough brown ones for both the eyes and smiles.
- Use the photos provided in the above post to help you with assembling the decorations.
Nutrition
Want more recipes like this delivered right to your inbox? Be sure to subscribe above and never miss a thing!


Comments
No Comments